
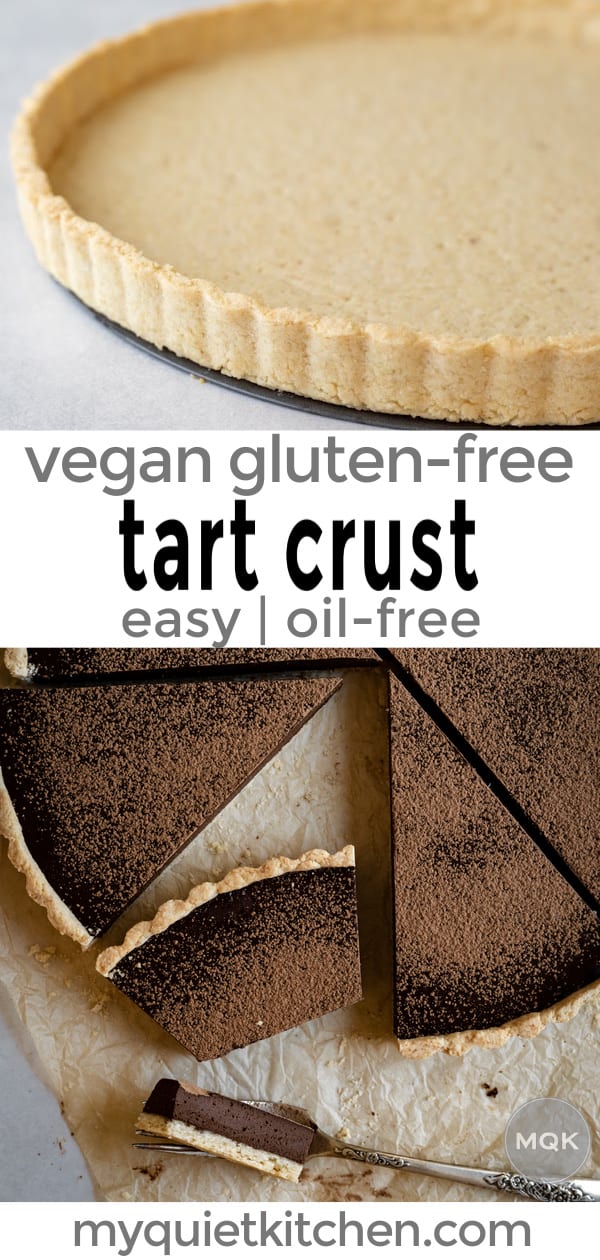
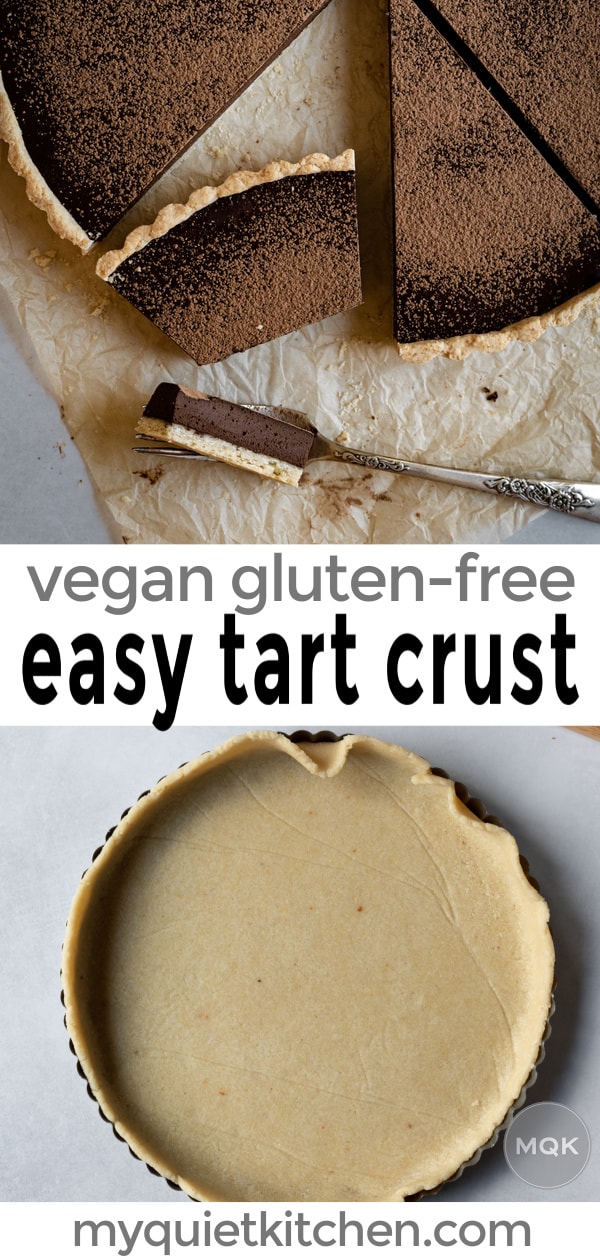
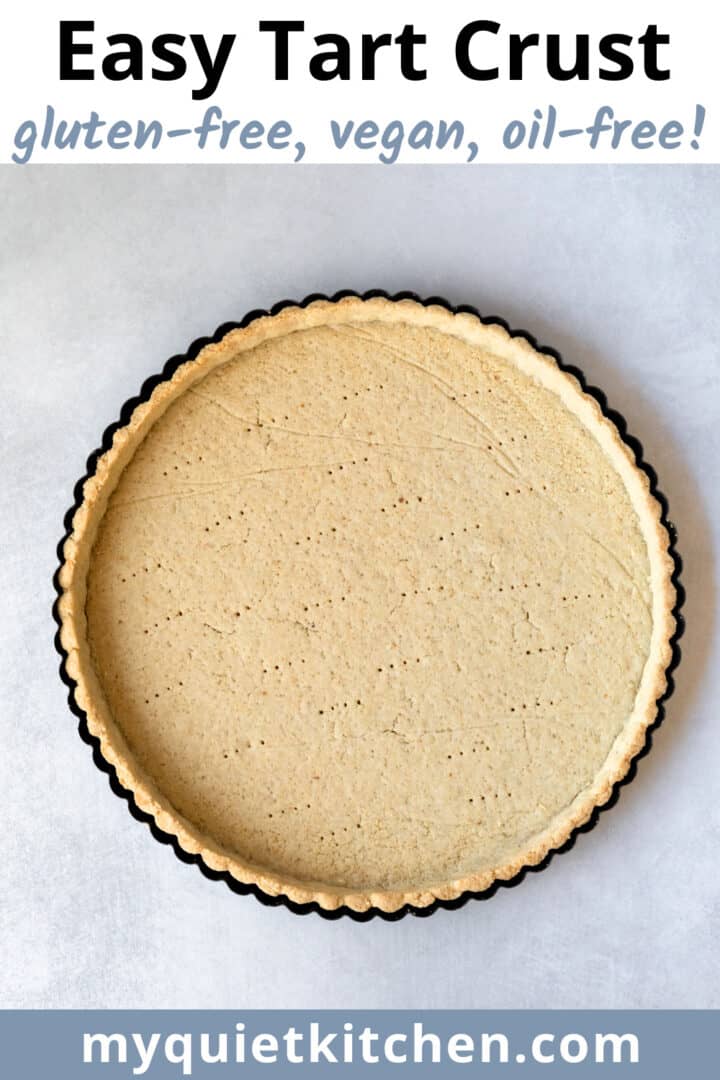
This Vegan Tart Crust is crisp and buttery-tasting without any dairy or oil and is surprisingly easy to prepare! It's gluten-free and works perfectly with both sweet and savory recipes. Recipe adapted from our popular Vegan Gluten-Free Pie Crust.
Why This Recipe Works
Since I shared this Healthy Pie Crust recipe last year, it has consistently been one of the most popular recipes on the blog. So while updating two of my older tart recipes recently, I thought it might be helpful to share a version of that almond flour crust that's better suited for metal tart pans.
A few tweaks to the ingredients and bake times, and now we're ready to roll with almost any size tart pan you have. The main recipe is for an 11-inch tart pan, but the Notes section of the recipe explains how to scale the ingredients for smaller pans.
Thankfully this new recipe is just as easy and has all the same nutritional qualities that make the pie crust so popular - it's vegan, gluten-free, AND oil-free. Let me show you how to make it!

Instructions
I went into more detail in the pie crust post, so if you'd like to see the video tutorial and more in-depth step-by-step photos, feel free to head over there. Or you can just trust me when I say this recipe is ridiculously easy, and jump right in!
Unlike traditional tart crusts, there's no need to pre-chill the ingredients or equipment, and you don't need to rush or worry about your hands warming up the dough.
You also don't have to worry about overworking the dough since we're not dealing with gluten.
The basic process looks like this (see photos below):
- Whisk together the dry ingredients in a mixing bowl.
- Drizzle in ¼ cup water, and stir well.
- Add another 1 to 2 tablespoons of water, 1 at a time. Don't be afraid to get in there with your hands and really mix it up!
- If the dough is still crumbly and not holding together well, add another tablespoon of water, and mix again.
- Once the dough looks moist and sort of like Play-Doh, it's ready to be rolled out.
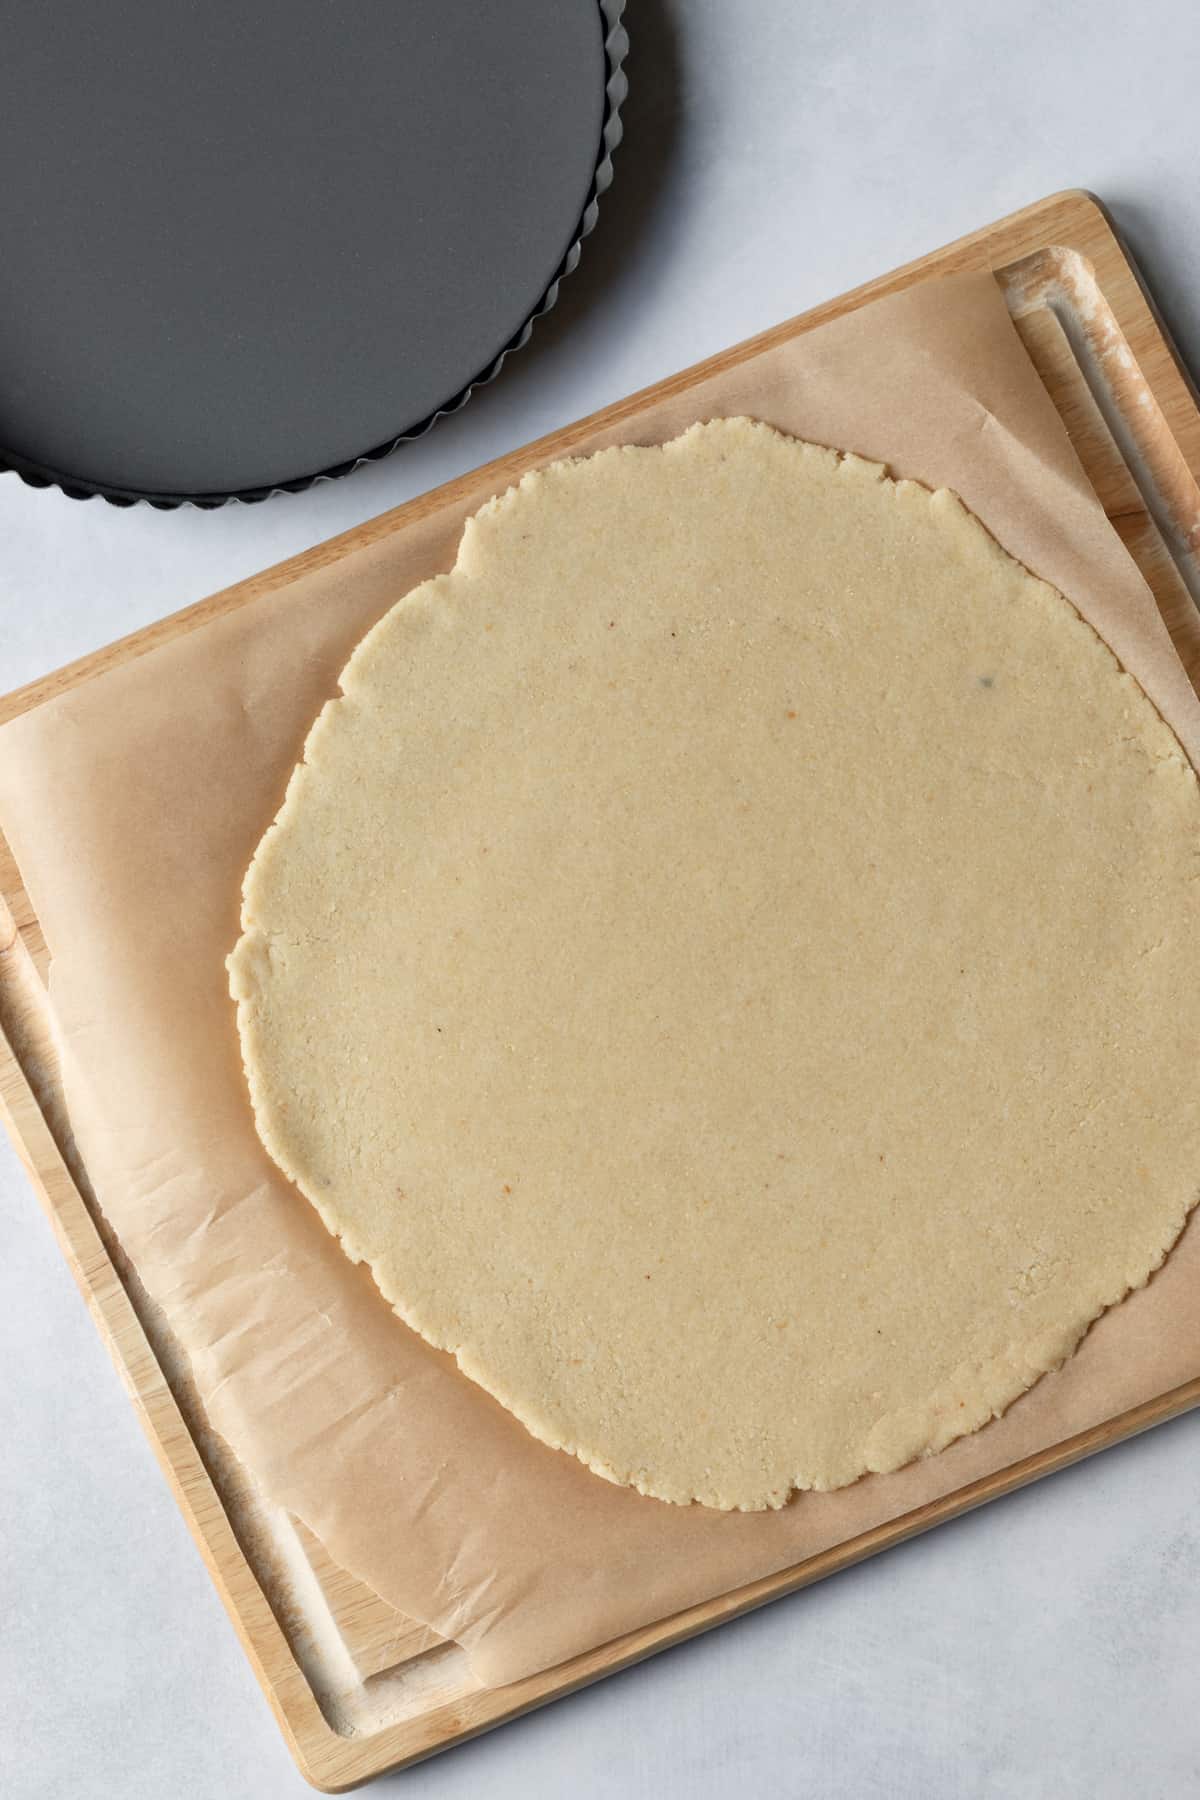
- Place the dough ball on a large piece of parchment. Sprinkle almond flour on top to prevent sticking, and begin rolling it out into a circle large enough for your tart pan.
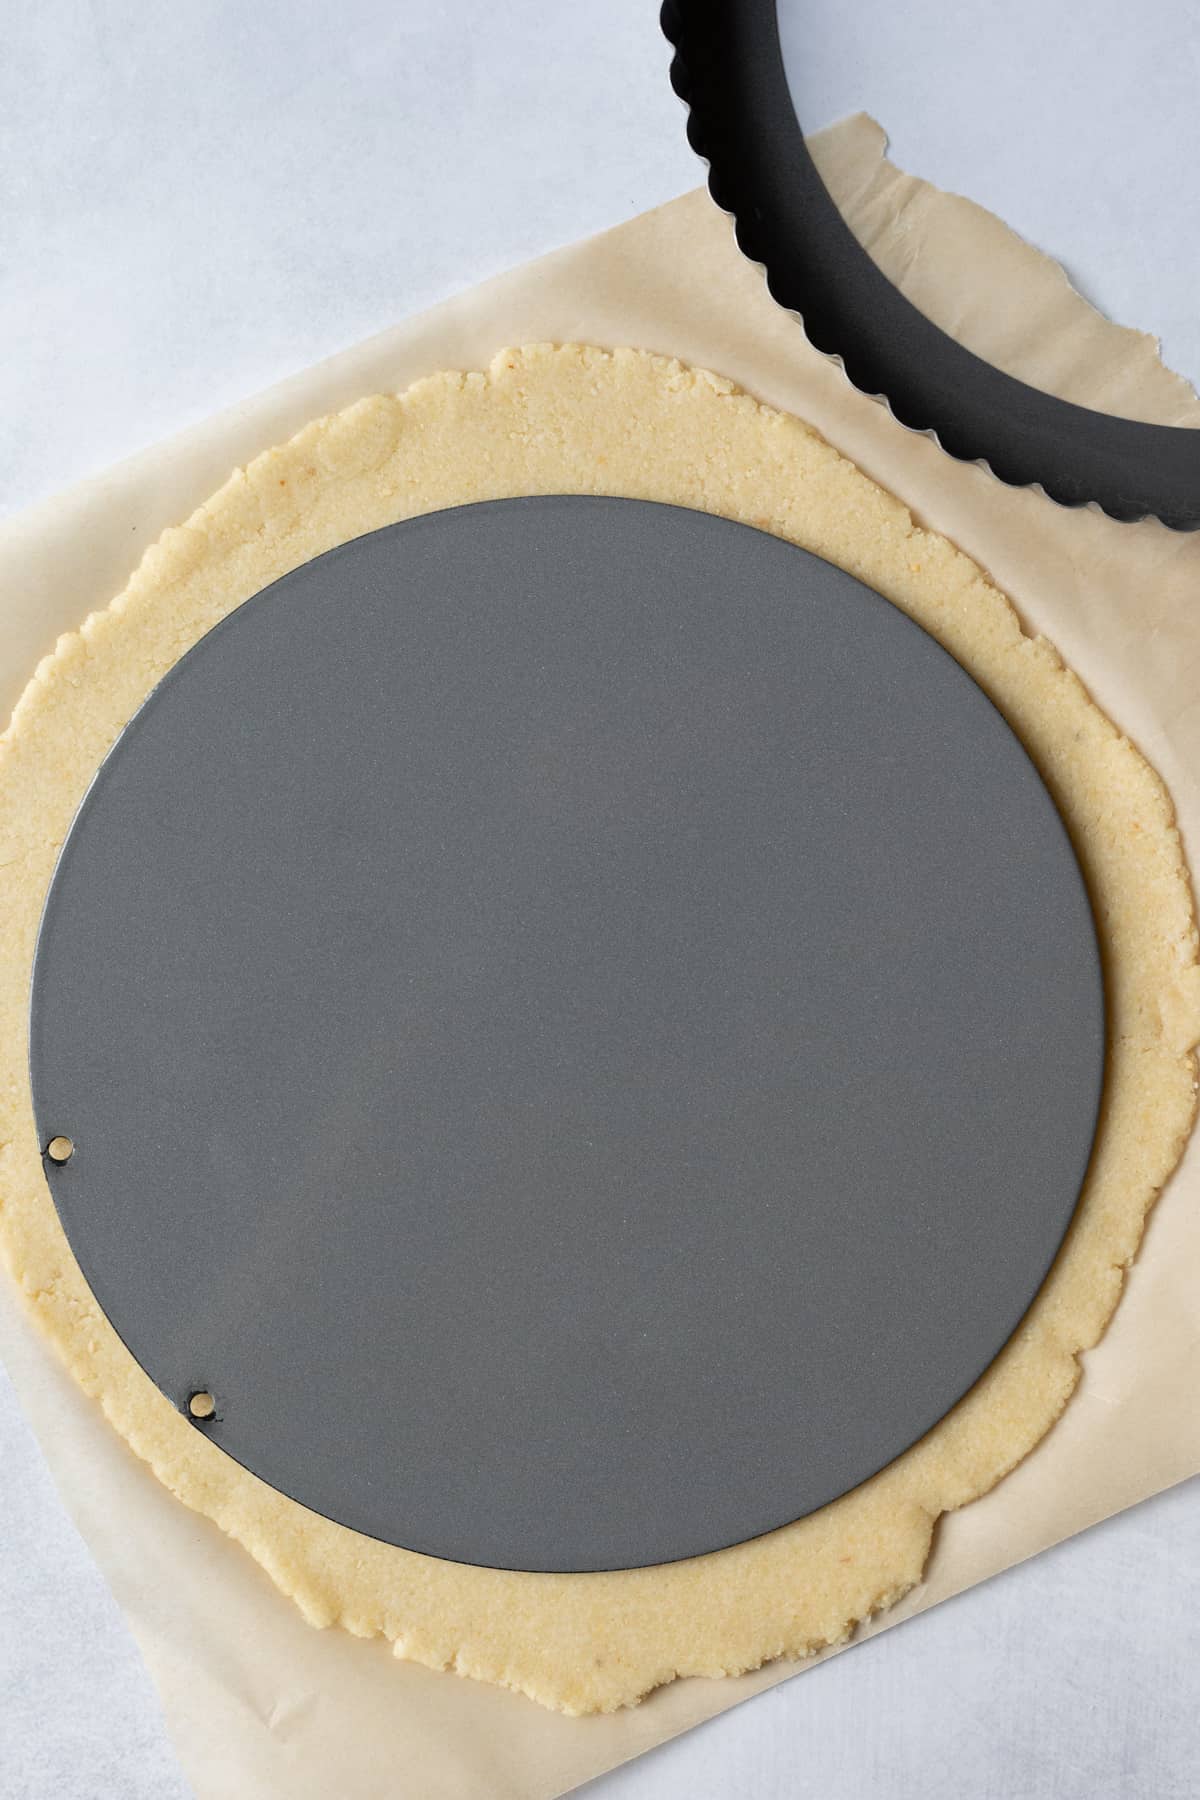
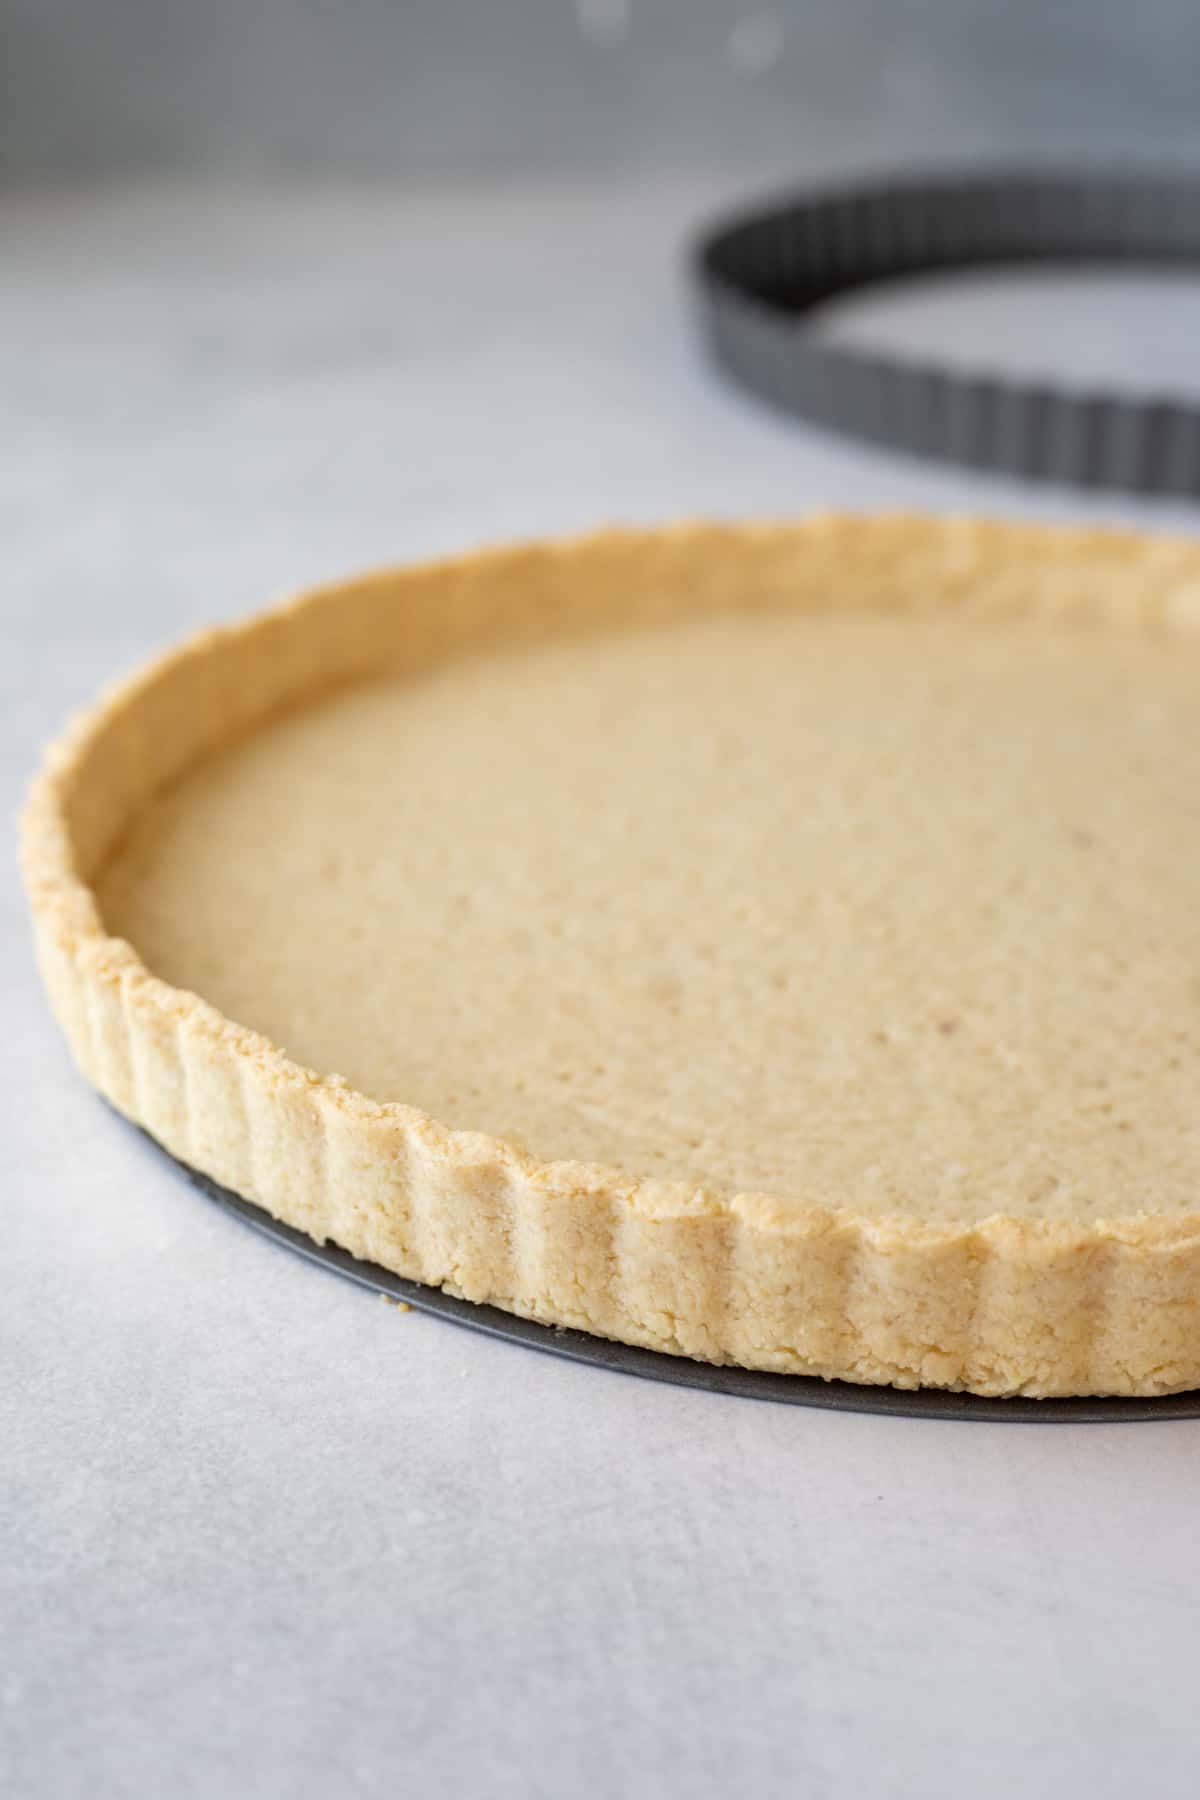
- Place the removable bottom of the pan on top of the dough, then flip the whole thing over. Lower it into the ring of the pan, and slowly peel away the parchment.
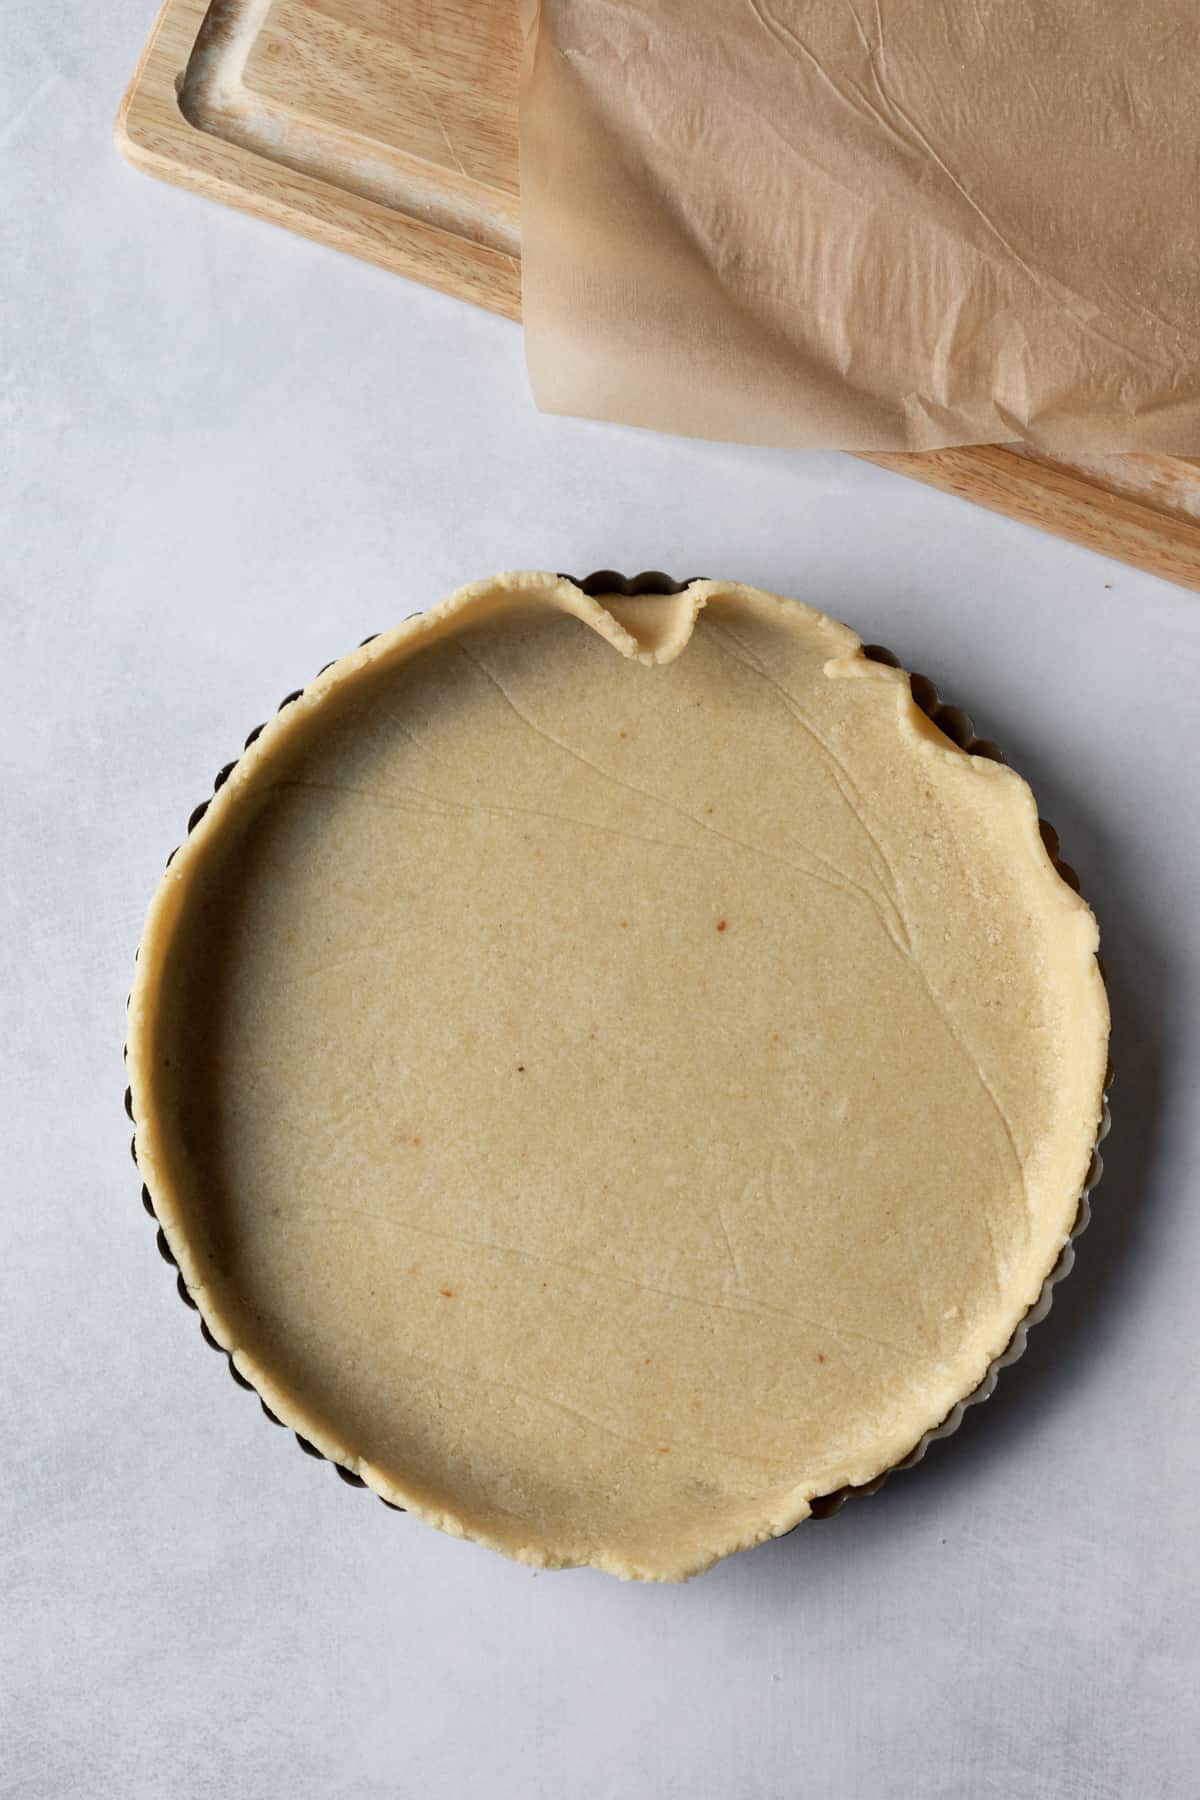
- Trim off excess dough around the edges and patch any holes or tears.
- Use your fingers to tidy up the edges, pressing it firmly agains the fluted sides of the pan.
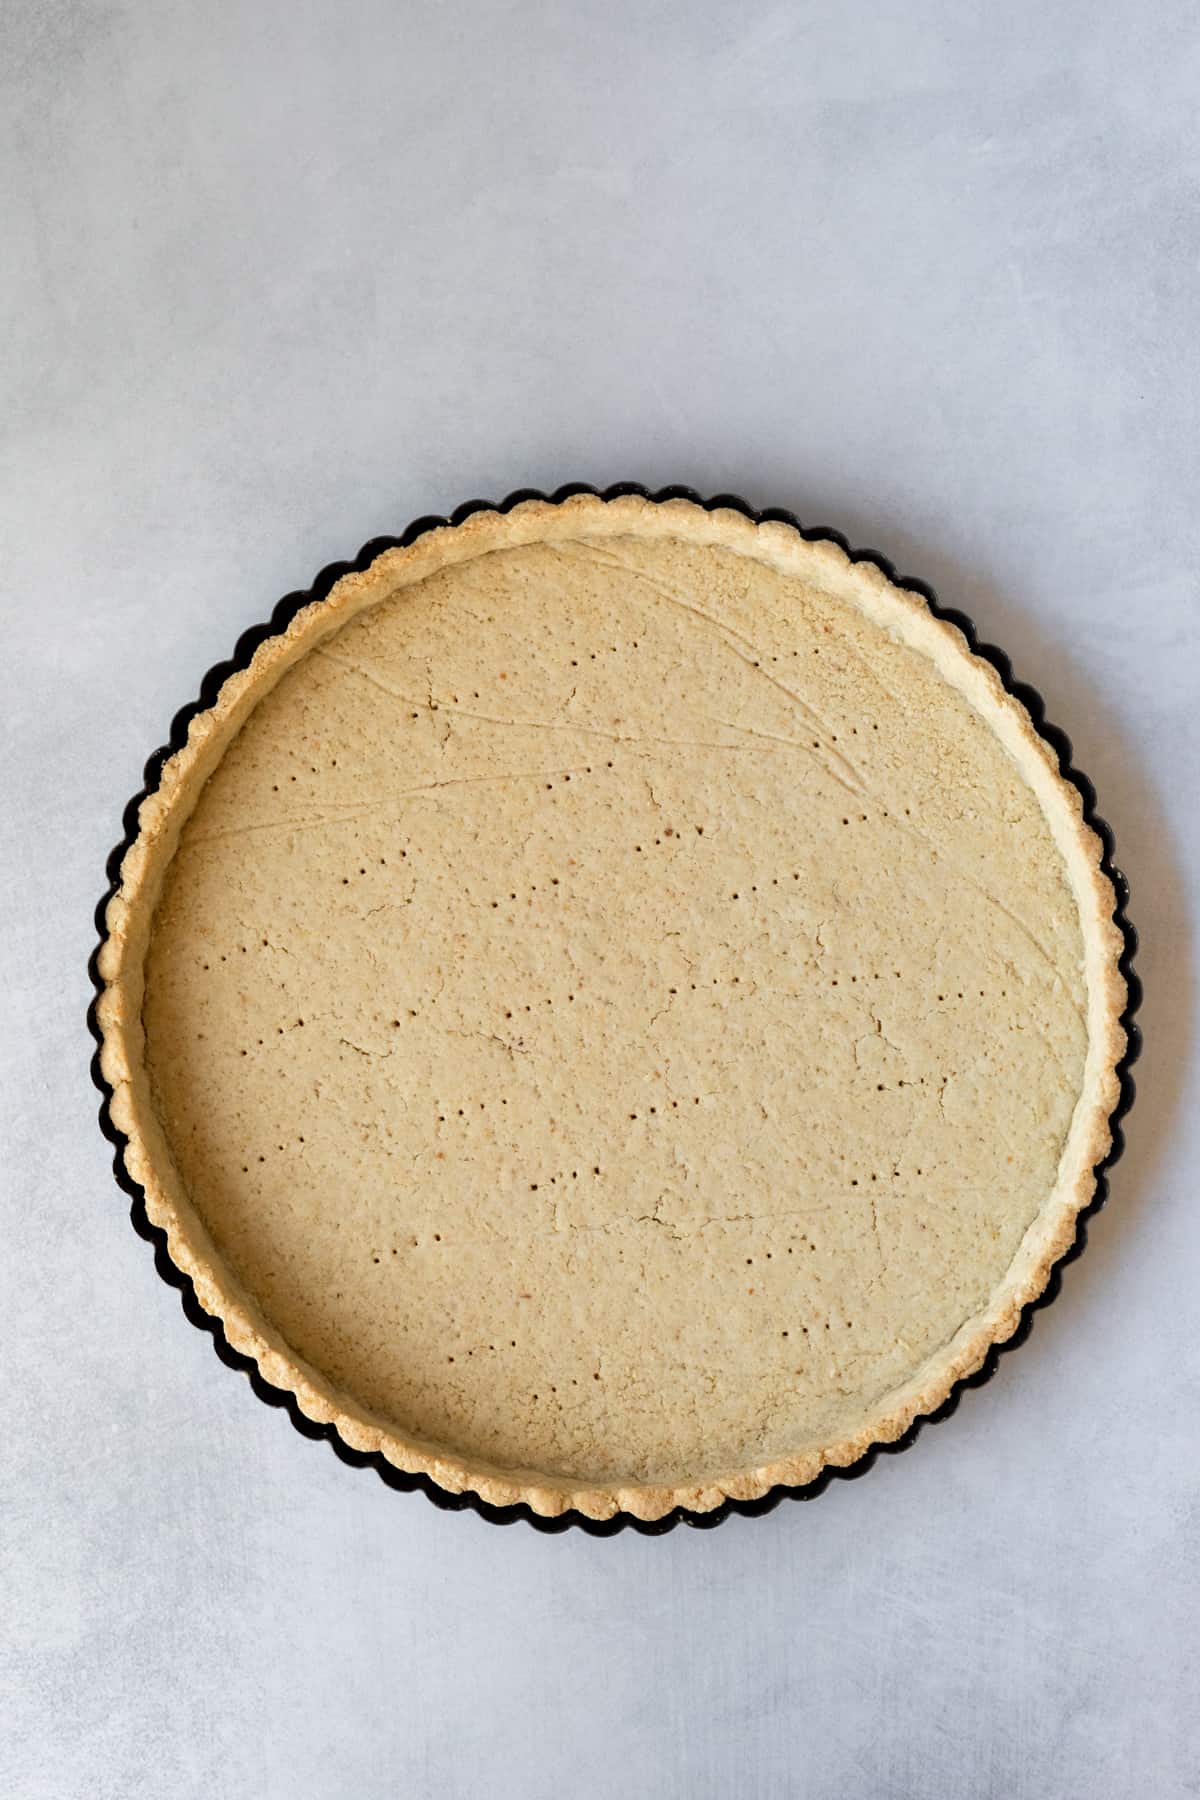
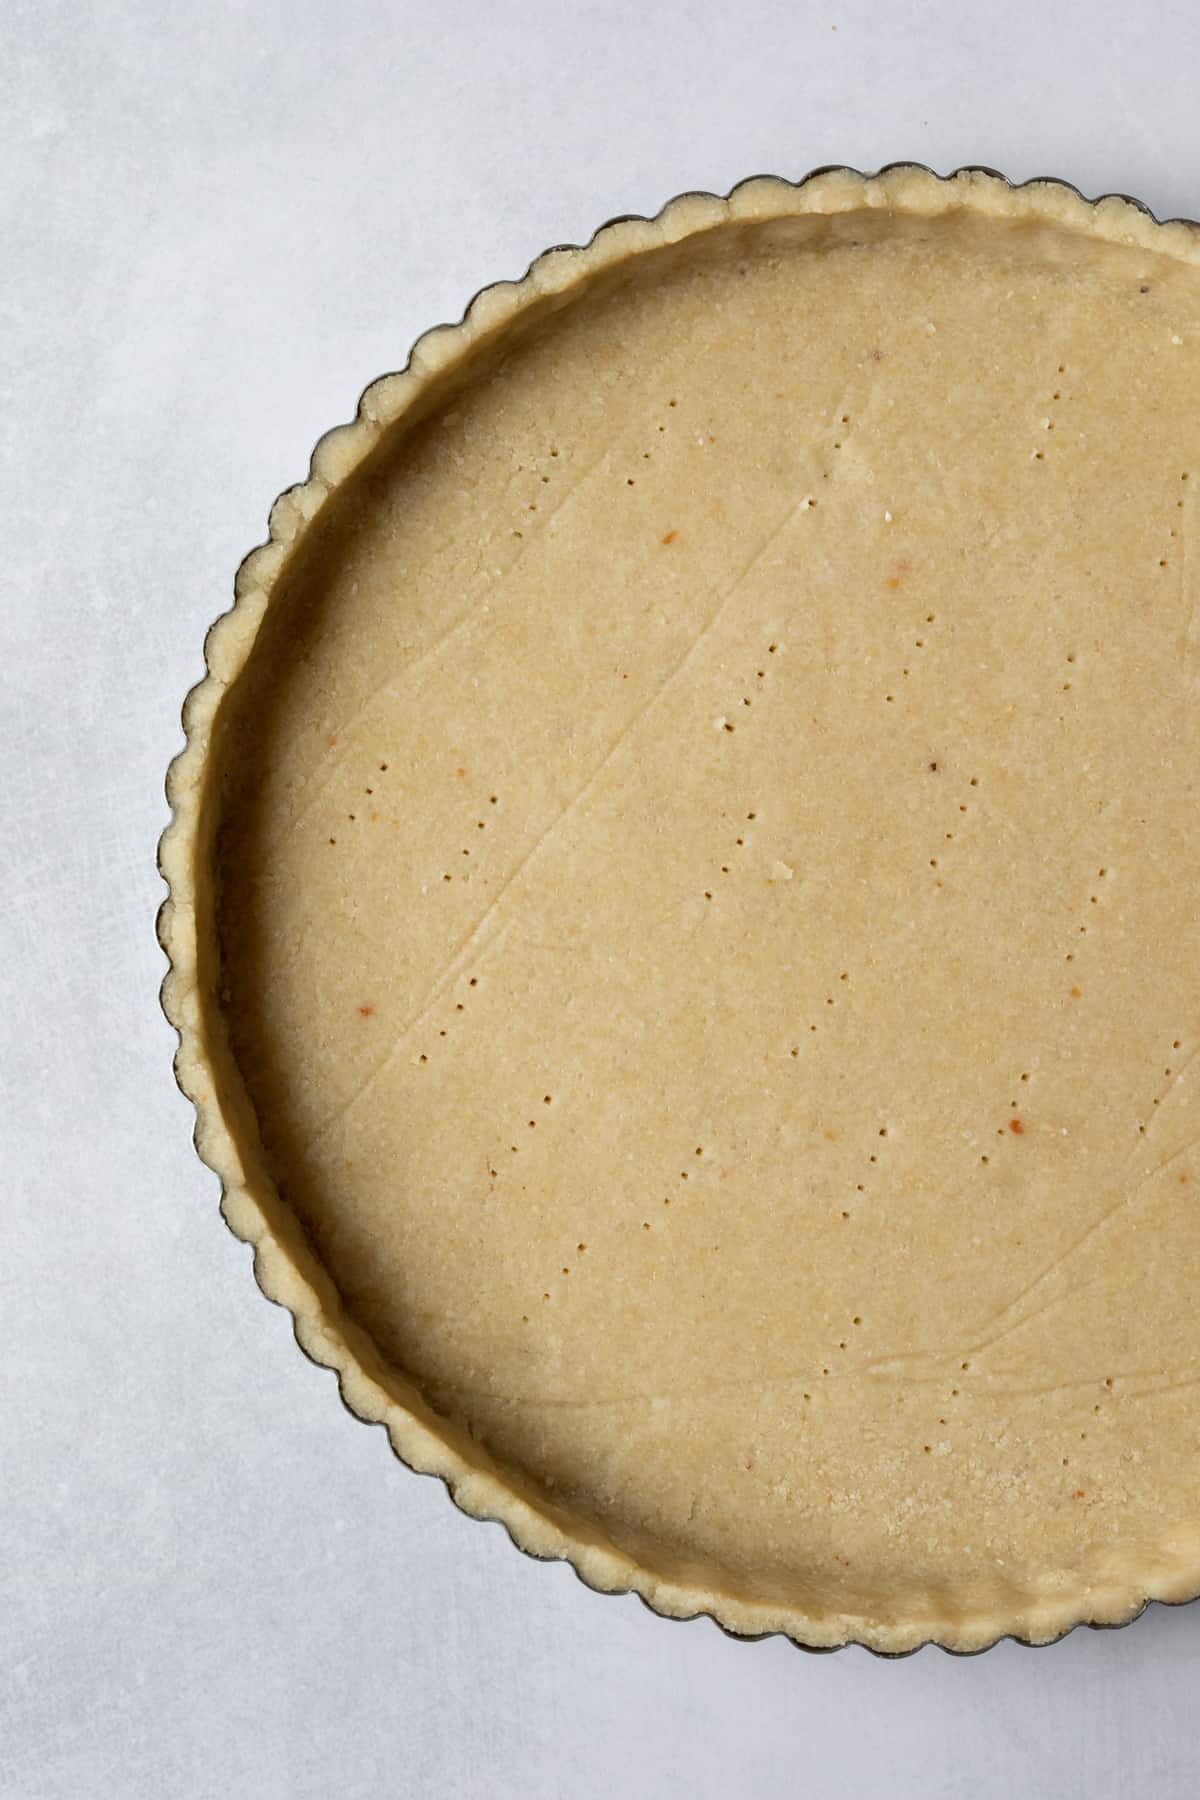
- Prick holes in the bottom of the crust with a fork.
Now, it's time to bake!
Want to save this recipe? 📩
Keep an eye out for more delicious recipes. Unsubscribe anytime.
Baking Instructions
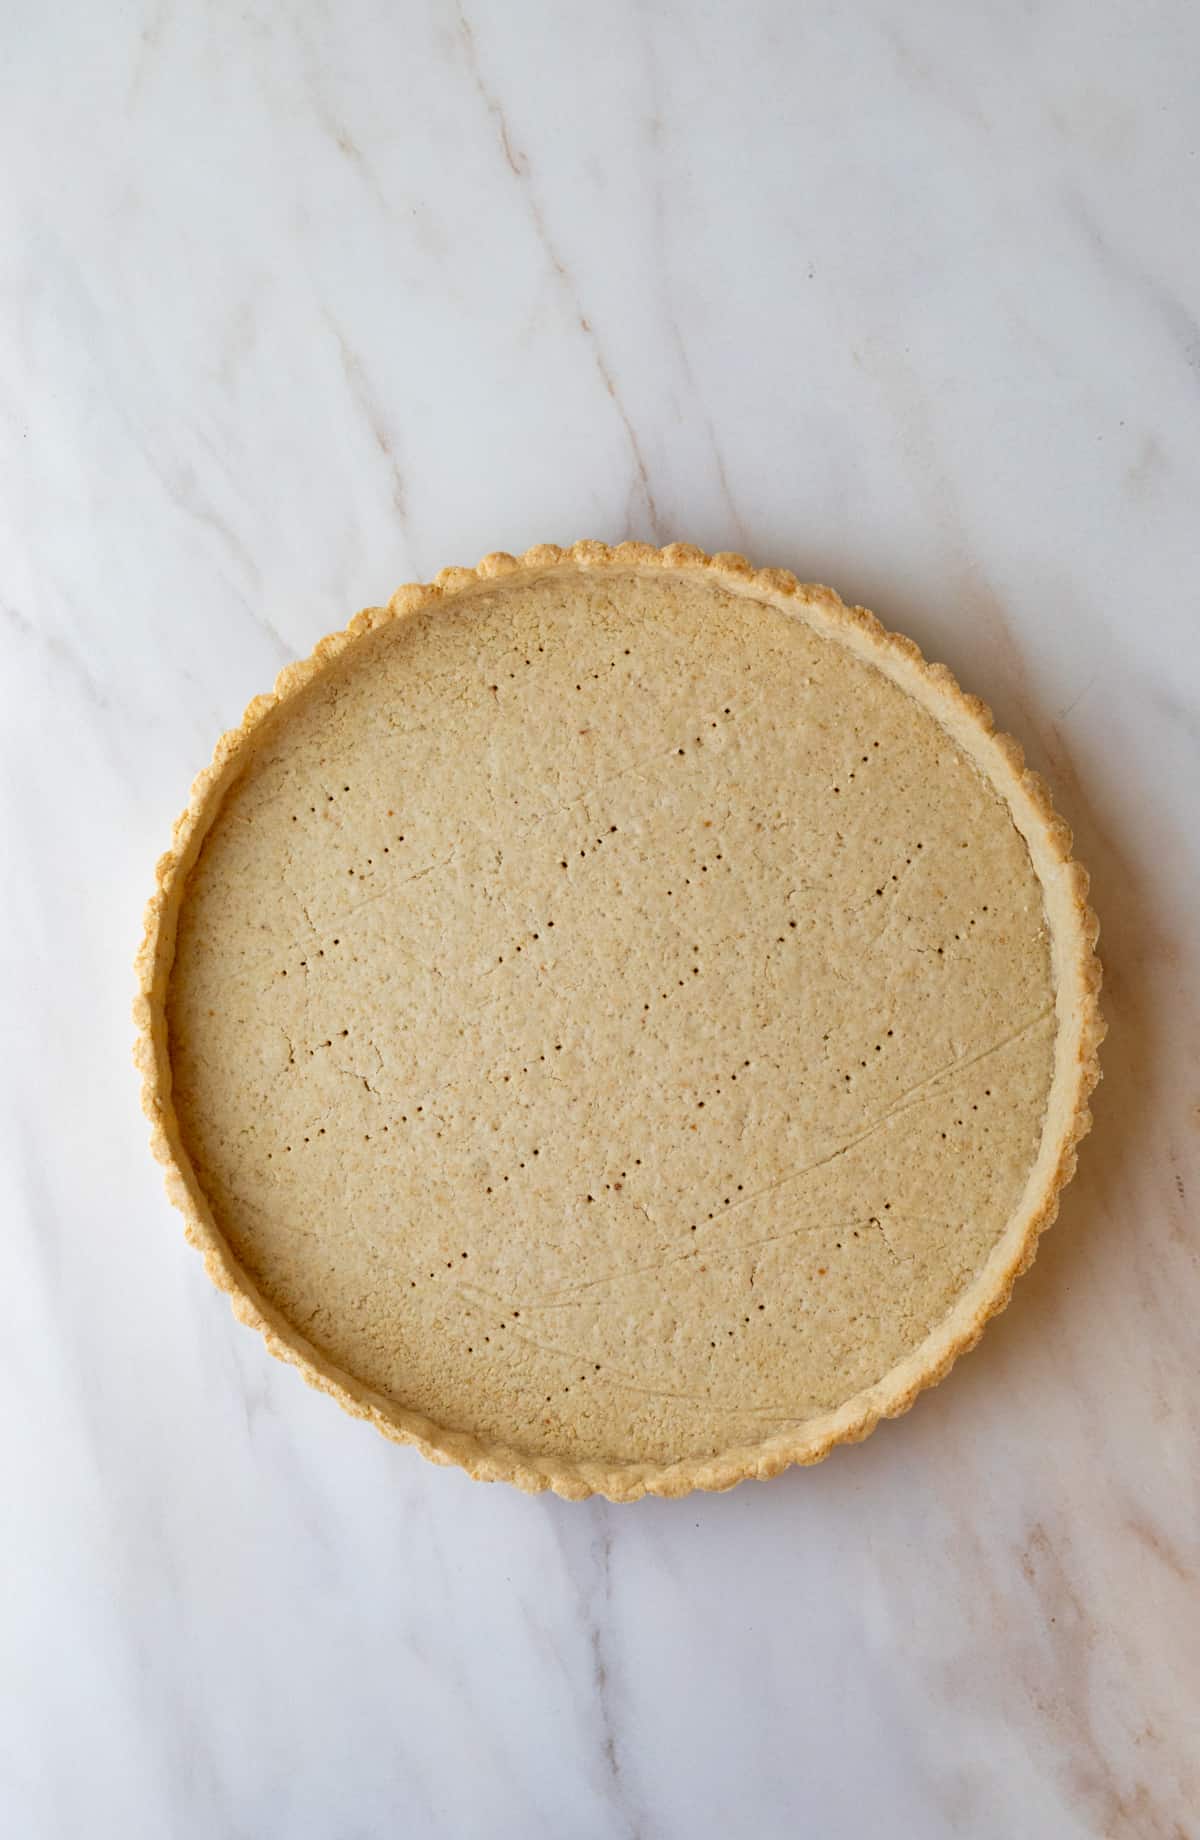
Bake the crust in a 350 degree oven for 22 to 24 minutes or until crisp and lightly golden. It's important not to overbake the crust. The center may feel ever so slightly soft but will crisp up as it cools.
For tart recipes that will be baked, pre-bake the crust for about 5 minutes before filling, depending on the final recipe.
Can the dough be frozen or made in advance?
Absolutely! Prep the dough up to 3 days in advance, and store it in the refrigerator. Be sure to wrap it well so that it doesn't dry out.
This almond flour crust is also freezer-friendly. Thaw overnight in the refrigerator, then roll out and use as desired.
You can also pre-bake the crust, let it cool, cover with plastic, and refrigerate overnight. Then fill and chill the finished tart the next day.
Ways To Use It
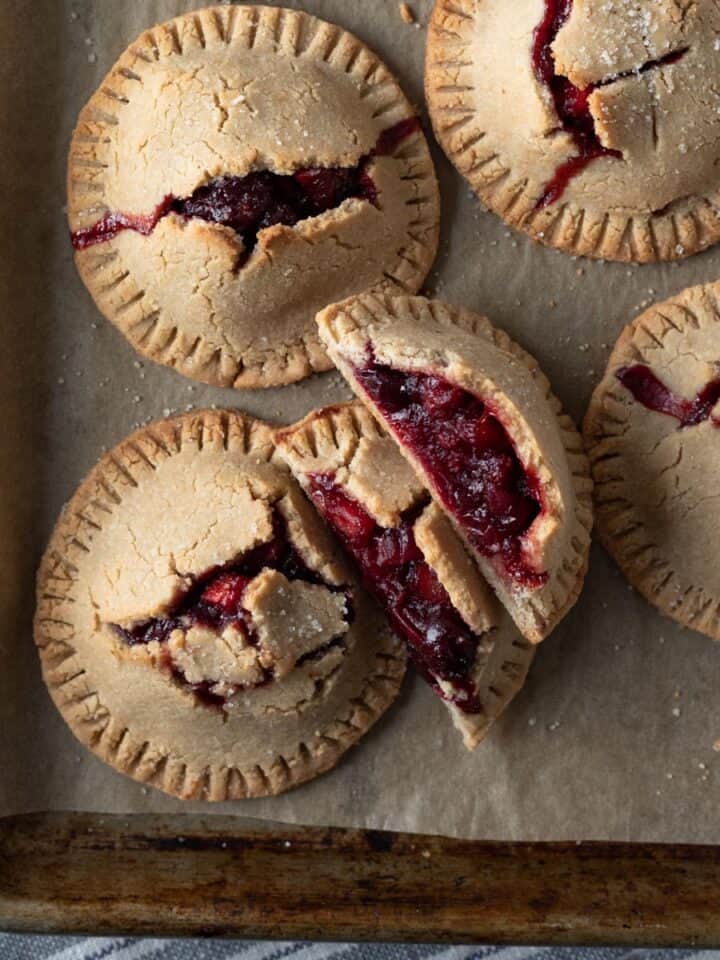
Pair this vegan tart crust with this holiday-worthy Vegan Cranberry Tart or my Light Vegan Lemon Tart.
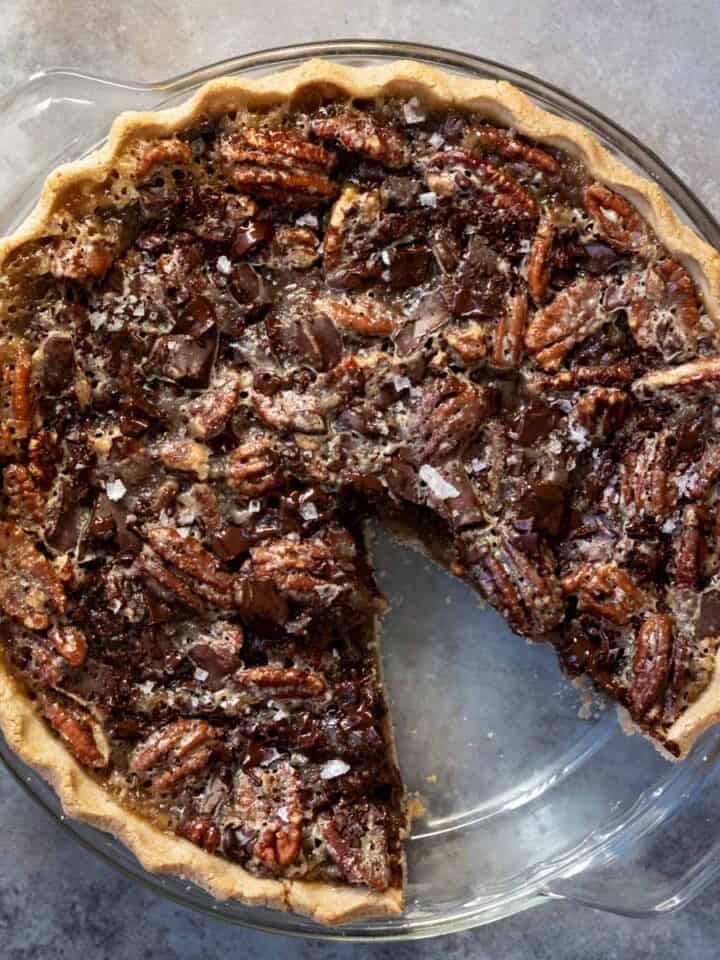
During berry season, it's the perfect base for a Mixed Berry Tart. Year-round you'll love this irresistibly rich and simple Vegan Chocolate Tart!
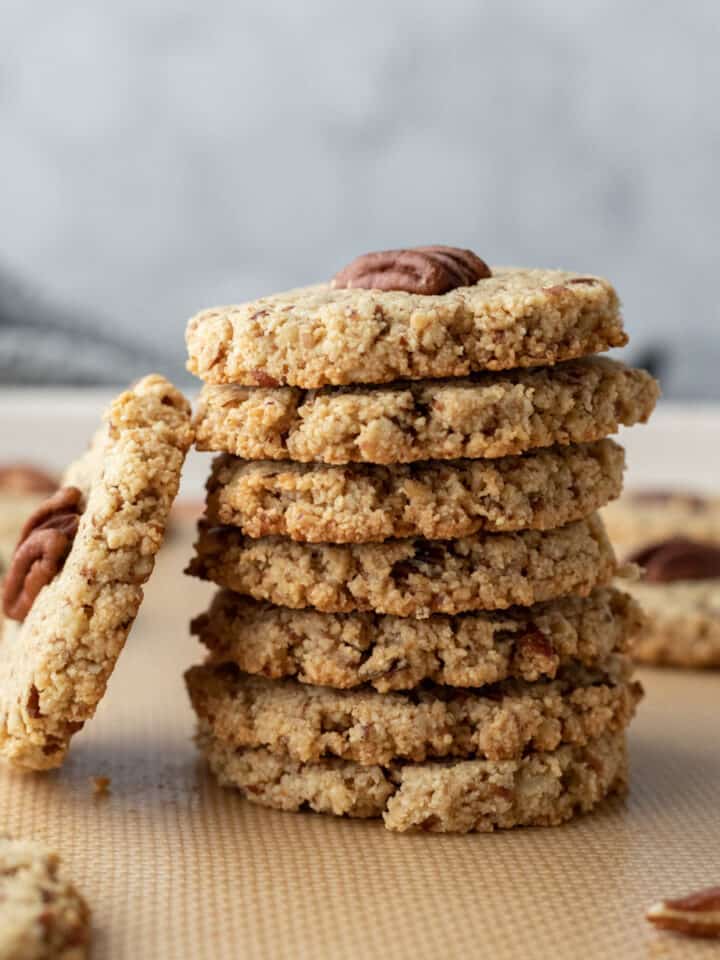
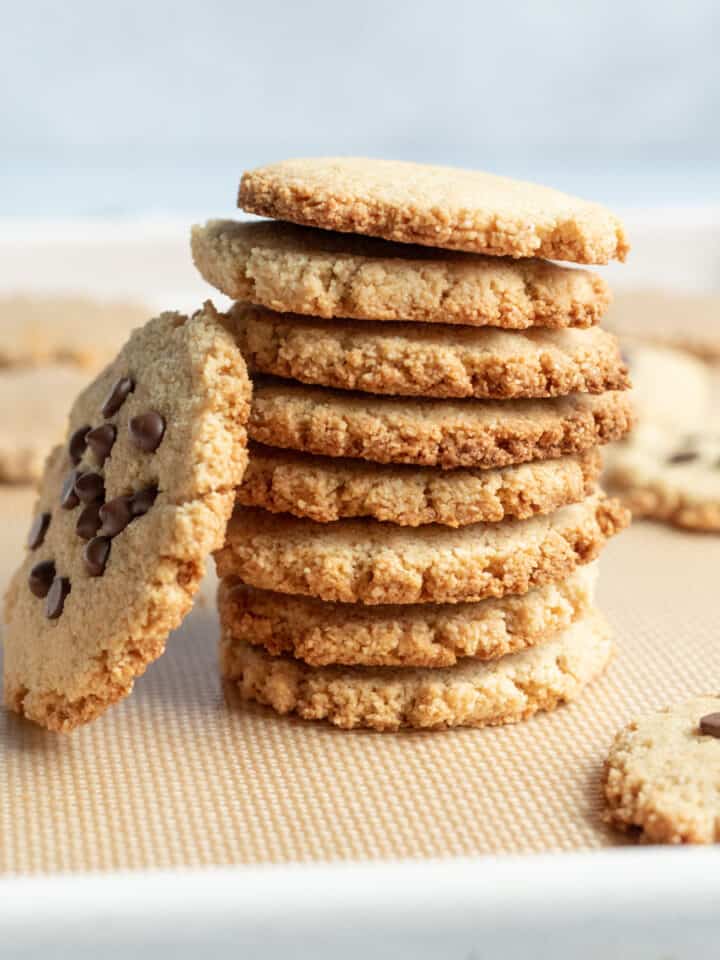
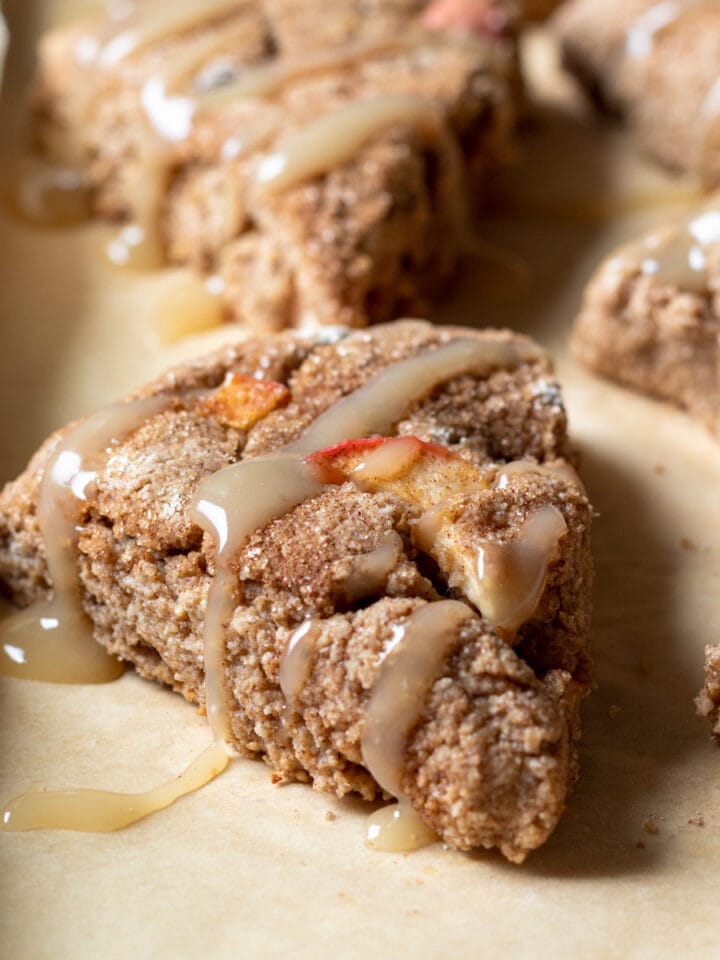
More Ways To Use Almond Flour
Recipe
Vegan Tart Crust (Gluten-Free, Oil-Free)
Ingredients
- 2 cups fine almond flour - Almond flour is critical to this recipe and can't be substituted.
- ½ cup tapioca flour
- ¼ cup white or brown rice flour, oat flour, or a gluten-free 1:1 blend
- 2 tablespoons cane sugar or maple syrup - Omit for savory tarts.
- ¼ teaspoon fine sea salt
- 5 to 7 tablespoons water
Instructions
- Preheat oven to 350 degrees F (176 C), and locate an 11-inch tart pan with a removable bottom (see Notes re: scaling). Either lightly oil the bottom part of the pan (the sides don't need it), or cut a circle of parchment to fit the bottom.
- In a mixing bowl whisk together the almond flour, tapioca starch, rice flour, granulated sugar (if using maple syrup, don't add yet), and salt.
- Add 4 tablespoons of water, and use a large spoon to thoroughly combine. If using maple syrup, whisk it into 1 tablespoon of water, and add that now. Mix very well. Squeeze a handful of the mixture to see if it holds together yet.Add another 1 to 2 tablespoons of water (1 tablespoon at a time), until the dough is moist, resembles Play-Doh, and holds together. (If using maple syrup you'll need slightly less water.) Form the dough into a ball.
- Place the dough on a large piece of parchment paper (about 14 inches long). Use your palm to gently flatten the dough into a disc.
- With a rolling pin, use firm and steady pressure and slow movements to roll the dough into an even circle. If the dough sticks to the rolling pin, sprinkle almond flour on top. Hold the removable bottom of the tart pan above the dough to determine whether it's large enough.
- If using a circle of parchment for the bottom of the pan, lay the parchment on the rolled out dough and place the removable bottom of the pan on top of the parchment. Pick the whole thing up, holding it underneath with your non-dominant hand. Slice your other arm through the ring of the tart pan, then flip the dough over so that now the removable bottom is resting on your dominant hand. Slowly peel away the large piece of parchment, and lower the dough into the ring. Without stretching the dough, use your fingers to gently press it into the corners of the pan. Patch any holes or tears with excess dough from the edges.
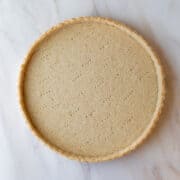
- Trim and neaten the edges of the crust. Use a fork to poke vent holes in the bottom of the crust.
- Bake for 22 to 25 minutes. When done, the very center of the crust may feel slightly soft, but it will crisp up as it cools. It's important not to overbake this crust so that it doesn't crack or become hard. Allow to cool and proceed with your tart recipe.To use with tarts that will be baked, pre-bake for just 5 to 10 minutes, depending on the final recipe.
Notes
Scaling for Other Pan Sizes
I did a few calculations for you. Bake time will be similar for a 10-inch pan but reduced by several minutes for smaller pans. If using a kitchen scale (highly recommended), simply click on "Metric" above. Divide the ingredient amounts by the number listed in parenthesis below, and jot down the new weight of each ingredient. For example, the surface area of a 10-inch pan is 79 inches. The surface area of an 11-inch pan is 95. 95 ÷ 79 = 1.2 Divide each ingredient by 1.2 to determine amounts needed for a 10-inch pan. Cup measurements listed below. For a 10-inch Tart Pan (original ingredient amounts divided by 1.2):- scant 1 ⅔ cups almond flour
- ⅓ cup plus 1 tablespoon tapioca flour
- scant ¼ cup white rice or other flour
- 1 ⅔ tablespoon sugar
- scant ¼ teaspoon fine sea salt
- 4 to 6 tablespoon water
- 1 ⅓ cups almond flour
- ⅓ cup tapioca flour
- 2 ½ tablespoons rice flour
- 1 ⅓ tablespoon sugar
- scant ¼ teaspoon fine sea salt
- 3 ⅓ tablespoons to 4 ⅔ tablespoons water
- slightly rounded 1 cup almond flour
- rounded ¼ cup tapioca flour
- 2 tablespoons rice flour
- 1 tablespoon sugar
- ⅛ teaspoon fine sea salt
- 2 ½ to 3 ½ tablespoons water
Tips & Troubleshooting:
- If the dough sticks to the rolling pin, sprinkle a little almond flour on top of the dough. Another option is to place a second piece of parchment paper on top then remove it after rolling.
- If you realize the dough is too crumbly once you start rolling it out, return it to the bowl and mix in 1 more tablespoon of water. *Remember, you don't have to worry about over-mixing it because we're not dealing with gluten. So really get in there with your hand, and distribute the water throughout.
Storage:
Dough can be made in advance. Form into a ball and cover completely with plastic wrap to maintain moisture. Store in the refrigerator for up to 3 days. The dough can also be frozen. Thaw overnight in the refrigerator before rolling out. Can be baked a day in advance (perfect for the holidays). I find that the consistency of almond flour crusts actually holds up better than traditional flour crusts.Estimated Nutrition (per serving)
Nutrition information is an estimate and will vary depending on the exact amounts and specific products and ingredients used.

Heather says
This was great and very easy to make!
Chiwah says
I love this recipe! It makes a nice crisp tart shell with rice flour, and I made it with oat flour (no sweetener) and rolled it thin for a 9-inch two-crust mock-beef-and-veggie pie. This is the first time I've made an almond flour crust I could roll out; all the ones I've used over the years require patting them into the pan.
Tanya says
I made this pie crust for an apple strawberry and rhubarb pie . It was so quick and easy and came out beautifully, not too hard like other gluten free crusts I’d previously tried . Definitely my go to pie crust from now on !!
Katerina says
Hey there! Just want to add a little comment to the almond flour substitute: I tried with finely ground cashews - just ground them in vitamix and then added all other ingredients into the blender as well, so it all combined really well and made for a crumbly dough. It was the best pie crust I have ever had - so crispy, while moist and nutty. But sure, it is not for those asking for a nut-free option. I also once used millet and a little bit of amaranth instead of rice (all milled in a grain mill) - it was just another variety and gave it lovely smell and even more nutty taste...
Lori says
Those are great ideas. Thanks for sharing, Katerina! I love the idea of an amaranth crust. Will have to experiment with that!
Connie Buckley says
Have you found a nut free substitute for the almond flour that will work for this recipe? Thank you.
Lori says
Hi Connie,
I'm editing my comment to share this nut-free crust recipe: https://myquietkitchen.com/healthy-pie-crust-nut-free/
Also, if you're not looking for gluten-free, Rosa over at This Healthy Kitchen has an oil-free whole-wheat crust recipe you may want to check out. I'm not sure how it would hold up with the lemon filling since I haven't tried it, but it's worth a shot! https://thishealthykitchen.com/whole-wheat-pie-crust/
Heather says
Do you think this would work with pecan or walnut flour?
Lori Rasmussen says
Good question! They would definitely be delicious, but I suspect the crust would be more fragile.