
Imagine a healthy pie crust made without butter or oil, that's vegan, gluten-free, and free from all other top allergens! Inspired by this popular healthy pie crust recipe, sunflower seeds replace the almond flour for a crisp and easy WFPB, nut-free vegan pie crust! Sunflower seeds are budget-friendly, easy to find, nutritious, and lend a deliciously nutty flavor.
Since sharing this almond flour pie crust, it has been one of the most popular recipes on the blog. What makes it unique is that it's not only vegan and gluten-free but oil-free, too.
Everything about that recipe is great, unless you're allergic to almonds. So I set out to create a nut-free version, and after many tests finally succeeded!
This recipe is just as easy as the other one and even more affordable since it's made with raw sunflower seeds.
It isn't as neutral in flavor as the almond flour pie crust, but we really enjoyed the naturally nutty flavor of the sunflower seeds. It's a flavor that will pair well with pretty much any pie filling!
One thing to note, if you're starting with whole seeds you'll need a high-speed blender or an electric coffee grinder to make sunflower seed flour. Otherwise, "sun flour" is becoming more popular and can easily be ordered online. Although, it's definitely more expensive than making it yourself.
Jump to:
Ingredients
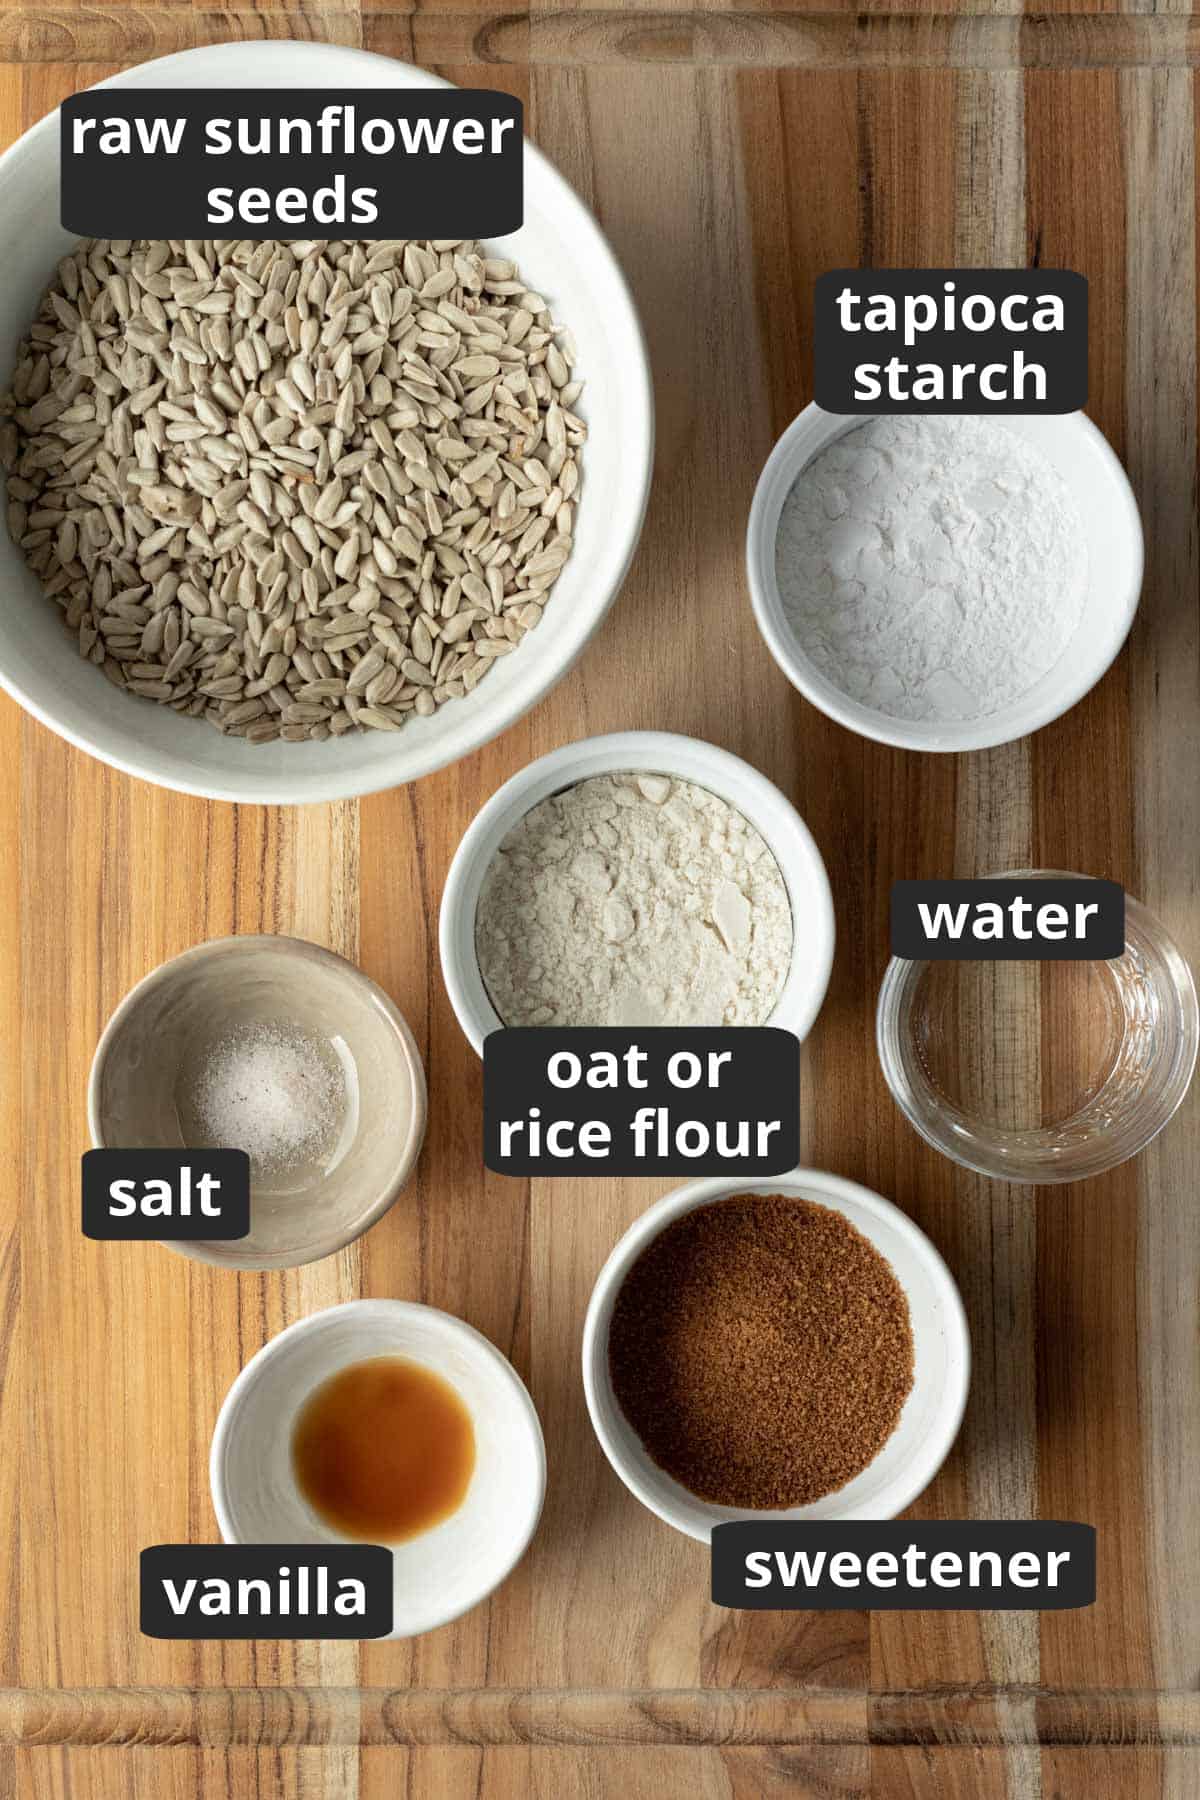
- raw sunflower seeds - look for raw, hulled sunflower seeds. You might find them in the grocery store bulk bins or pre-packaged.
- brown rice flour or oat flour - so far these are the only two I've tested, but I suspect other flours will work.
- tapioca starch - this works as a binder. If you're not familiar with tapioca starch, it's a versatile ingredient to have in the pantry and is especially great for making homemade vegan cheese sauces.
- sugar - I've tested regular organic cane sugar and coconut sugar. Other granulated sweeteners should also be fine.
See recipe card below for quantities and full instructions.
Instructions
As promised, this pie crust is ridiculously easy to make! If you mess up while rolling it out or decide it needs a touch more water, you can literally just ball it up and start again.
You can also patch and repair as needed by simply tearing off pieces of excess dough from another area. Just like the other recipe, this is about as "no-fail" as pie crust gets!
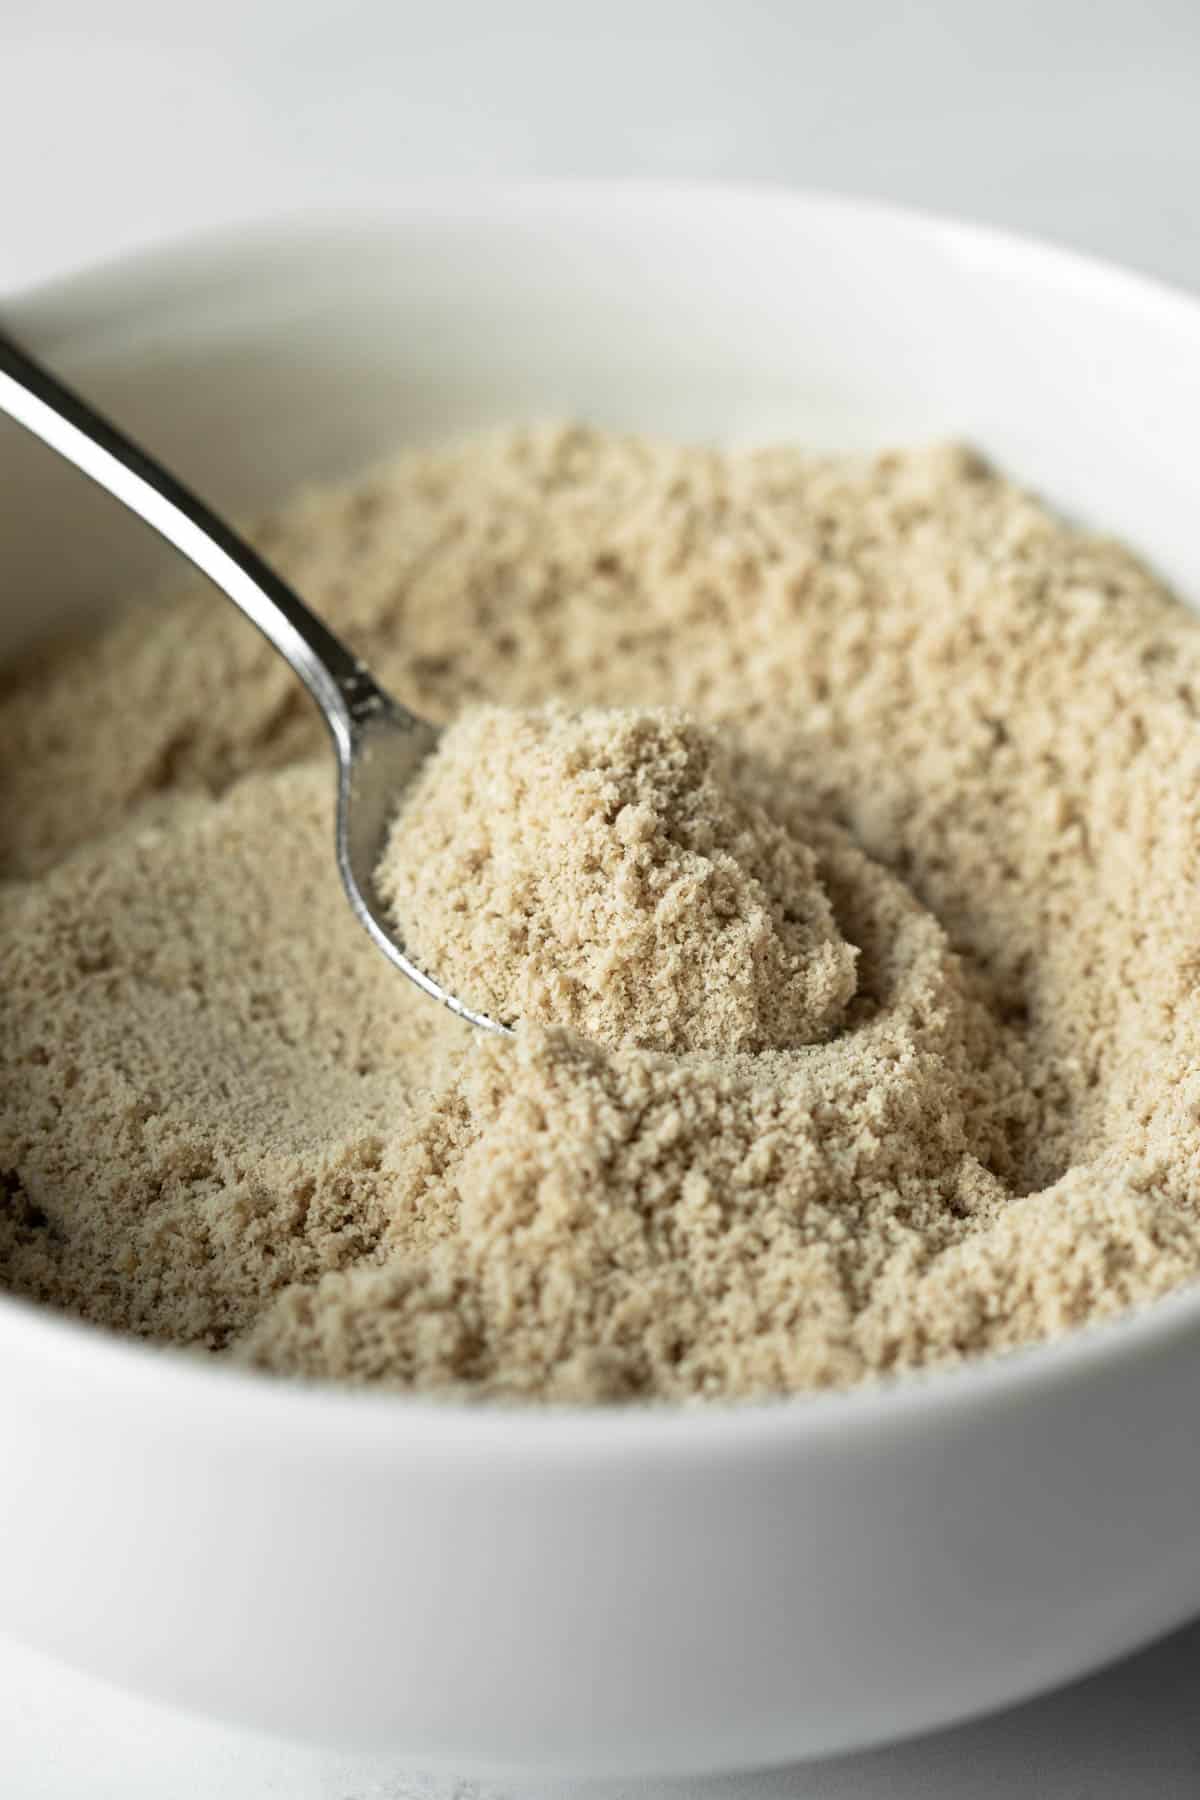
Unless you're starting with sunflower seed flour, you'll first need to process the sunflower seeds. A high-speed blender is the easiest and most dependable way and literally only takes a few seconds.
An electric coffee grinder works, too, though you'll need to work in batches.
In my Vitamix it takes about 7 or 8 seconds at high speed to turn 1 ⅓ cups of seeds into the finely ground flour you see above. Amazing, right?!
Recipes like this are why my 10-year-old Vitamix has more than paid for itself. Okay, now that we have seed flour let's make the dough...
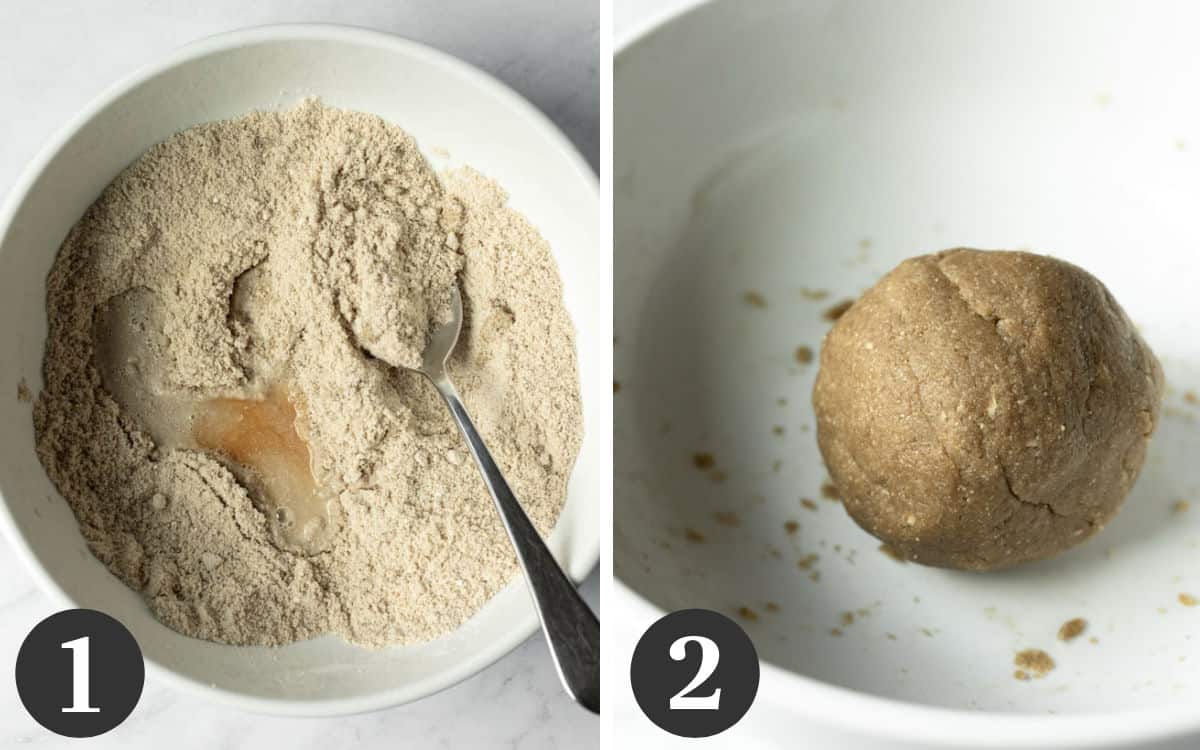
- In a mixing bowl whisk together all of the dry ingredients. Add 3 tablespoons of water and the vanilla, then stir to combine. It will look very dry, but don't add more water yet! Once you've mixed as well as you can with a spoon, use your hands to mix the dough.
- It will be sticky and seem difficult to work with at first, but hang in there! Soon the moisture will disperse and the dough will come together. At this point you may need to add 1 teaspoon of water. Mix again then form into a ball.
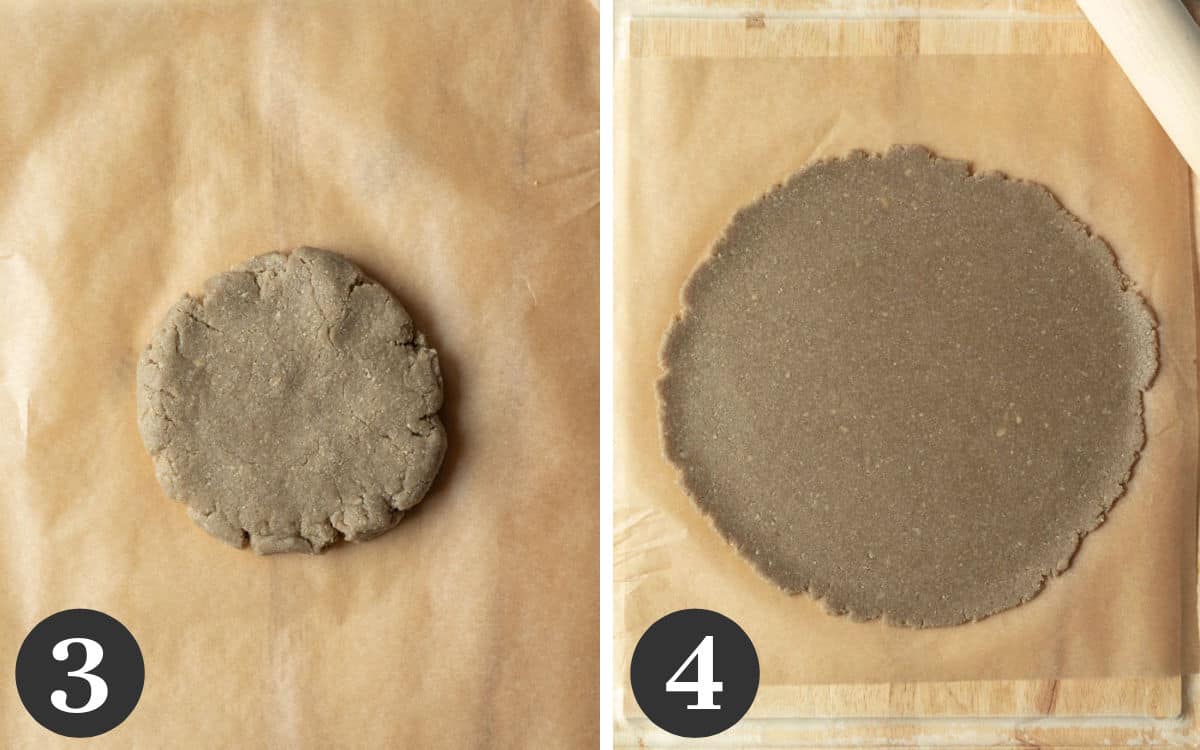
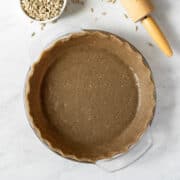
- Place on a large piece of parchment paper and flatten into a disc.
- Use a rolling pin to roll the dough into a circle just larger than the edges of the pie plate.
Tip: the dough shouldn't be crumbly at this stage. If it is, ball it up, put it back in the bowl, add ½ teaspoon water, and mix again with your hands.
Want to save this recipe? 📩
Keep an eye out for more delicious recipes. Unsubscribe anytime.
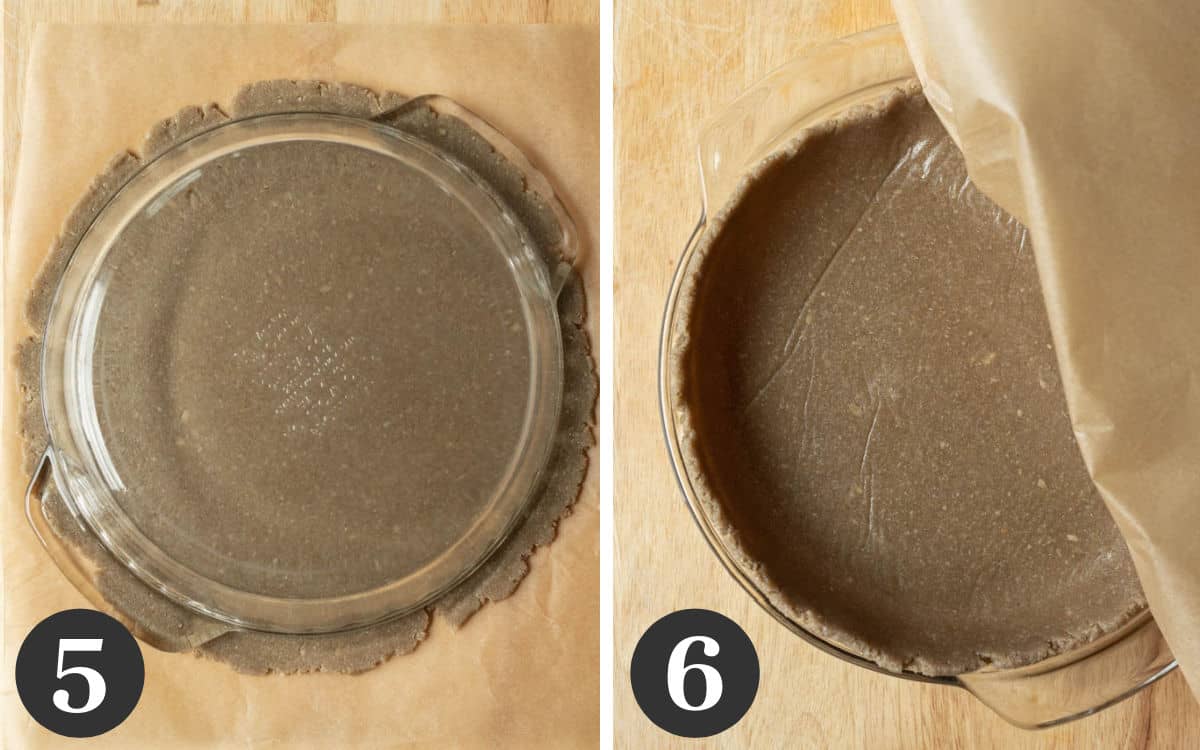
- Roll until the dough extends about ½ to ¾ inch beyond the edges of the pie plate.
- With one hand hold the pie plate aligned above the circle of dough. Slide your other hand underneath the parchment paper. Now flip the whole thing over, and peel away the parchment.
You shouldn't have much, if any, excess dough around the edges, but if you do, either cut it with a knife or tear it off with your hands. It's very soft and easy to work with.
Excess dough can be used to patch areas where the dough is too thin. Decorate the edges of the pie crust as desired. I like to use a simple finger/knuckle crimp (there's a demo photo in the other pie crust post, in case you need guidance).
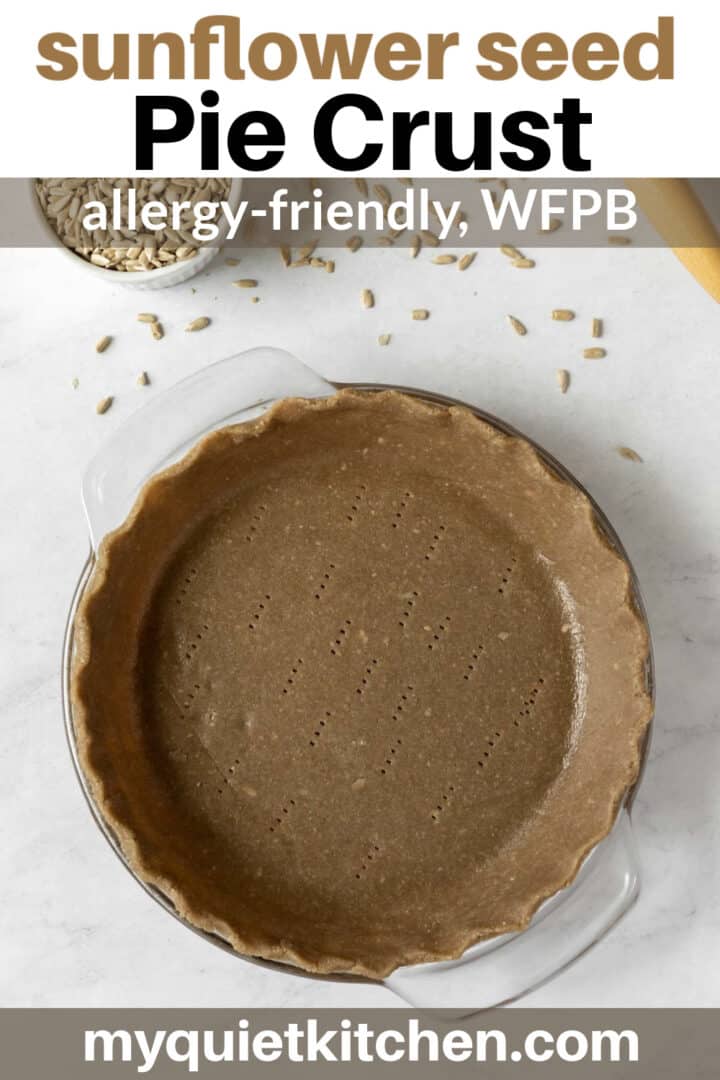
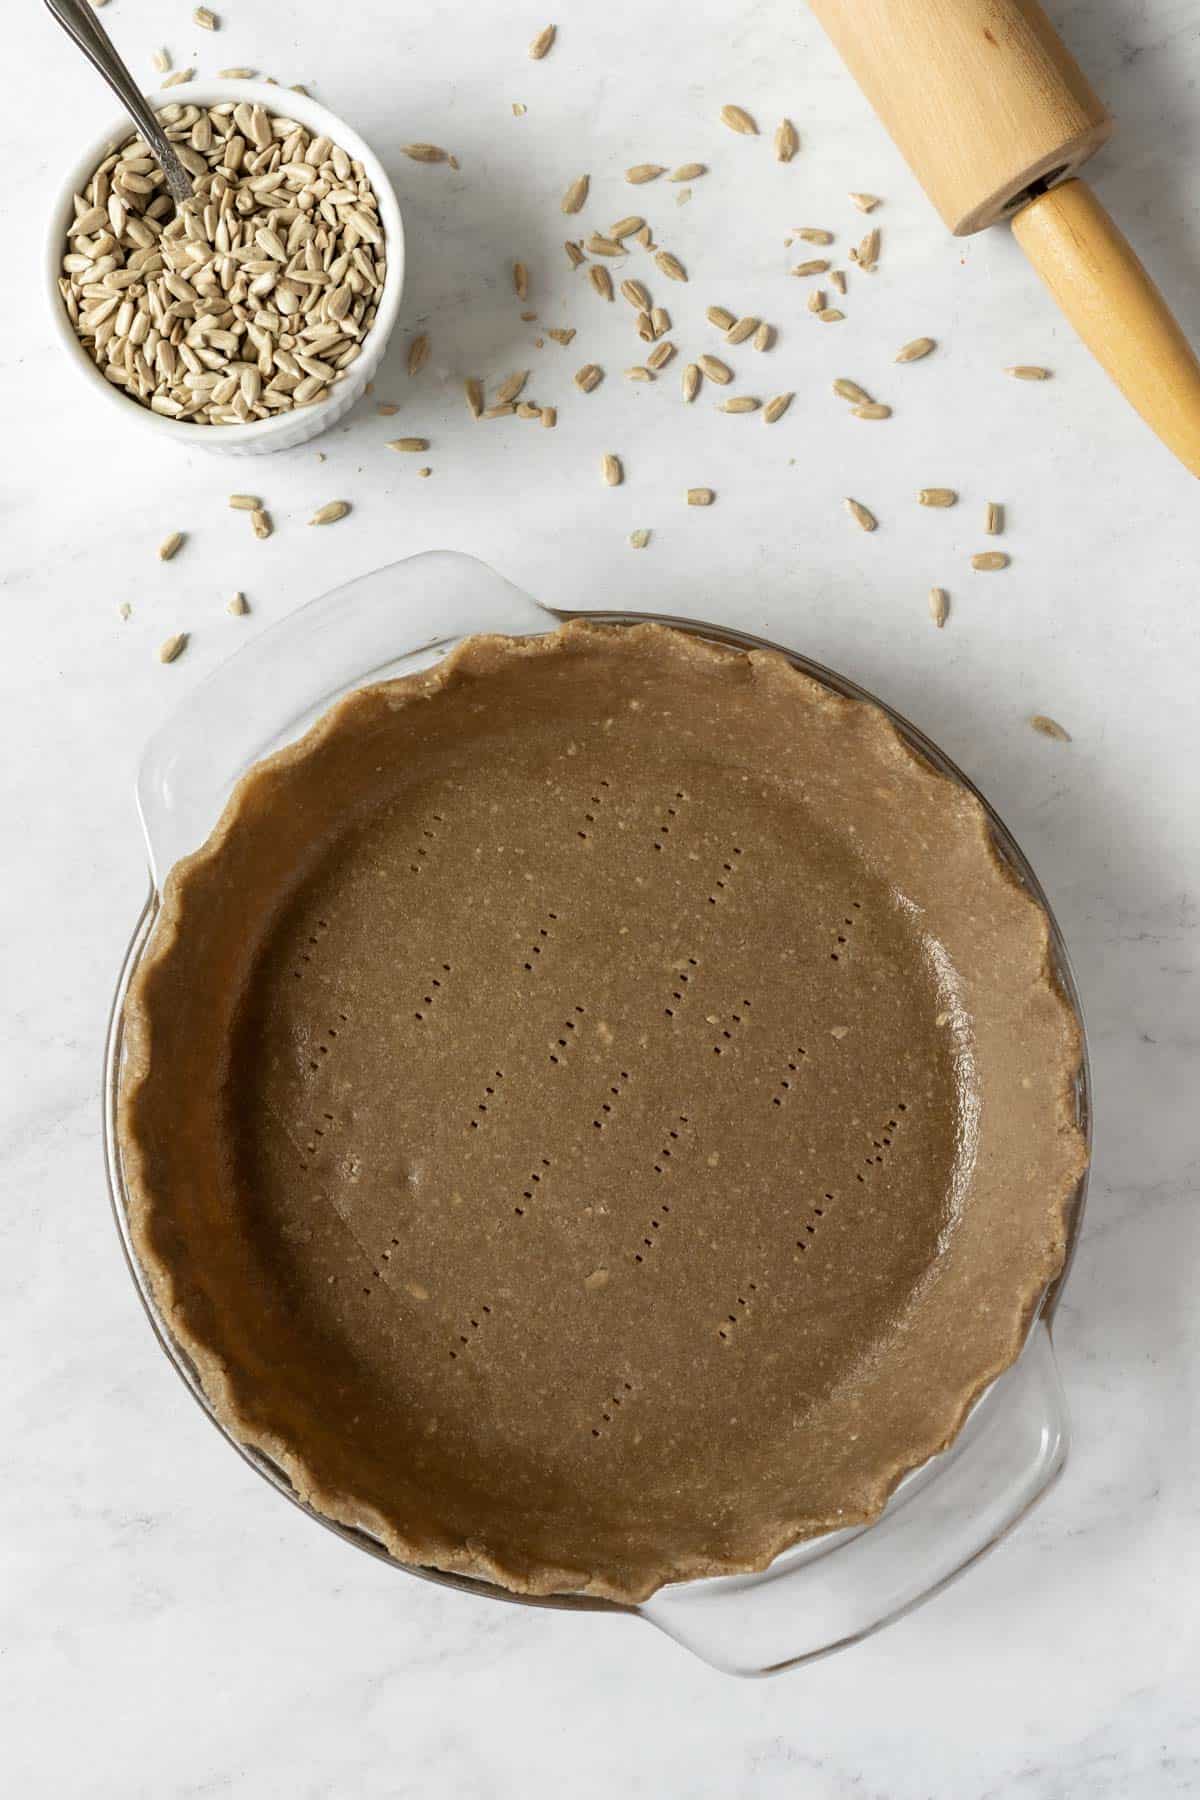
Before baking use a fork to dock the bottom of the crust.
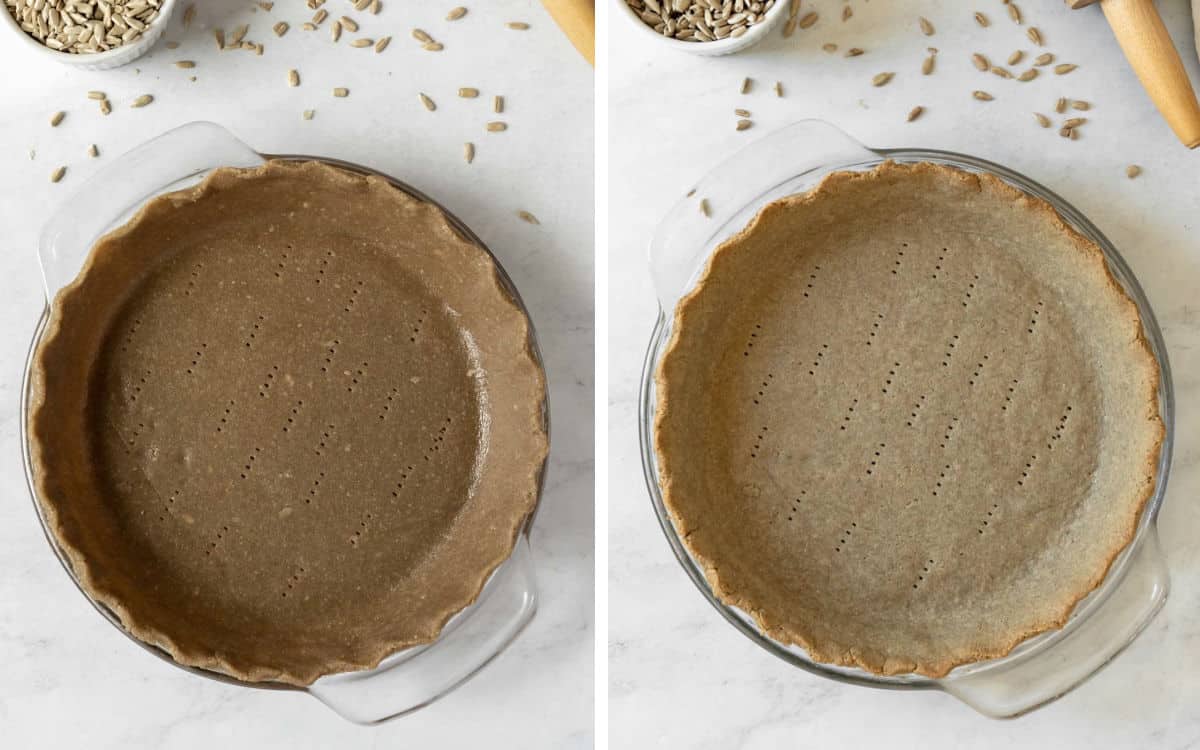
The two photos above give you an idea how the color of the pie crust changes during baking. The photo on the left is unbaked. The photo on the right is fully baked - 25 minutes at 350 degrees F.
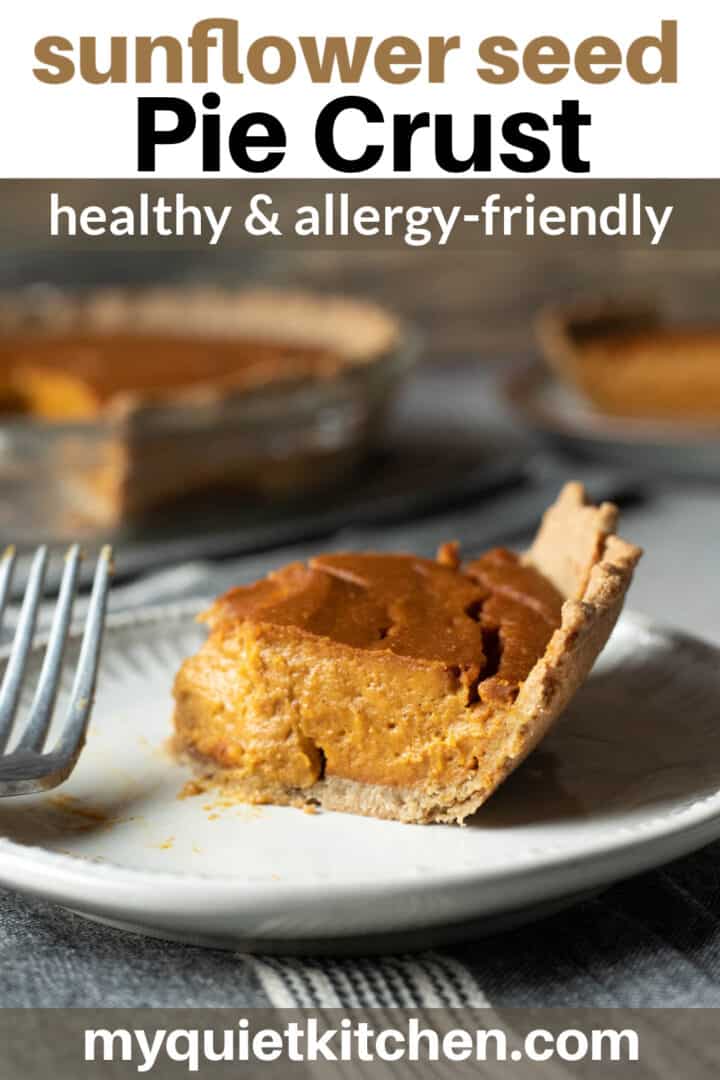
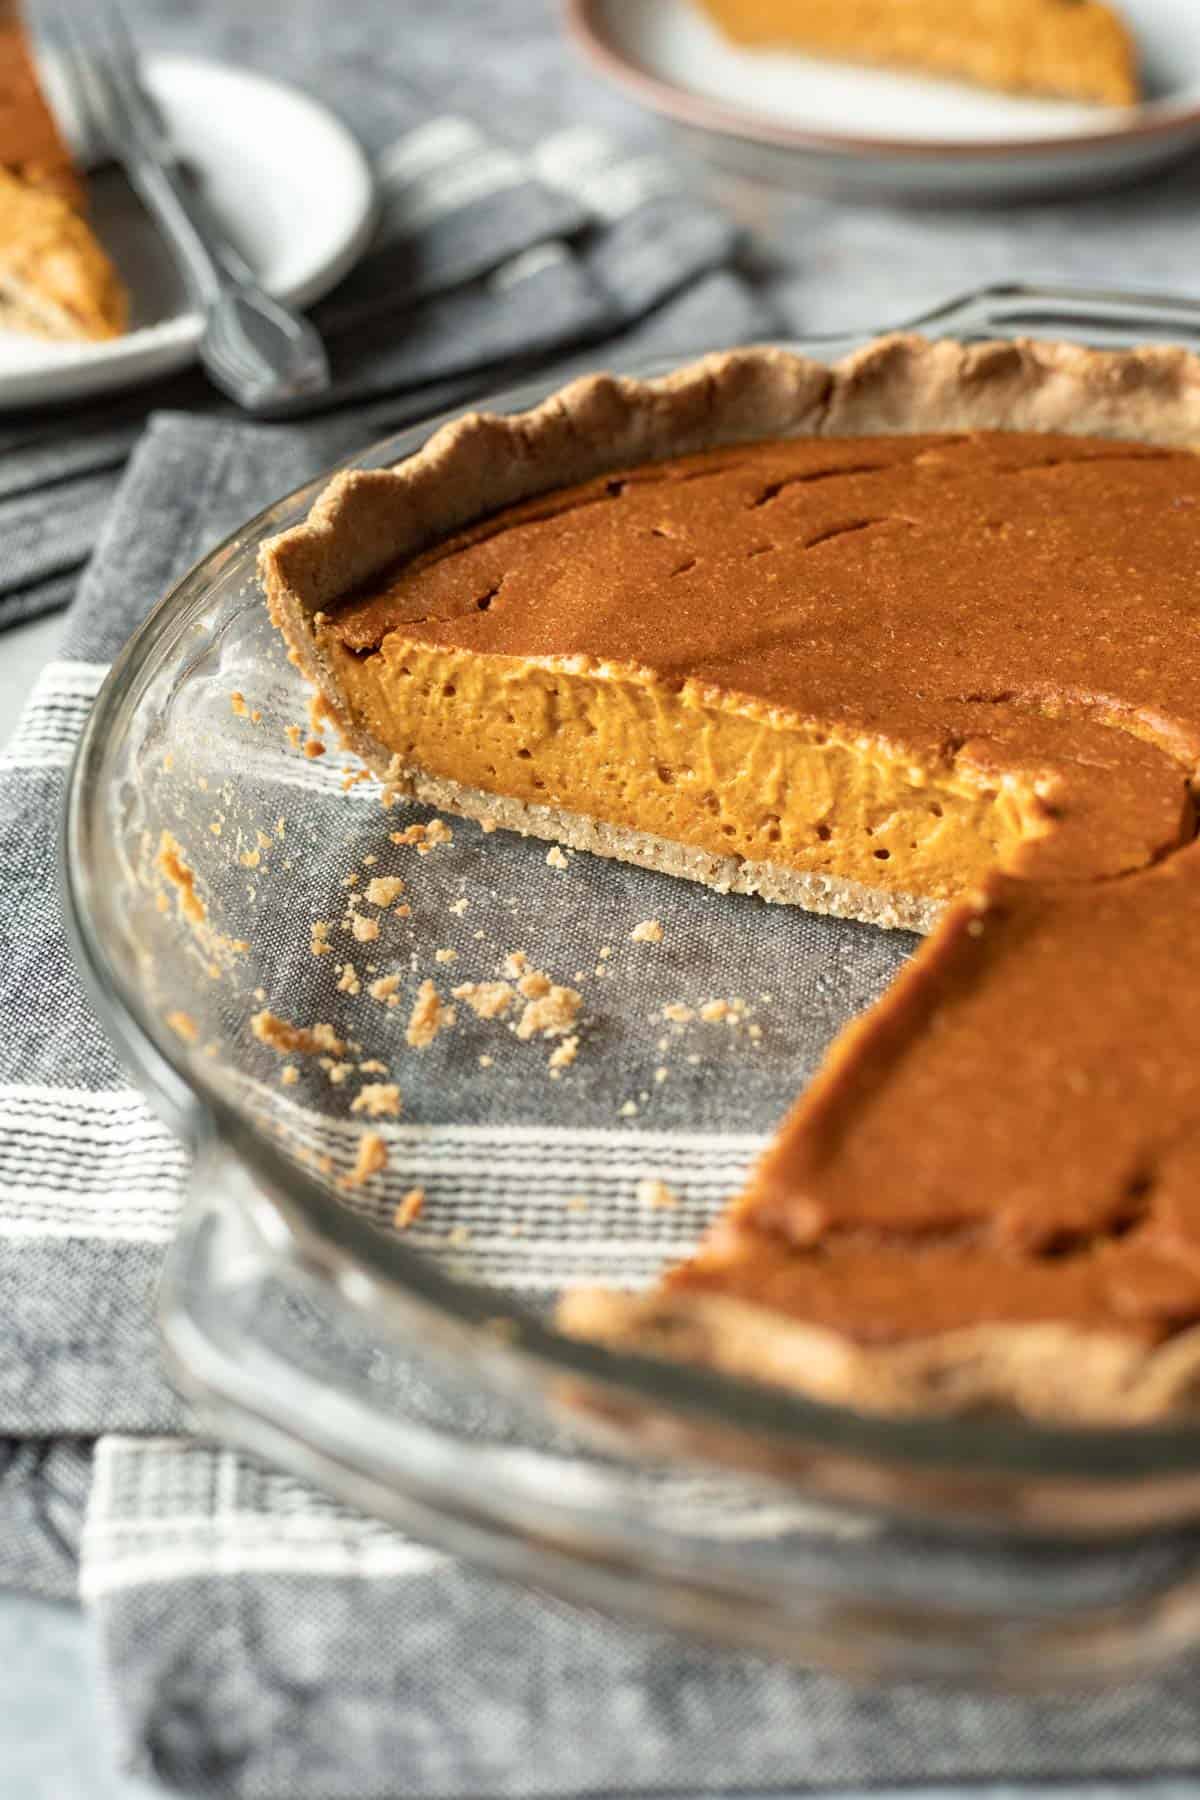
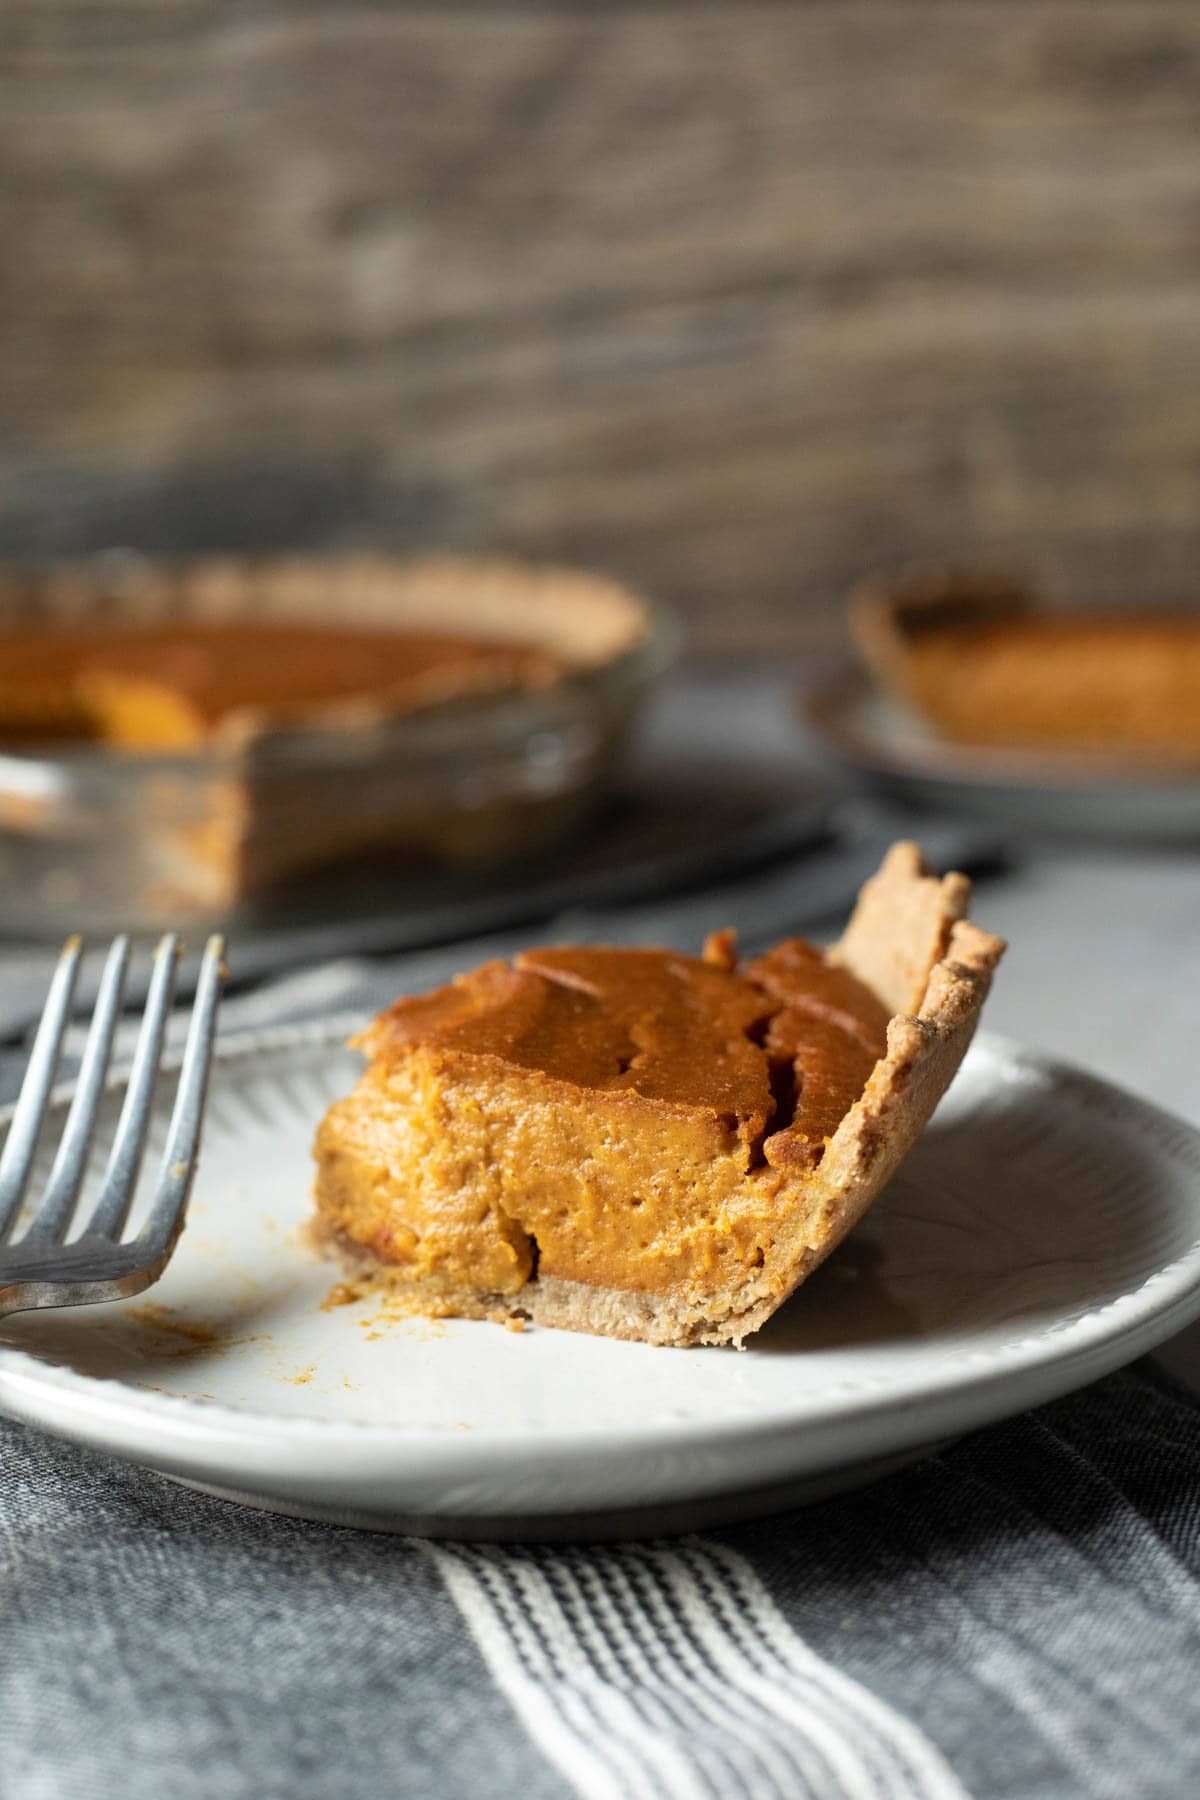
You can also see the finished crust in the two pumpkin pie photos below.
Baking Instructions
For pies with a no-bake filling, bake the pie crust in a fully preheated 350 degree oven for 25 minutes or until crisp and golden. Cool completely before filling.
For baked pies like pumpkin or sweet potato, prebake the crust for 5 minutes before adding the filling.
Equipment Needed
A high-speed blender like a Vitamix comes in handy for turning whole seeds into flour. I don't recommend using a food processor because it doesn't create a flour that's as fine, which affects how well the dough holds together.
You'll also need a standard 9-inch deep dish pie plate (glass or ceramic), a rolling pin, and parchment paper.
FAQs
Yes, it is allergy-friendly. Some people are allergic to sunflower seeds, but it is more rare than with tree nuts. Sunflower seeds are not currently recognized as one of the top food allergens.
Absolutely. Wrap the ball of dough tightly with plastic wrap so that it doesn't dry out. Store in the refrigerator for up to 3 days or freeze for up to 1 month. Thaw overnight in the refrigerator before rolling out.
I didn't use oil during any of my recipe tests and had very minimal issues with the crust sticking to the pie plate. If you'd like to play it safe, lightly oil the dish first.
I hope you enjoy this easy and healthy nut-free pie crust! If you try the recipe let us know in the comments below!


Recipe
Nut-Free Vegan Pie Crust (Allergy-Friendly)
Ingredients
- 1 ⅓ cups raw sunflower seeds (165 g) - this is equal to 1¾ cups sunflower seed flour
- ⅓ cup oat flour or brown rice flour (40 g)
- ¼ cup tapioca starch (30 g)
- ¼ teaspoon fine sea salt
- 2 tablespoons organic cane sugar or coconut sugar - or other granulated sweetener
- 3 to 3½ tablespoons water
- ½ teaspoon vanilla extract
Instructions
- Review Baking Instructions below and preheat the oven if baking now. Note: during recipe testing I did not oil the pie plate and had very minimal issues with sticking (it barely stuck in only 2 or 3 spots). If desired, lightly oil a 9-inch pie plate.
- First, turn the sunflower seeds into flour by placing in a high-speed blender. Starting on low, quickly increase to high speed and blend for just 5 to 6 seconds. Careful - don't blend long or it will turn into sunflower seed butter! Stop to stir and dislodge any flour stuck near the blades. If needed, blend on high for just another 2 to 3 seconds.
- Pour the flour into a mixing bowl, and add the other flour (oat or rice), tapioca starch, salt, and sugar. Whisk to combine.
- Add 3 tablespoons of water and the vanilla. Use a fork or spoon to stir it in. It will seem like not enough water, but don't add more yet. Now it's time to use your hands to mix the dough. It will be sticky, but just keep working it with your hands to distribute the water. See if you can form the dough into a ball. If it still seems a bit crumbly, add just 1 teaspoon water and mix again with your hands. Form into a ball.
- Place the ball of dough on a large piece of parchment paper. Use your palm to gently flatten the dough into a disc.
- With a rolling pin, use firm and steady pressure to roll the dough until it's a bit larger than the pie plate. The dough will be very thin. Tip: the dough shouldn't be crumbly at this stage, but if it is, put it back in the bowl, add just ½ teaspoon of water, mix again with your hands, and roll out again.
- Use one hand to hold the pie plate above the dough. Slide your other hand underneath the parchment. Keeping them lined up, flip both over so the dough is resting in the pie dish. Peel away the parchment. Without stretching the dough, use your fingers to gently press it into the bottom corners of the pie plate.
- You shouldn't have much excess around the edges, but if you do, either cut it with a knife or tear it off with your hands. These pieces can be used to patch areas that look thin. Tidy up and crimp the edges of the pie crust as desired. Use a fork to poke vent holes in the bottom of the crust.
Baking Instructions:
- For pies with a no-bake filling, bake the pie crust in a preheated 350 degree F oven for 25 minutes or until golden around the edges and crisp. Cool before filling.For baked pies, like pumpkin or pecan, pre-bake the crust for 5 minutes then add the filling and bake according to the recipe instructions. The crust will brown slightly but is fine for bake times up to 1 hour. I didn't need to cover the edges of the crust, but if you're concerned about over-baking, cover with foil or a pie shield.
Notes
- If the dough sticks to the rolling pin, place a piece of parchment paper on top.
- If you realize the dough is too crumbly when you start rolling it out, return it to the bowl and mix in an additional ½ teaspoon water. I know that doesn't sound like much, but it will make a huge difference!
- Remember, you don't have to worry about over-mixing the pie dough because we're not dealing with gluten.
Estimated Nutrition (per serving)
Nutrition is an estimate and will vary depending on the exact amounts and ingredients used.
RK says
Me again! I just noticed you have a nut free recipe! Would this be ok for Apple hand pies too? Thank you so much 🙂
Lori Rasmussen says
Hi, I haven't tried this crust with hand pies, but it should work, just like the other one you asked about. The main thing to know is that the dough isn't pliable enough to fold over without cracking. So it's best to cut it into rounds (or another shape), and create the hands pies that way. Here's an example: https://myquietkitchen.com/gluten-free-vegan-hand-pies/
RK says
Ok, noted.
Really appreciate the swift reply - thanks so much 🙂
Ayasa says
My 3 year old daughter loved it:)! ( I made apple pie with this crust)
Fay Jones Day says
I have made pie crust with sunflower seeds before. I only used seeds not the other ingredients. If you grind them more you can just press it into the pie pan.There is no need for the other ingrediants.
Claudia says
other options for the ¼ cup tapioca starch ?
Lori Rasmussen says
None that have been tested, but you could try arrowroot or cornstarch.
Sarah says
Works great in a savory recipe. I followed the recipe, except I omitted the vanilla and then only added 1 tsp of sugar. I didn't omit the sugar completely because sunflower seeds have a slight bitter taste, and this amount of sugar was meant to neutralize that bitterness.
In particular, I used this for a Quiche and it worked great!
Ruth says
Could I substitute coconut flour for the other flour?
Lori says
It's possible you could use coconut flour instead of the oat/rice flour, but without testing it I can't say for sure. Coconut flour tends to behave differently than other flours. I don't think it would bind well enough to also use it in place of the tapioca flour. If you experiment with it let us know!
Robin says
Hi, Quick question is there an option if you are trying to not use sugar?
Lori says
Not one that I've tested, but I suspect a non-caloric granulated sweetener will work, too.
RoseAnne says
You're a good writer, Lori. The instructions are perfect, thank you, and I can't wait to try this!
Lori says
That's so sweet of you, RoseAnne. Thank you!