
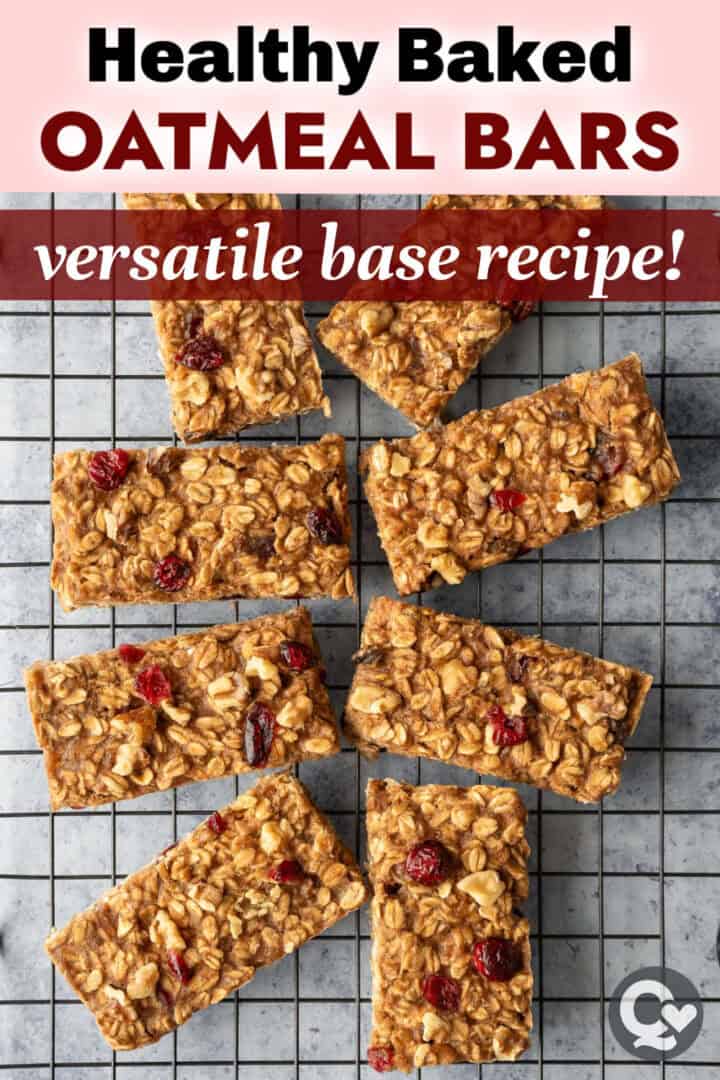
Baked Oatmeal Bars are an easy, meal prep breakfast that also doubles as an afternoon snack. Made with just 10 simple ingredients, they're vegan, easily made gluten-free, lightly sweetened, and very customizable!

Why We Love This Recipe ❤️
One of my favorite things about these baked oatmeal bars is that they're delicious as-is, but this also serves as a great base recipe. After you make it once, you'll see how easily you can customize your oatmeal bars with different spices, extracts, dried fruits, nuts, and seeds.
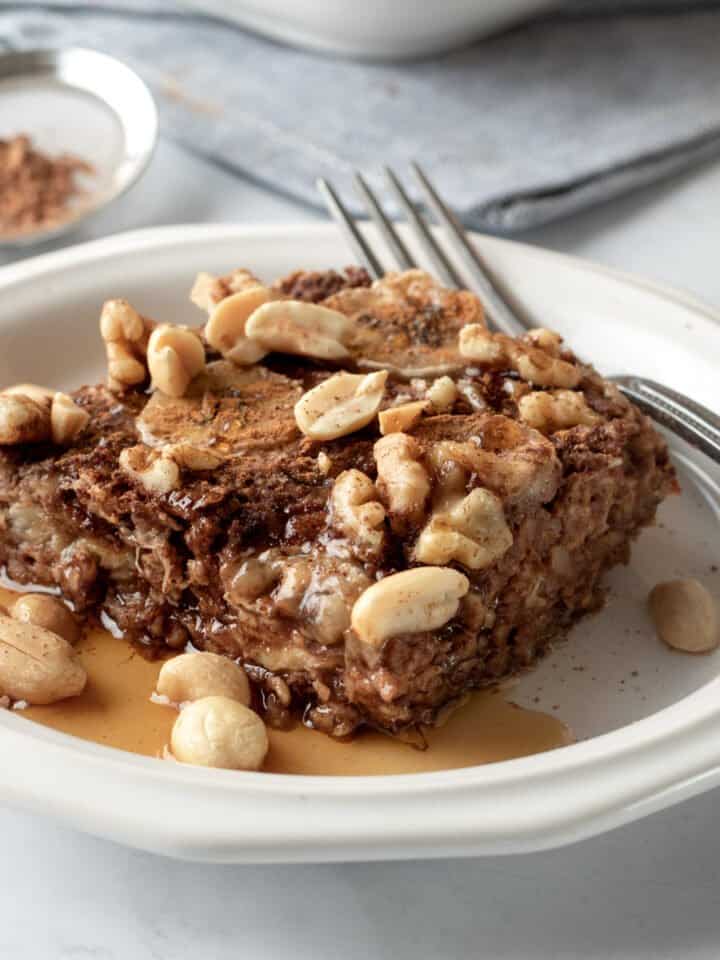
The bars bake up soft but sturdy, slice cleanly, and hold together well for grab-and-go breakfasts or snacks. Think baked oatmeal, but portable, and way more practical on busy mornings!
Homemade oatmeal bars like this often contain eggs for moisture and binding. To keep the bars vegan, I used a combination of silken tofu and mashed banana. I LOVE this combo because you get a little extra protein and natural sweetness.
Substitutions are pretty forgiving, too! If you aren't a fan of banana (or don't have an overripe one on hand), applesauce is a good swap. Sweet potato or pumpkin puree should also work well (mmm, hello, pumpkin spice). And if you don't have silken tofu, non-dairy yogurt is a good sub!
Looking for gluten-free breakfast bars without banana? Try these Buckwheat Breakfast Bars.

Jump to:
How to Make Baked Oatmeal Bars
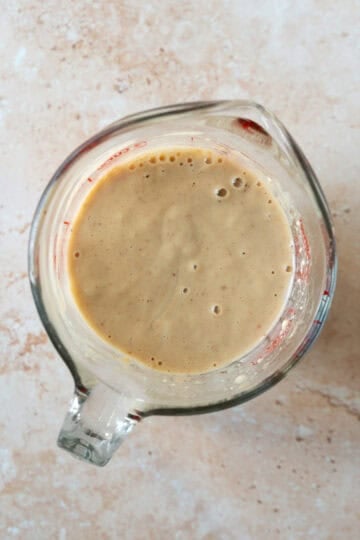
Preheat the oven to 350°F, and line an 8-inch square baking pan with parchment. Mash the banana and measure out ½ cup. Combine it with the other wet ingredients, and blend until smooth. An immersion blender or small, bullet blender comes in handy here.
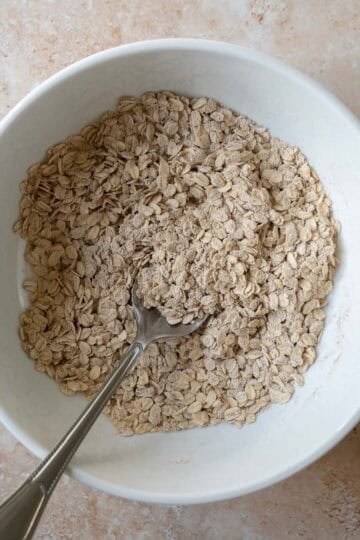
In a large mixing bowl combine the dry ingredients: oats, flour, cinnamon, salt, and baking powder.
Want to save this recipe? 📩
Keep an eye out for more delicious recipes. Unsubscribe anytime.
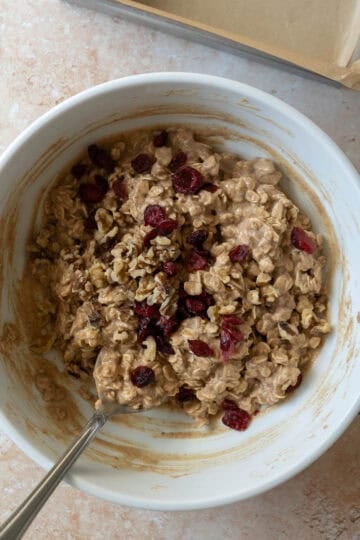
Pour the blended wet ingredients into the oat mixture, and stir until combined. Fold in any mix-ins you're using, like nuts and dried fruit. I like to reserve a small handful of each to sprinkle on top.
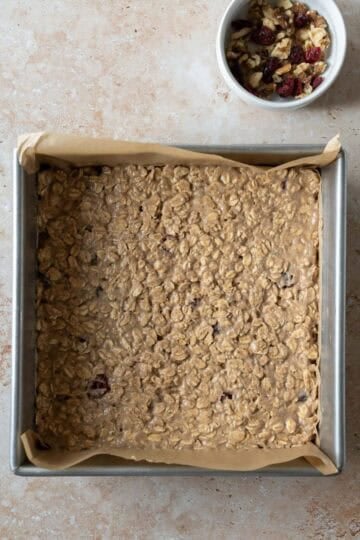
Spread the batter evenly in the prepared pan, and sprinkle the reserved fruit and nuts on top. Lightly press the pieces into the surface. Bake for about 23 minutes or until the center is set.
Tip: Let the bars cool in the pan for 10 minutes, then lift out onto a cooling rack. Letting the bars cool completely before slicing improves the texture and leads to clean edges.
Oatmeal Bar Mix-Ins and Additions
- Dried fruit - A pop of sweet-tart flavor really makes the bars extra delicious! Try raisins, dried cranberries, or chopped dried apricots.
- Chocolate chips - Swap the dried fruit for dairy-free chocolate chips. Drizzle melted chocolate on top of the bars after they cool.
- Nuts - Walnuts and pecans are my go-tos. Pistachios, sliced almonds, or peanuts are also fun.
- Coconut - Take the flavor in a totally different direction by omitting the cinnamon and folding in unsweetened shredded coconut. Pair it with chocolate and pecans for a "Hello Dolly" bar vibe, or almonds and chocolate like an Almond Joy. Add a drizzle of melted coconut butter on top for extra decadence!
- Extra fiber - Add a tablespoon of ground flaxseeds, chia seeds, or psyllium husk.
You can also change up the flavor with extracts, citrus zest, spices, and freeze-dried powders. For example:
- chocolate chips with orange zest
- lemon zest and blueberries
- pumpkin spice or garam masala with orange zest
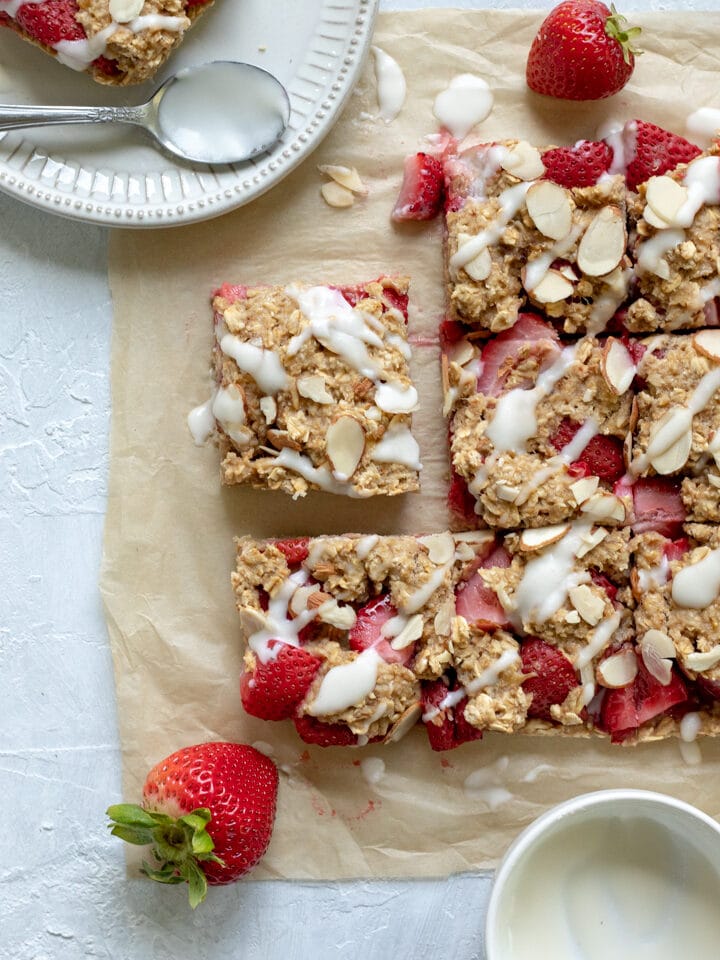
- almond extract with powdered freeze-dried strawberries
How to Store Oatmeal Bars
- Room temp - Once the bars are completely cool, store in an airtight container at room temperature for up to 3 days.
- Refrigerator: For a slightly longer shelf life, store them in the fridge for up to 1 week.
- Freezer: Once cool, place in a freezer‑safe bag or container. The bars will keep for about 2 months. Thaw overnight in the fridge or give them about 15 seconds in the microwave for a quick breakfast or snack!
FAQs
Yes, you can make these breakfast bars with a 1:1 gluten-free flour blend. Also be sure to use certified gluten-free oats, since regular oats can be cross-contaminated during processing.
Just a teeny bit. The banana adds moisture and helps bind the bars, but the flavor is subtle. Once baked, the banana taste fades into the background and mostly lets the cinnamon and other add-ins shine.
I haven't tested the recipe with quick oats but it should work.
Quick oats absorb liquid more quickly than regular rolled oats. So you may notice the mixture looks thicker sooner. If it seems overly thick, you can add a tablespoon of non-dairy milk or a bit more banana. The texture of the bars will be slightly softer and less chewy, but they should still hold together well.
I hope you enjoy these versatile and wholesome oatmeal bars as much as we do. Let me know if you give them a try!
Recipe

Baked Oatmeal Bars
Equipment
Ingredients
- 2¼ cups rolled oats
- ⅓ cup whole wheat pastry flour - or all purpose, regular or GF
- 2 teaspoons ground cinnamon
- 1 teaspoon baking powder
- ½ teaspoon fine sea salt
- ¾ cup silken tofu
- ½ cup mashed overripe banana - see Notes for sub
- ¼ cup smooth nut butter - such as peanut or almond
- ¼ cup maple syrup - for sweeter bars, add 2 tablespoon granulated sugar
- 1½ teaspoons vanilla extract
Additions:
- ⅓ cup chopped walnuts or pecans
- ⅓ cup dried fruit such as raisins or cranberries - or chocolate chips
Instructions
- Preheat the oven to 350°F and line an 8×8-inch baking pan with parchment paper.
- In a small bowl, mash the banana and measure to make sure you have ½ cup. Blend the banana with the silken tofu, nut butter, maple syrup, and vanilla until smooth. A small blender or immersion blender works well.
- In a mixing bowl, stir together the rolled oats, flour, cinnamon, baking powder, and salt. Fold in any mix-ins, such as chopped nuts or dried fruit, reserving a small handful to sprinkle on top.
- Transfer the batter to the prepared pan and spread evenly. Sprinkle additional nuts or fruit on top, lightly pressing them into the surface. Bake for 22-25 minutes, or until a toothpick inserted in the center comes out clean. Let cool in the pan for 10 minutes, then move to a cooling rack. Cool completely before cutting into 8 bars.
Notes
Estimated Nutrition (per serving)
Nutrition information is an estimate and will vary depending on the exact amounts and specific products and ingredients used.
Riley says
I love these bars! They are so easy and so good. I made two batches back to back, and we have been eating them for breakfast and as a post-workout snack. Thanks for another winning recipe!
Marcie says
Notes after making this recipe: 3/4 c of silken tofu is 6 - 6-1/2 oz. ( The box of Mori-Nu is about 1-1/4 c. ) While the small mixing bowl (of the 3-bowl set) is adequate, the medium bowl would have been better. Applesauce works just fine. I used sorghum flour in place of pastry flour and it was fine, too. 2T flax meal, 1/2 c walnut pieces and 1/2 c raisins were also added.
Mary says
Do you think I could use oat flour instead of all purpose or gf?
Lori Rasmussen says
Hi Mary, yes, oat flour will definitely work. The bars will just be a bit more fragile.