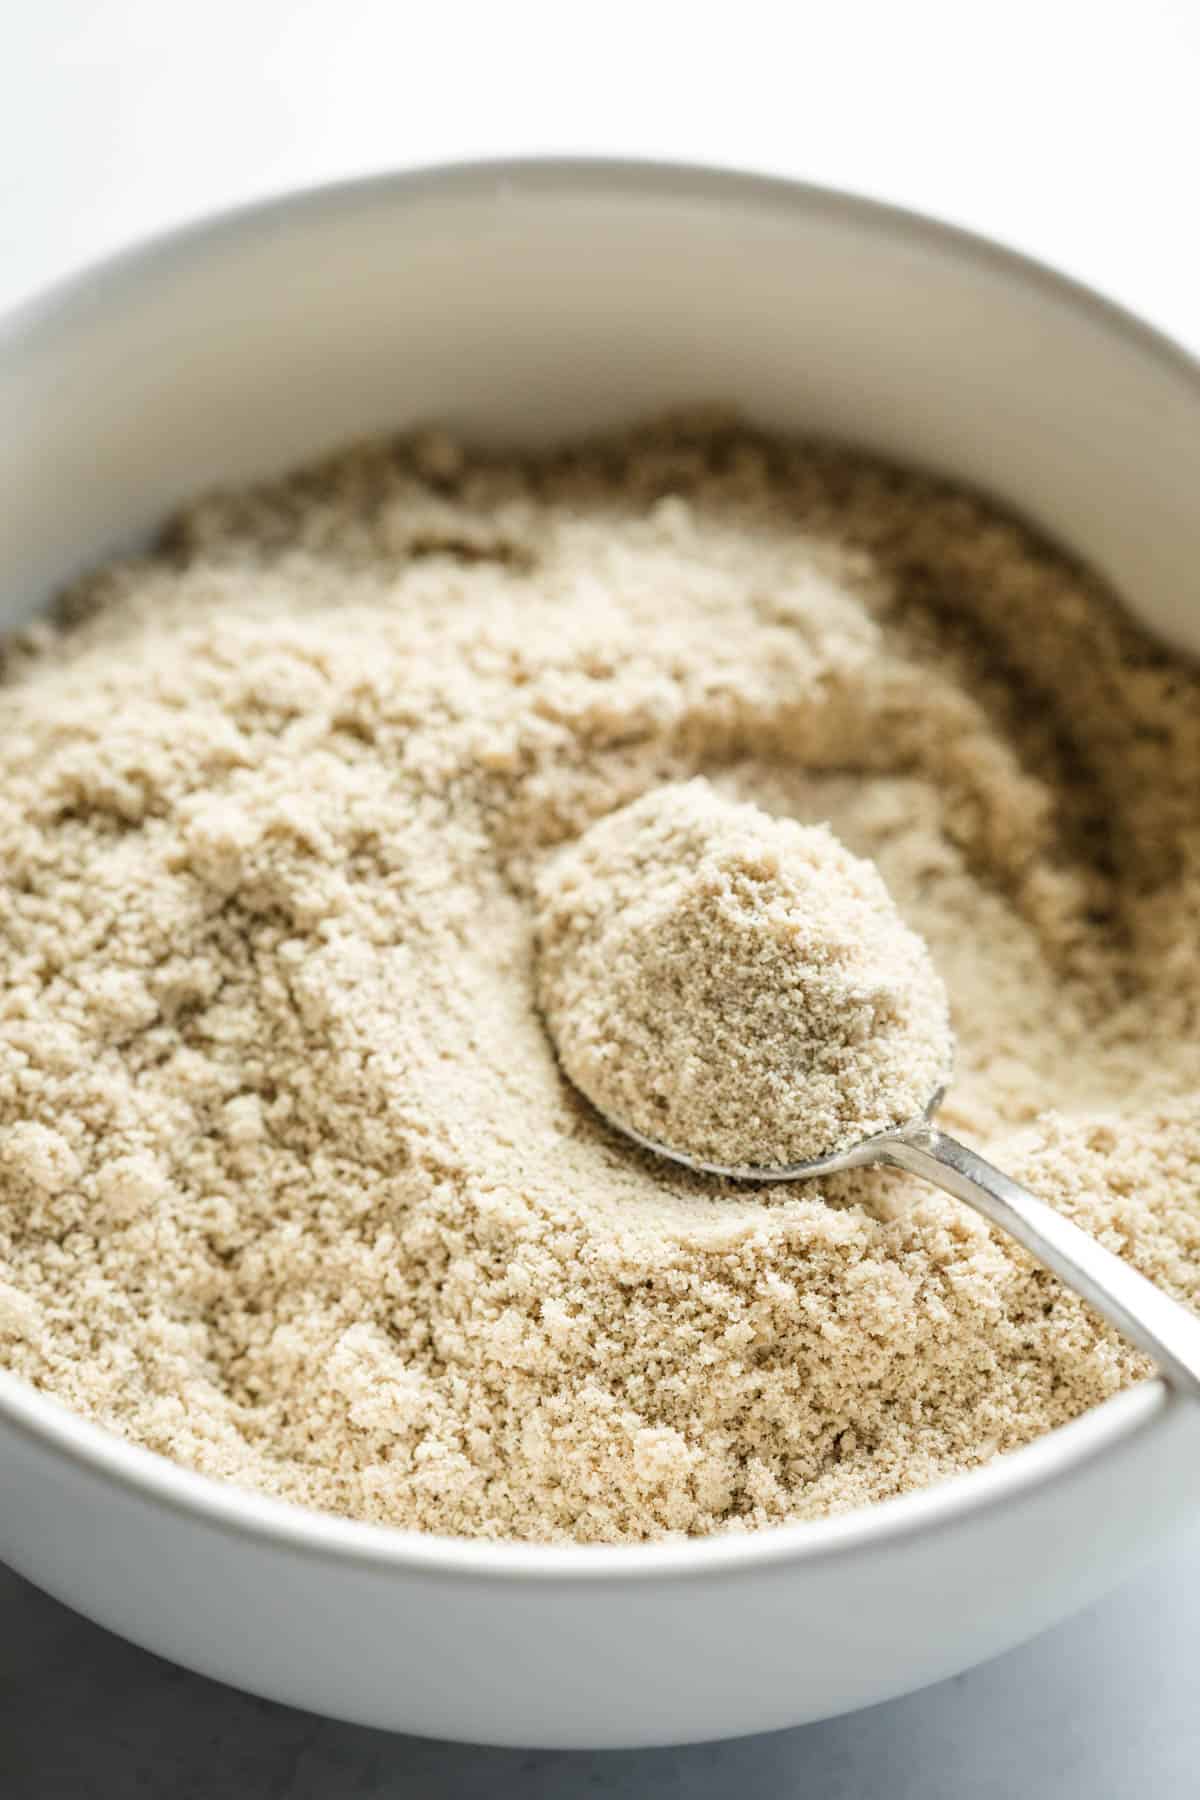
Sunflower seed flour, or "sun flour," is an easy and affordable gluten-free flour you can make at home in minutes! Use it as a nut-free substitute for almond flour in everything from cookies and breads to brownies and pie crust. It's allergy-friendly, vegan, gluten-free, and grain-free.
What is sunflower seed flour?
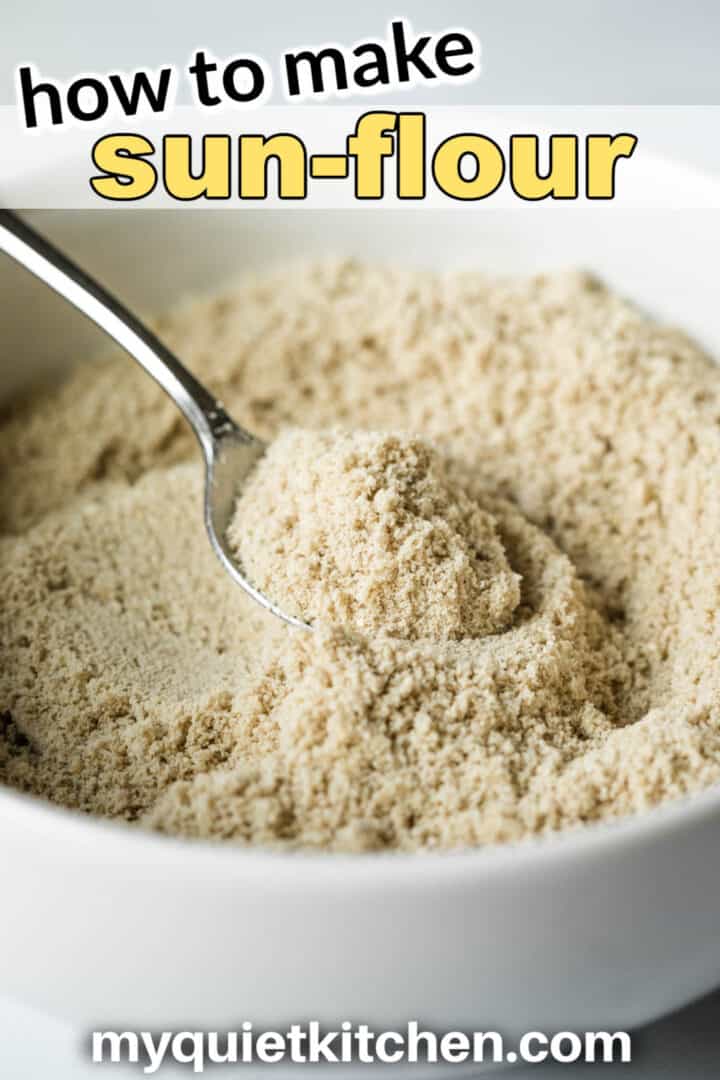
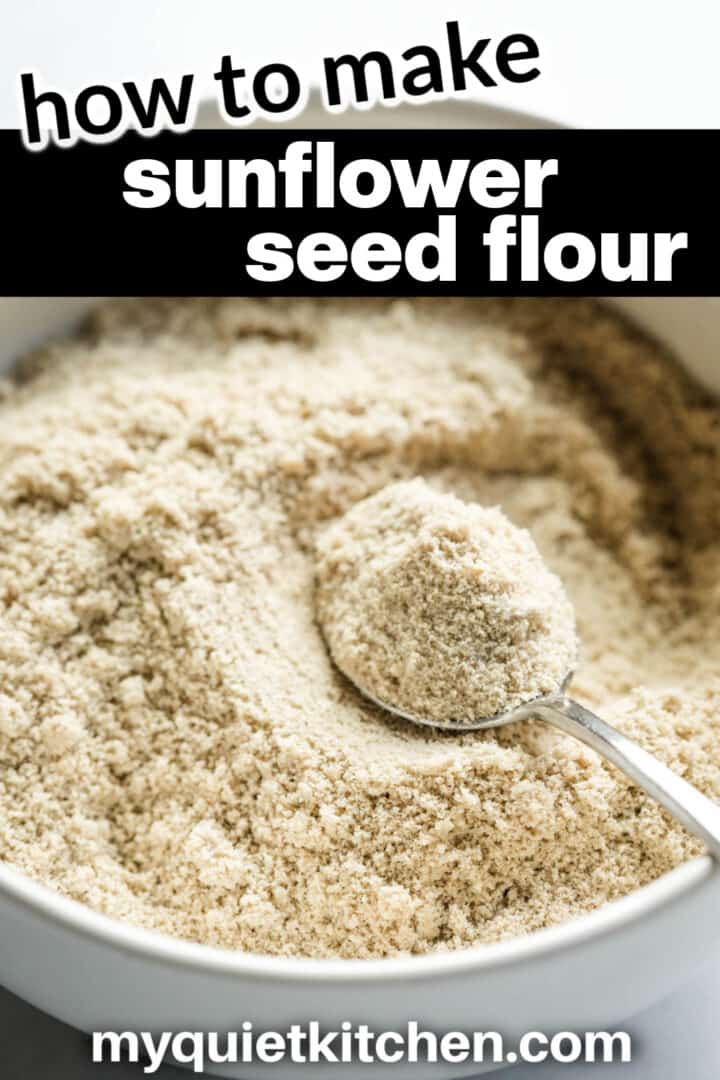
As the name implies, sunflower seed flour is nothing more than hulled, raw sunflower seeds that have been blended into a fine flour consistency.
You're probably familiar with almond flour, which has become very popular in recent years thanks to its nutrition profile and naturally buttery and rich flavor. Of course, one problem with almond flour is that some people are allergic to tree nuts or almonds specifically.
Sunflower seed flour offers an easy alternative to almond flour and can be used in recipes like allergy-friendly pie crust and vegan gluten-free brownies. As a bonus, raw sunflower seeds are easy to find in most grocery stores and more affordable than almonds.
There are a few commercial sunflower seed flours available now, but you'll pay a premium for these products. And they aren't special in any way or different than what you can easily make at home.
Jump to:
What You'll Need
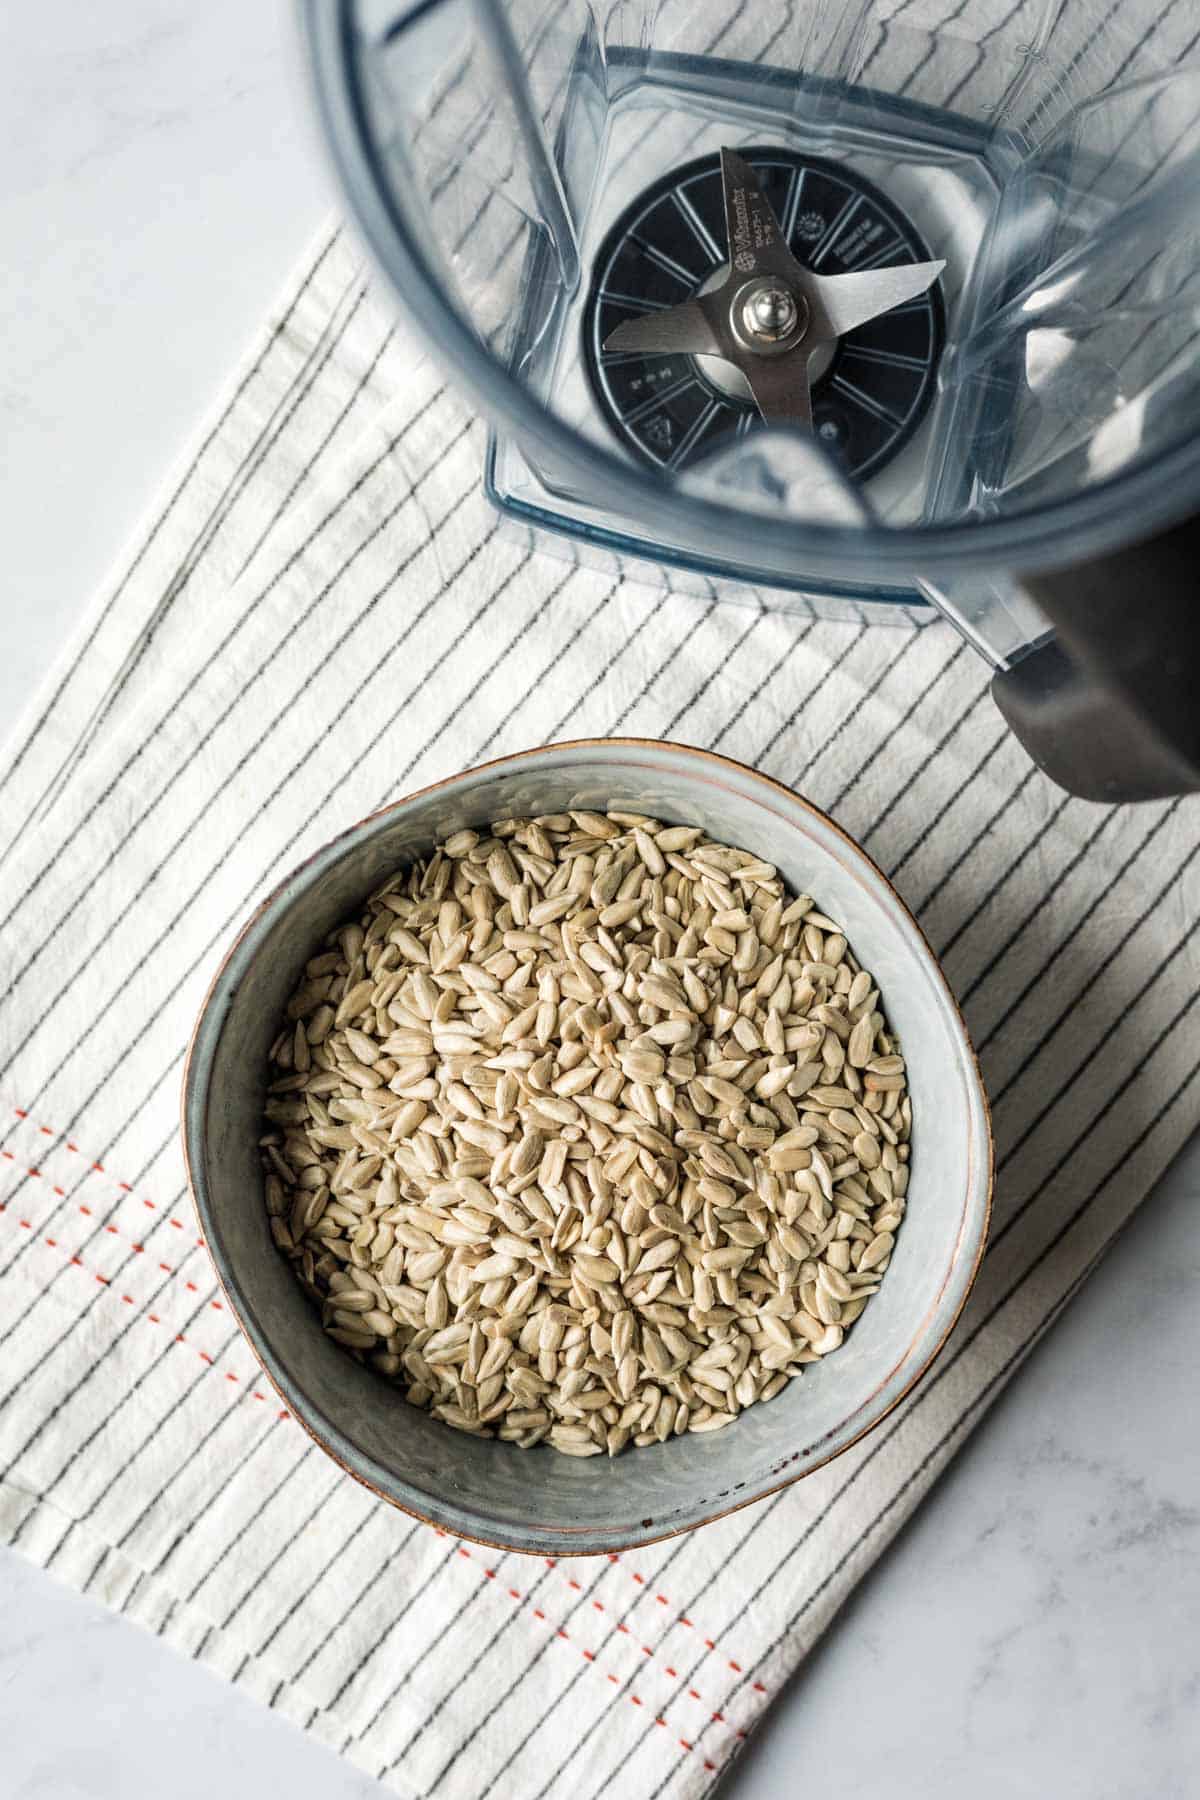
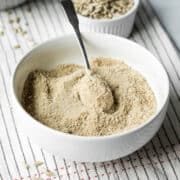
- raw sunflower seeds - look for raw, hulled sunflower seeds (pictured above). Depending on the store, you might find them in the bulk bins or on the nut aisle. You can also order raw sunflower seeds online.
- a blender or a coffee grinder - a high-speed blender like a Vitamix will do the best job of uniformly processing the seeds into a fine texture. If using a regular blender or a coffee grinder, you may need to sort through the flour after blending to pick out larger pieces. Those bits can be blended again until fine.
I also tried making sun flour in a food processor, but it didn't work as well as the blender.
How to Make Sunflower Seed Flour
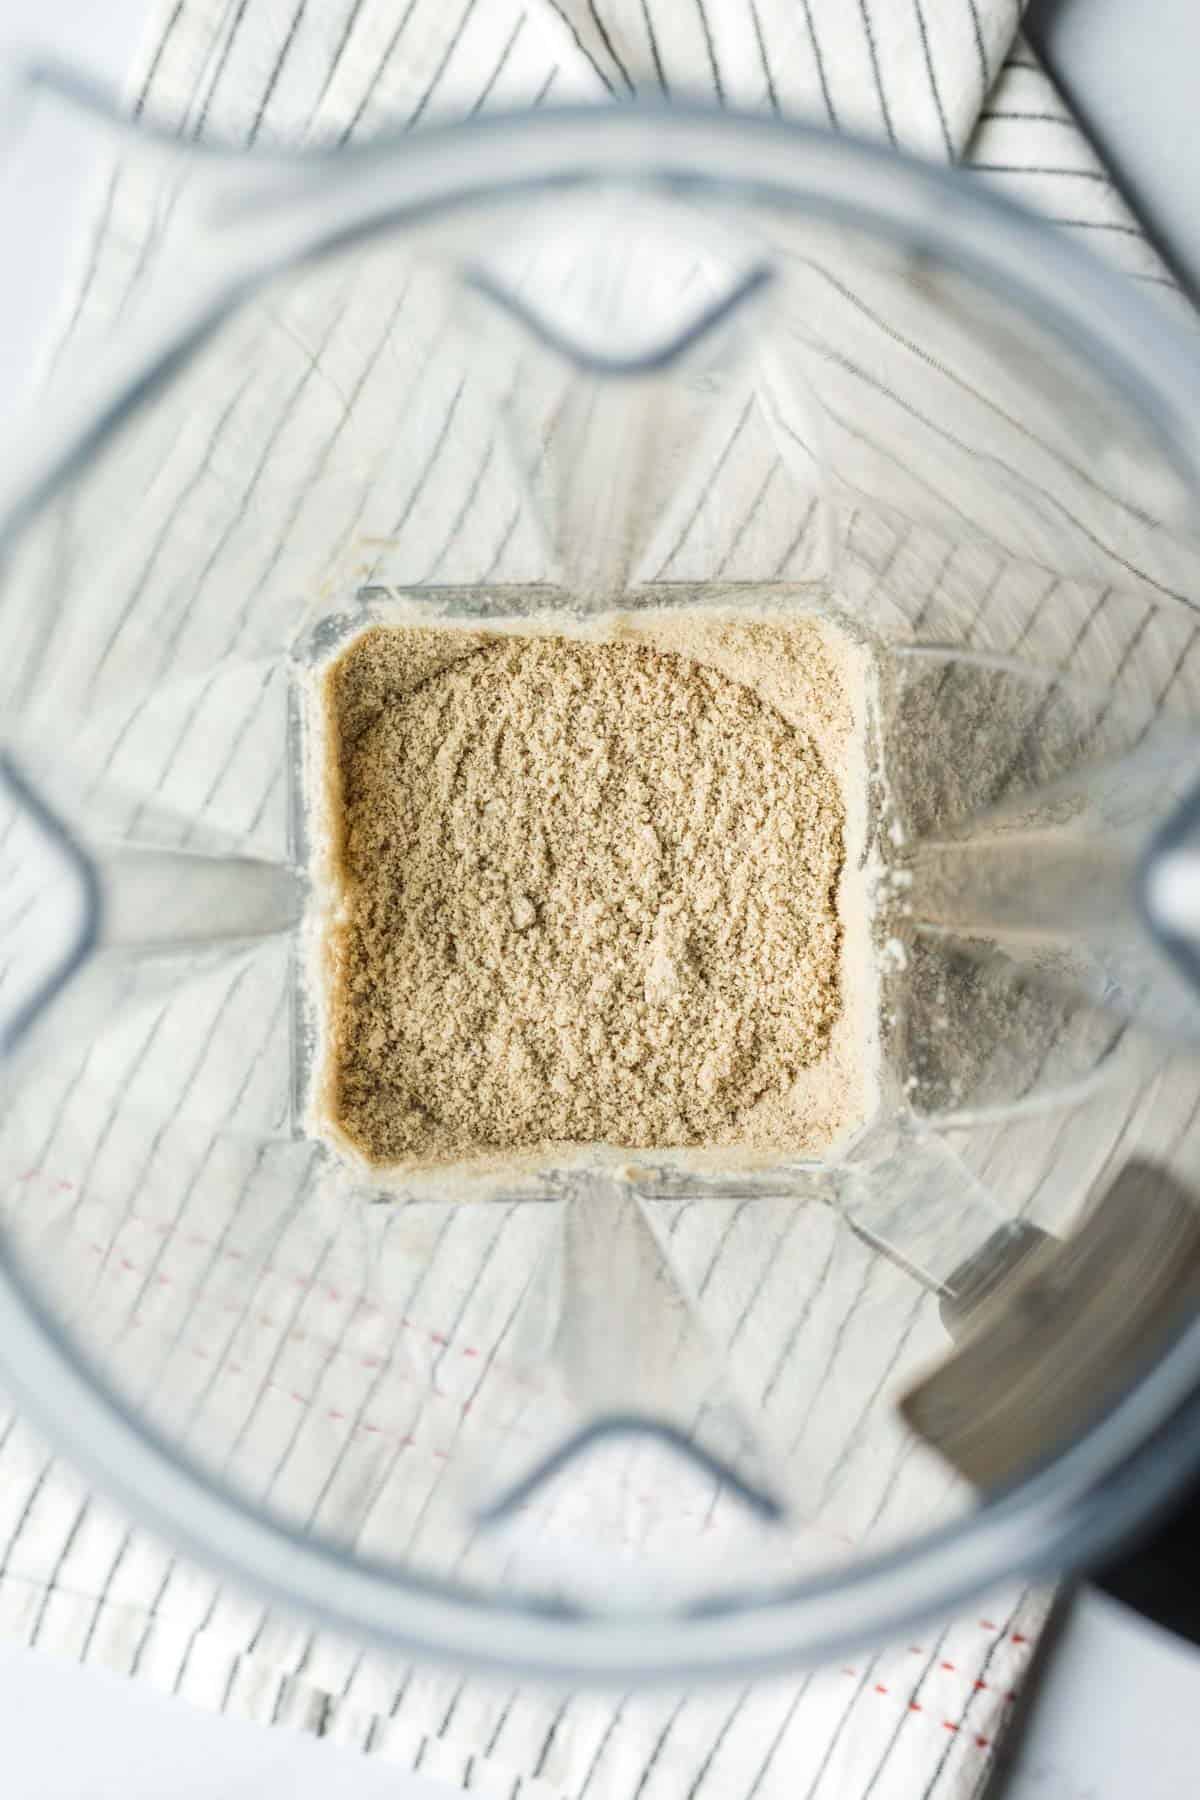
- Place the seeds in the blender. Starting on low, very quickly increase to high speed and blend for just 5 to 6 seconds. Be careful not to blend long or it will turn into sunflower seed butter!
- Stop to shake the jar. You'll also need to stir down by the blades to dislodge stuck flour. Look at the overall consistency, and if needed, blend on high for just another 2 to 3 seconds (starting on low like you did before).
And that's it! You just made flour from sunflower seeds.
Ways to Use Sunflower Seed Flour
I've only recently started experimenting with sunflower seed flour, but you can be sure there are more recipes coming soon.
Want to save this recipe? 📩
Keep an eye out for more delicious recipes. Unsubscribe anytime.
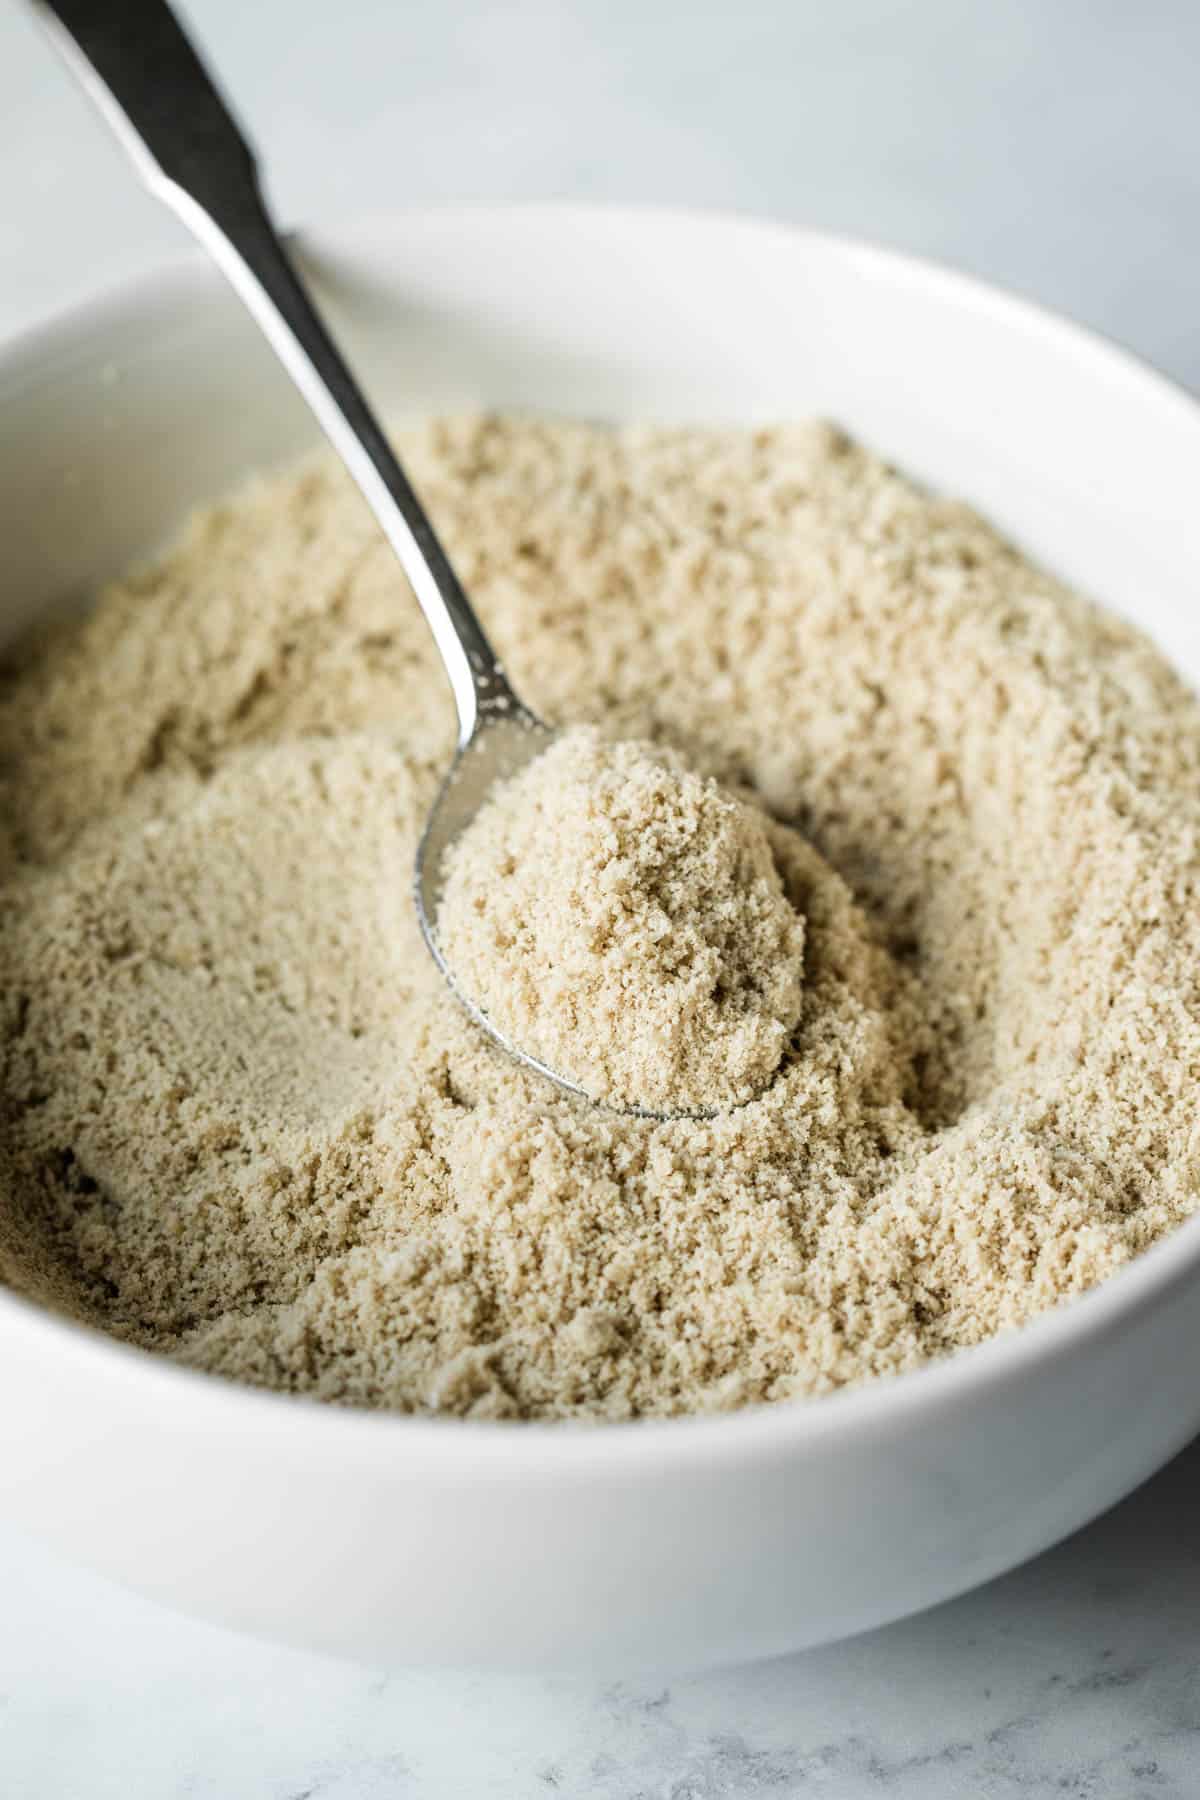
So far I've made a nut-free vegan pie crust (GF & oil-free). I've also used the flour as a replacement for almond flour in these 3-ingredient cookies (I included the optional pumpkin spice).
In the cookies, the seed flavor was a bit strong using sun-flour as a straight swap for almond flour. So I'm going to do some more testing to come up with an easy cookie; recipe coming soon!
This vegan gluten-free sunflower seed bread over at Rhian's Recipes looks like a great way to use this flour, too.
There are a lot of keto recipes online that use sunflower flour, including breads. Keto isn't my thing, but I suspect many of those recipes that include butter or eggs could easily be made vegan!
Sunflower Seeds May Make Your Baked Goods Turn Green
If you've ever baked with sunbutter before, you probably already know about the interesting chemical reaction that occurs when sunflower seeds mix with baking soda or baking powder.
These leaveners react with the chlorophyll in sunflower seeds and cause a reaction referred to as chlorogenic quinone-amino acid greening. The good news is that the green in your cookies and breads is completely harmless, even if it is a little shocking!
Some resources say adding a small amount of an acid to the recipe can prevent the greening, but it may not work 100% of the time.
Note: if your recipe does NOT include baking powder or soda, you don't have to worry about the inside turning green. See these Sunbutter Cookies!
FAQs
No, the flour contains all parts of the hulled seeds, and there are no skins or other parts that need to be removed. If you use a high-speed blender to process the seeds, you'll end up with a very uniformly fine flour. However, other equipment may not produce such uniform results. Straining the flour is difficult, because a fine mesh sieve is too small for the flour to easily pass through. So if you use a coffee grinder, standard blender, or food processor to make sunflower flour, you may have to sort through the batch, removing larger, unblended pieces.
The oils in nuts and seeds can go rancid, so it's best to store the flour (and the seeds) in the refrigerator or freezer.
This will depend on the recipe and the role of the almond flour. Texture-wise they are very similar, but there is a difference in flavor and color. Almond flour is more neutral in flavor, while sunflower seeds taste more bold and nutty.
Top Tip
It works best to blend no more than 1 to 1 ½ cups of seeds at a time so that the blender blades have easy contact with all of the seeds. The exact amount will depend on the equipment.
Thankfully, making sunflower seed flour only takes a few seconds. So it's easy to blend several batches in a row if you need to make a larger amount of flour.
More Sunflower Seed Recipes
I hope you enjoy this easy and affordable seed flour!
If you try the recipe be sure to leave a comment and star rating below, and let us know your favorite ways to use it! ⭐️⭐️⭐️⭐️⭐️
Recipe
How to Make Sunflower Seed Flour
Instructions
- Place seeds in the blender jar. Starting on low, quickly increase to high speed and blend for just 5 or 6 seconds (this is how long it takes in a high-speed blender/Vitamix; adjust time as needed for other equipment). Be careful not to blend long or it will turn into sunflower seed butter!
- Stop to shake the jar. You'll also need to stir at the bottom, near the blades, to dislodge stuck flour. Check the overall consistency of the flour, and if needed, blend on high for a few more seconds (starting on low as before).
- Use the flour now in a recipe, or transfer to an airtight container for storage. Keep in the refrigerator or freezer to extend freshness.
Notes
Estimated Nutrition (per serving)
Nutrition information is an estimate and will vary depending on the exact amounts and specific products and ingredients used.



Comments
No Comments