
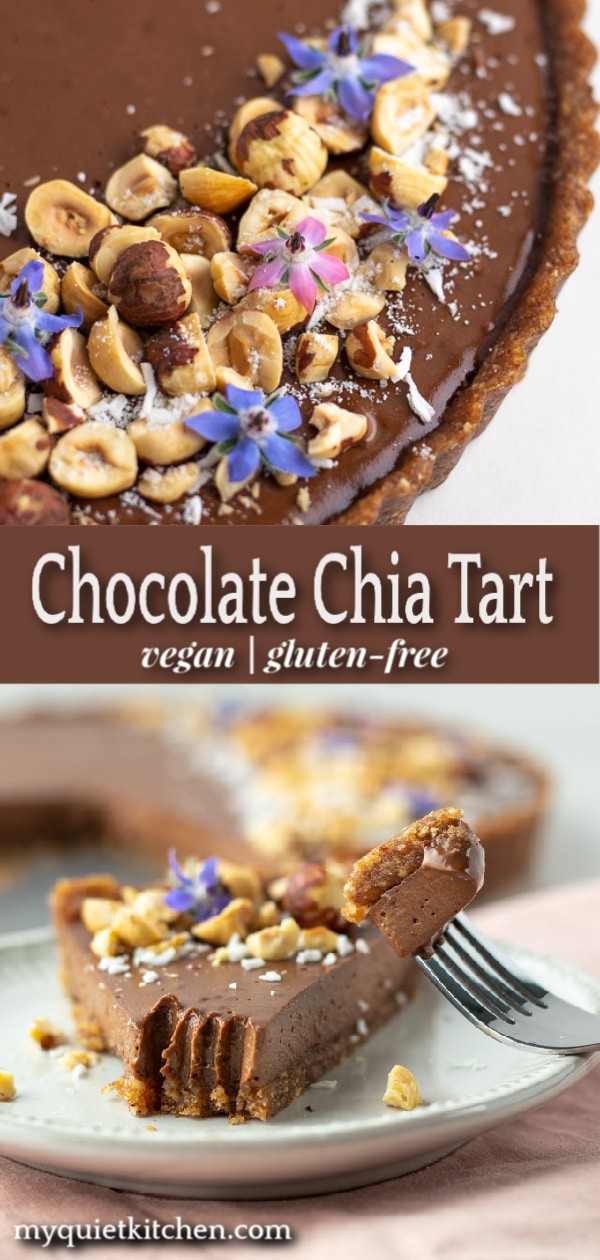
This Vegan Chocolate Tart is a decadent dessert with a rich and creamy, fudge-like filling and perfectly crisp almond flour crust! This gluten-free and dairy-free chocolate tart is sure to win the hearts (and stomachs) of vegans and non-vegans alike. A vegan dessert that's perfect for parties, holidays and special occasions, and prep is SO easy!
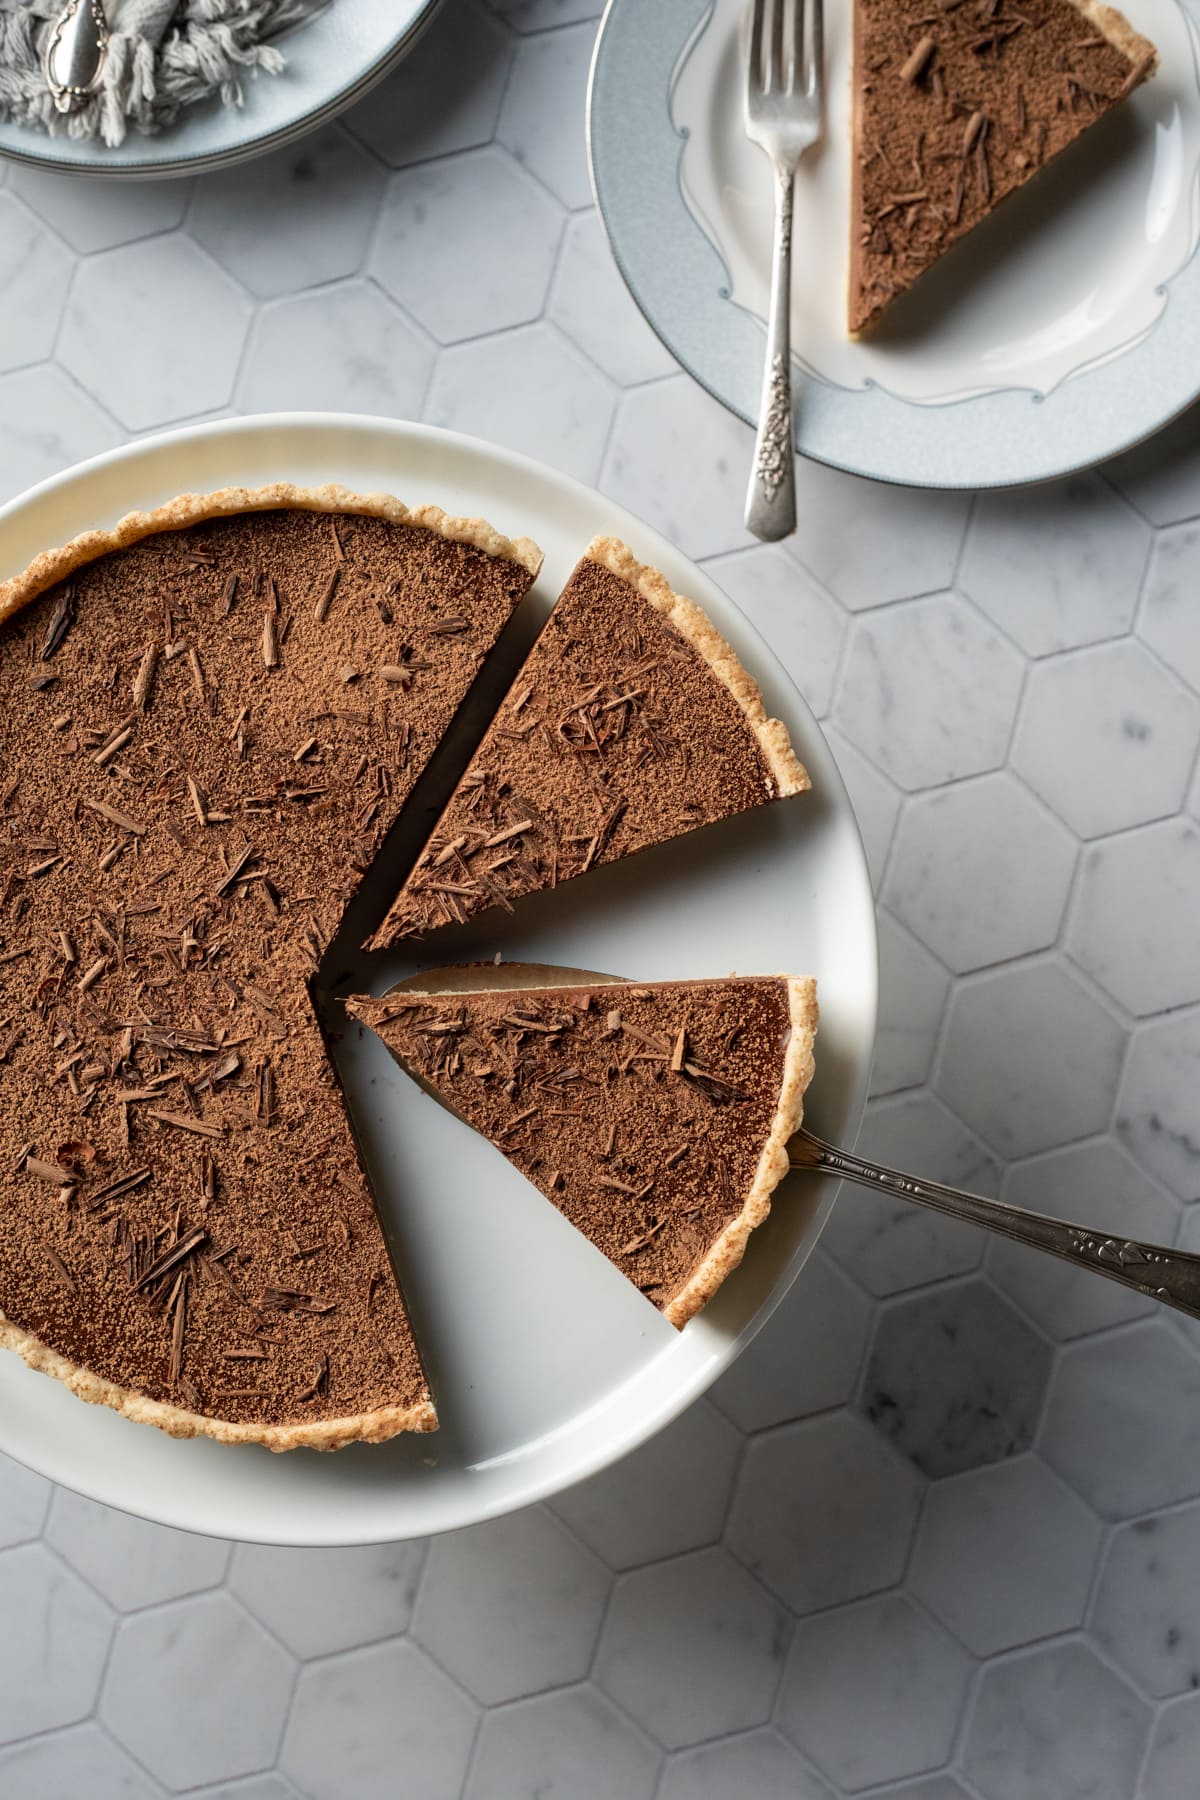
When you need a simple, foolproof chocolate dessert to please any crowd, this vegan chocolate tart is it!
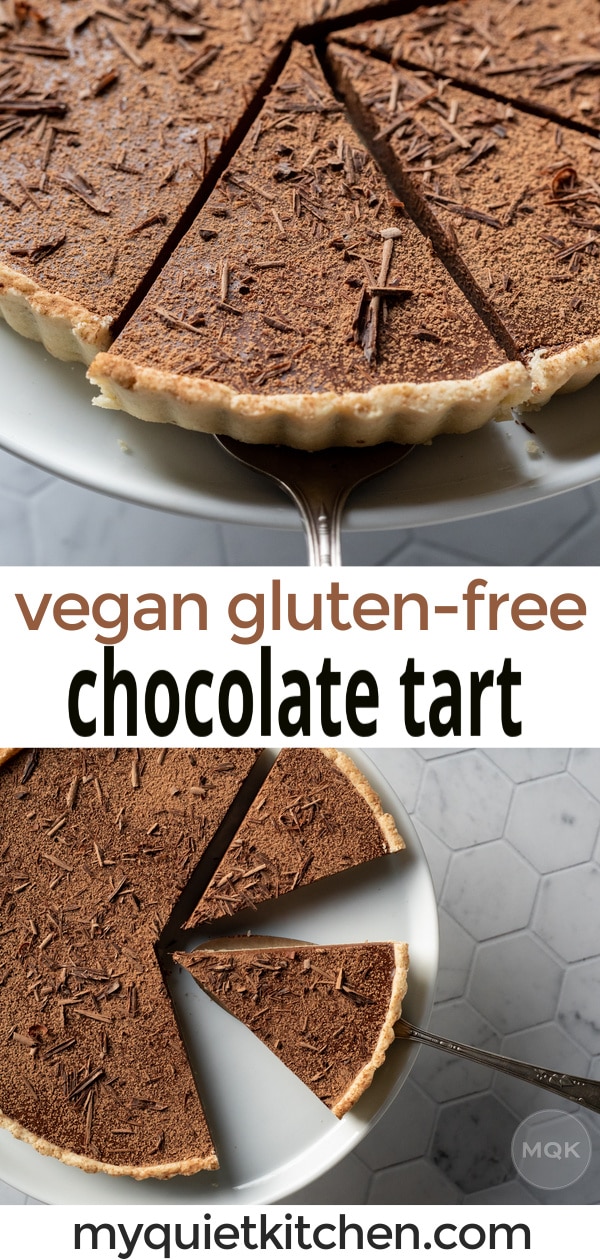
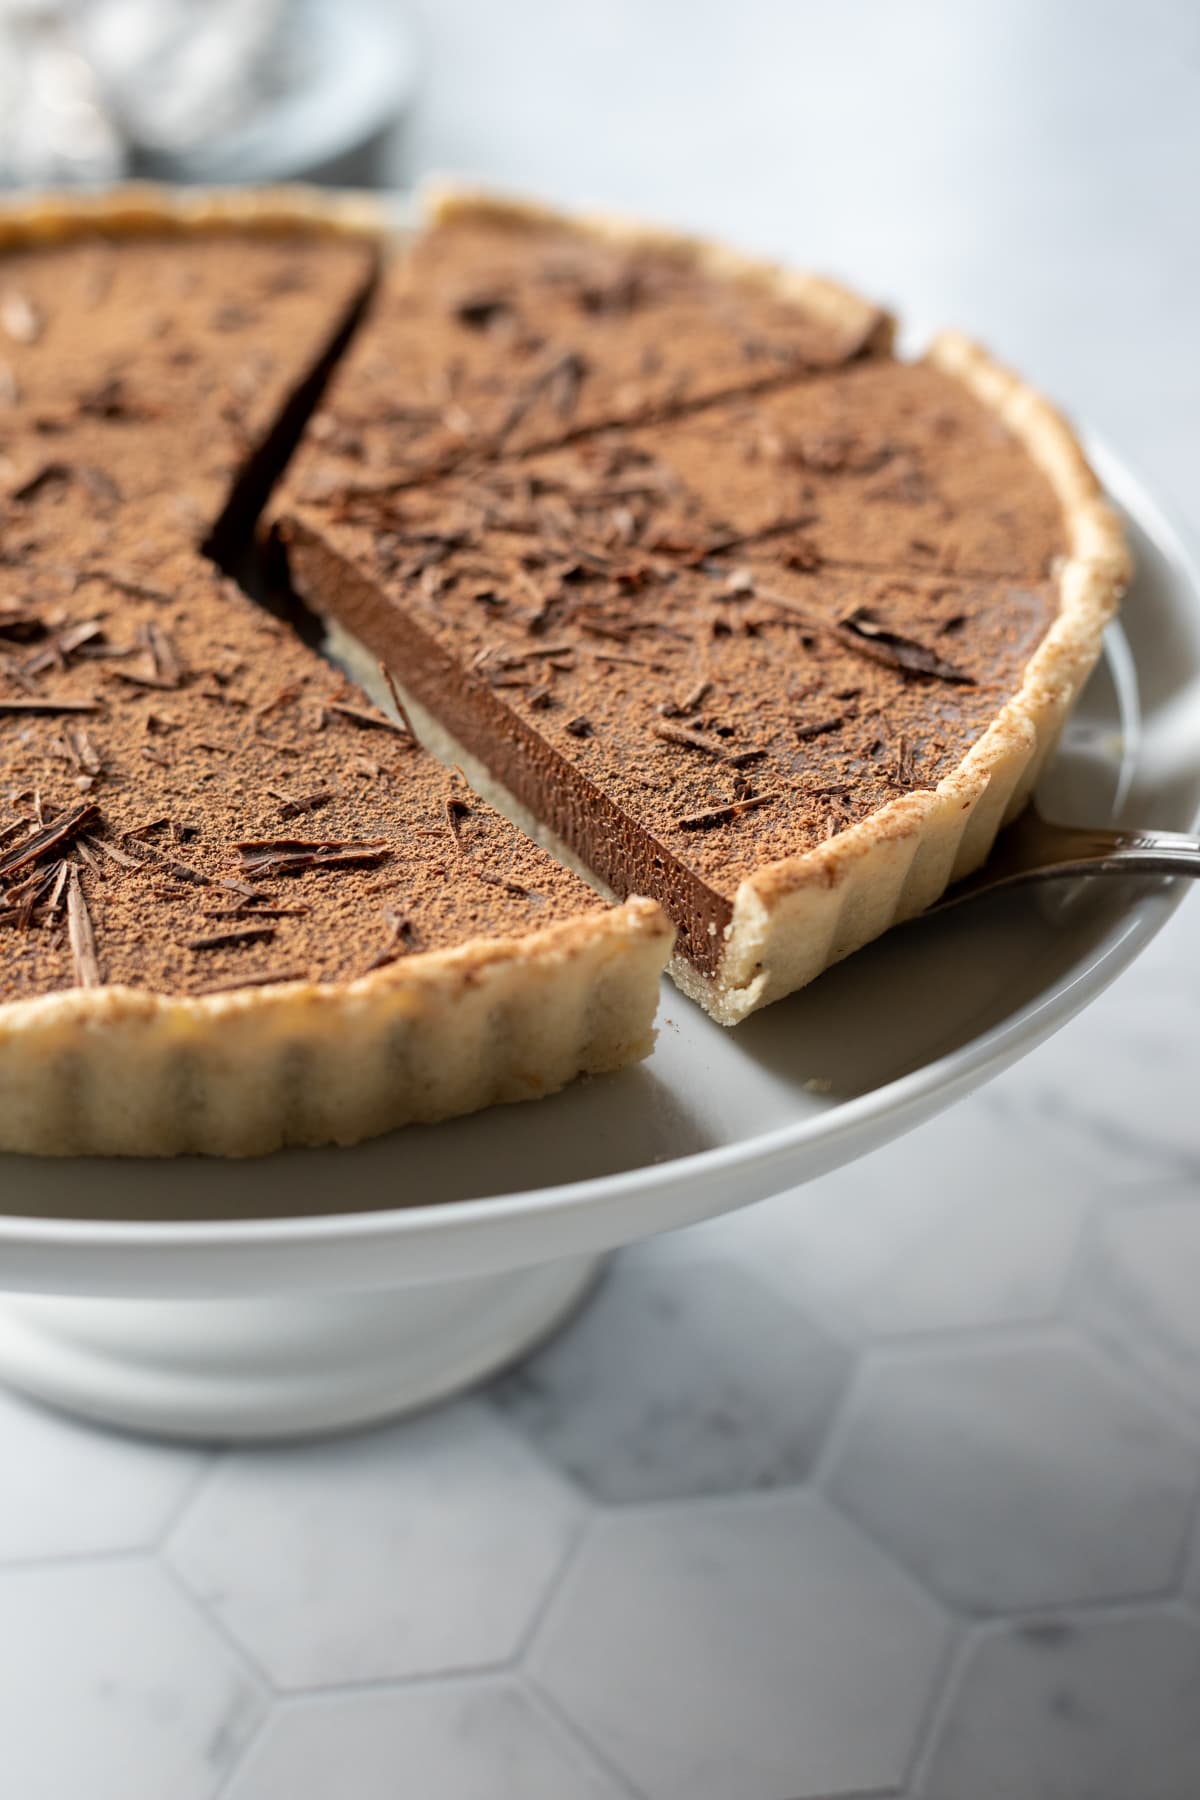
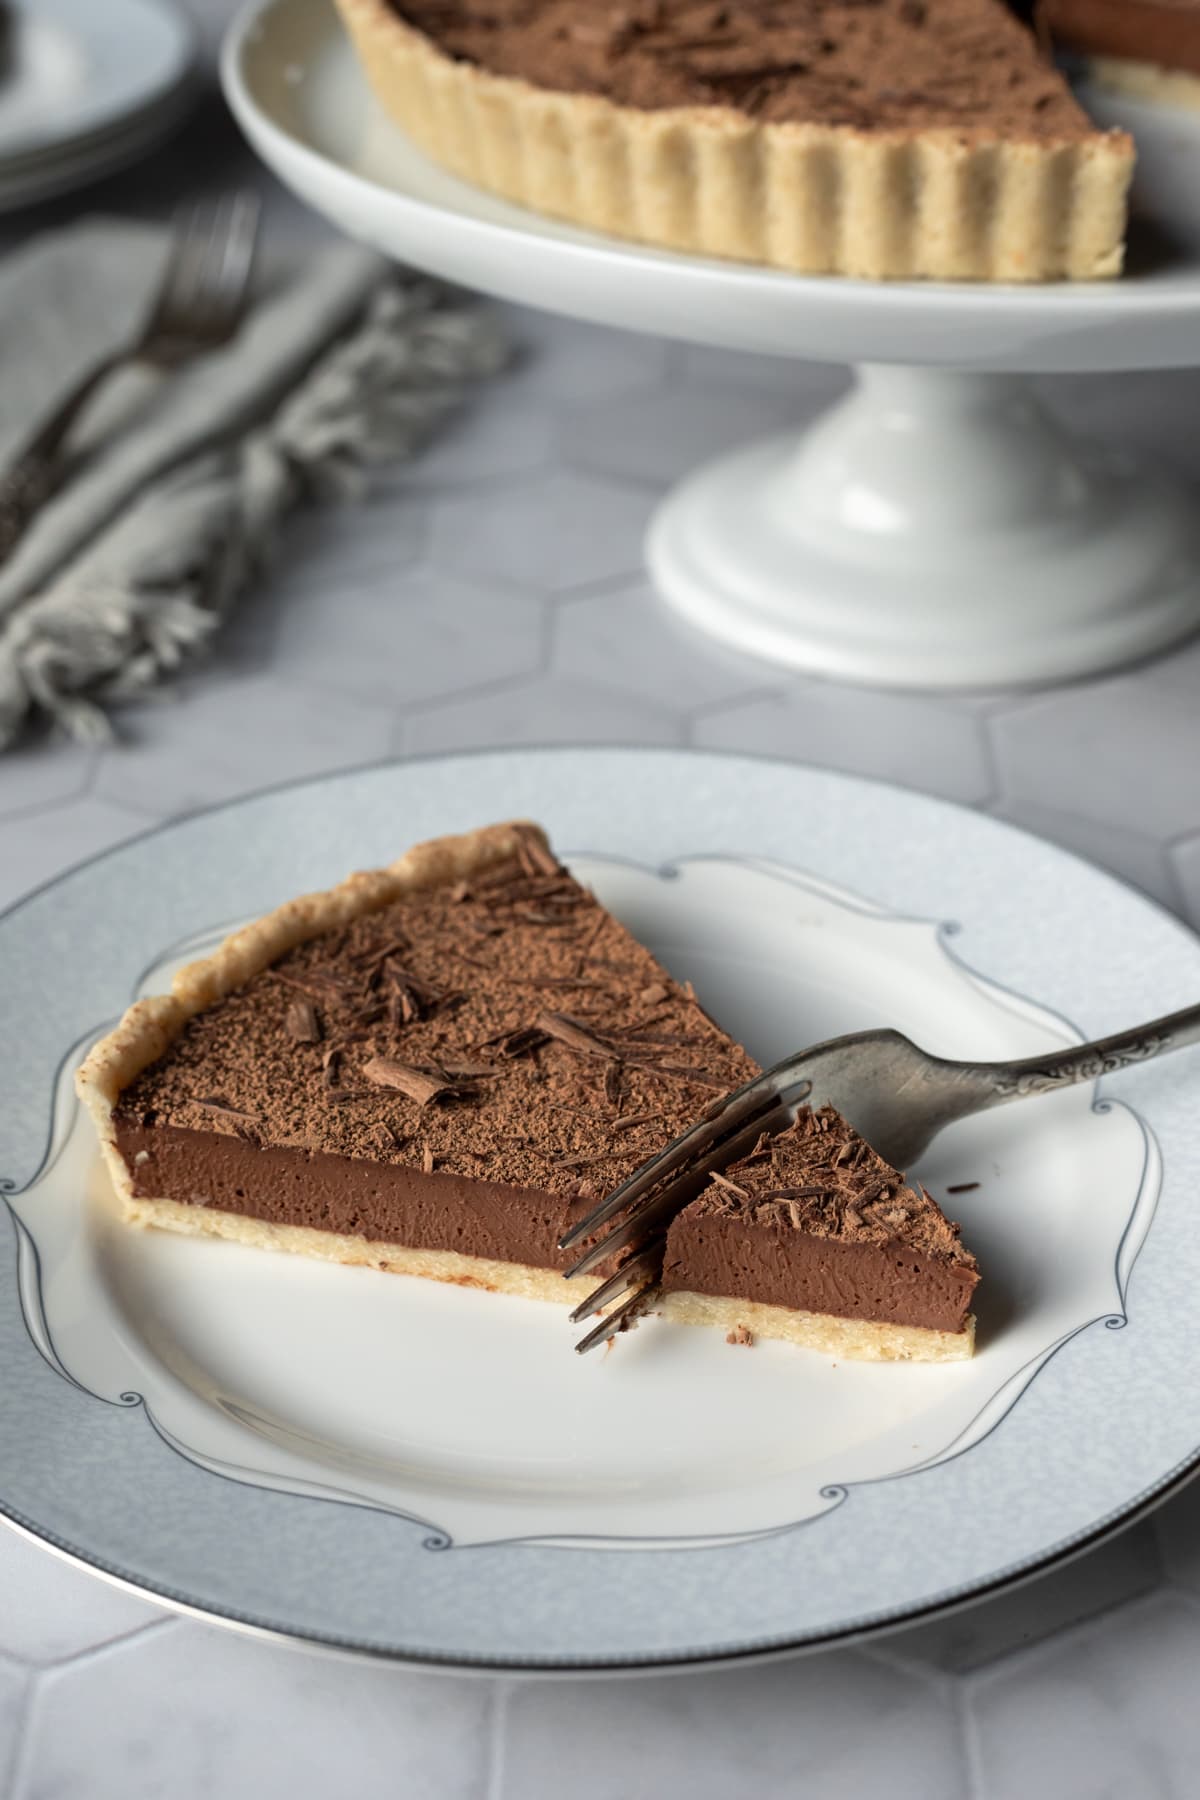
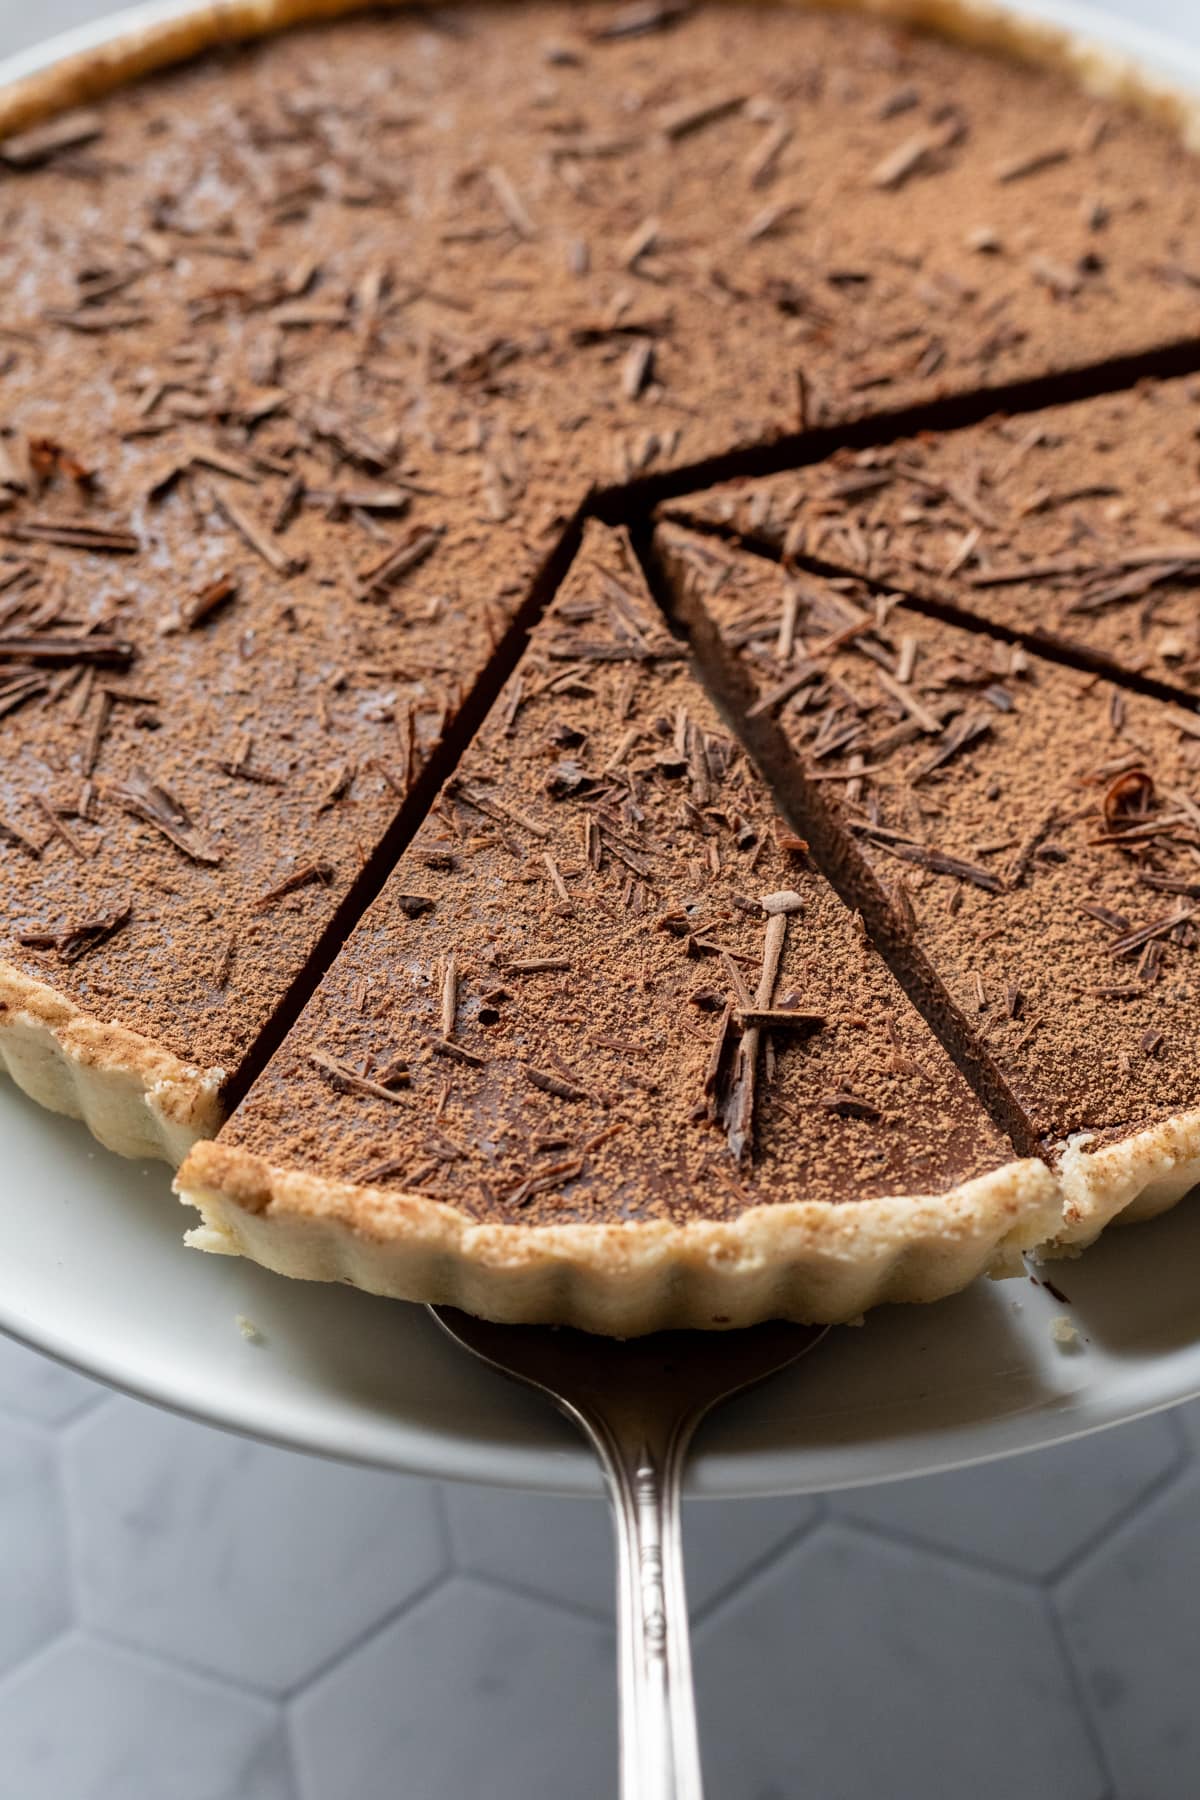
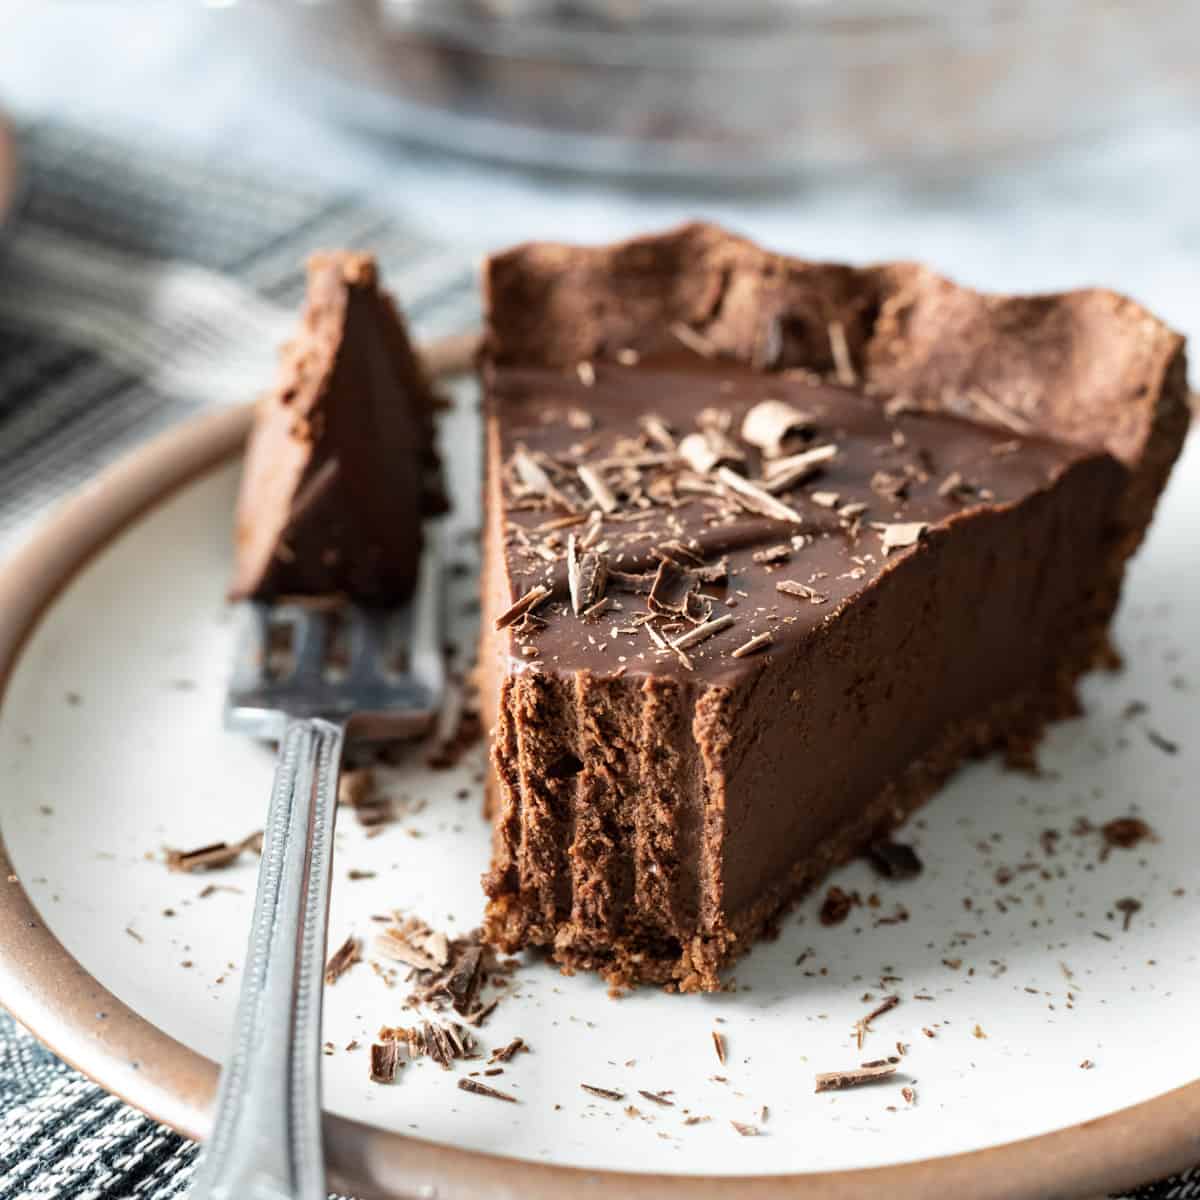
The filling is every bit as dense, creamy, and delicious as it looks. And that gluten-free vegan tart crust? Friends, it's almost too good to be true. It's oil-free, made with buttery almond flour and is inspired by our go-to pie crust (a reader favorite).
And the flavor and consistency of the filling are so deeply satisfying, almost like a soft fudge. This tart is dense, rich, just chocolatey enough, and will please even the pickiest eaters!
For more vegan tart recipes, be sure to check out my Vegan Cranberry Tart and Vegan Lemon Tart next.
Jump to:
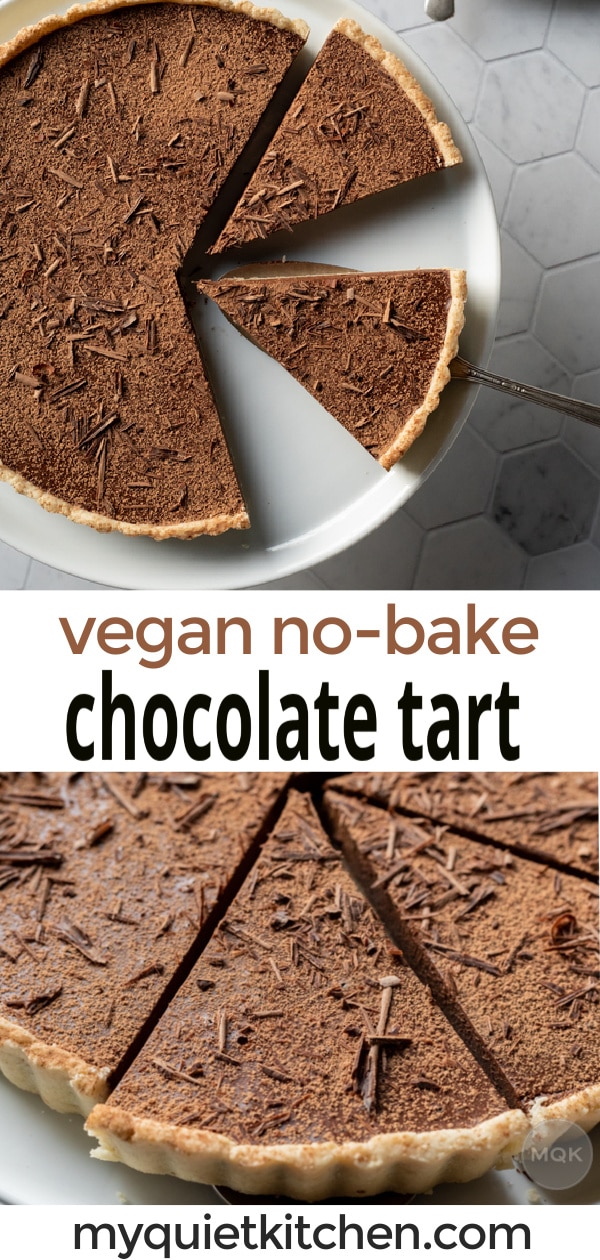
Why You'll Love This No-Bake Vegan Chocolate Tart
- A decadent chocolate tart with the perfect amount of chocolate flavor that will please a variety of eaters.
- A simple recipe, but special enough for dinner parties, holidays, and other celebrations.
- Easy to make with or without a blender.
- A no-bake dessert with just 30 minutes of hands-on prep time needed.
Ingredients
Note that ingredient measurements for this vegan tart recipe can be found in the recipe card below.
- 11-inch Vegan Gluten-Free Tart Crust - An easy recipe with almond flour as the main ingredient for the tart base. See the recipe card for a version using dates and hazelnuts.
- Coconut Milk - Makes the tart creamy. Be sure to use full-fat coconut milk and not a "lite" version.
- Dairy-Free Chocolate - Provides the majority of the chocolate flavor. You'll want to use a high-quality dark chocolate between 55-60% cacao.
- Raw Cashews - Add creaminess and a neutral flavor. You can also use nut or seed butter.
- Fine Sea Salt - Just a bit is needed to enhance the flavor of the chocolate. Omit if using salted nut butter.
- Vanilla Extract - Adds vanilla flavor and enhances the other flavors in the filling.
- Cocoa Powder - Adds a bit more chocolate flavor. You can also use some for dusting the top of the tart after chilling.
- Good Quality Brewed Coffee or Balsamic Vinegar - These enhance the flavor of the chocolate but aren't 100% necessary.
- Organic Cane Sugar - Optional, but adds a bit more sweetness.
How To Make This Vegan Chocolate Tart Recipe
Prepare the crust
Start by making the tart shell following the instructions in this tart crust recipe.
Make the chocolate filling
Blend the cashews (or nut/seed butter) and coconut milk on high speed until smooth. Add the vanilla, coffee, cocoa powder, and melted chocolate to the blender, and blend again.
Taste the tart filling and adjust the sweetness by adding cane sugar as desired.
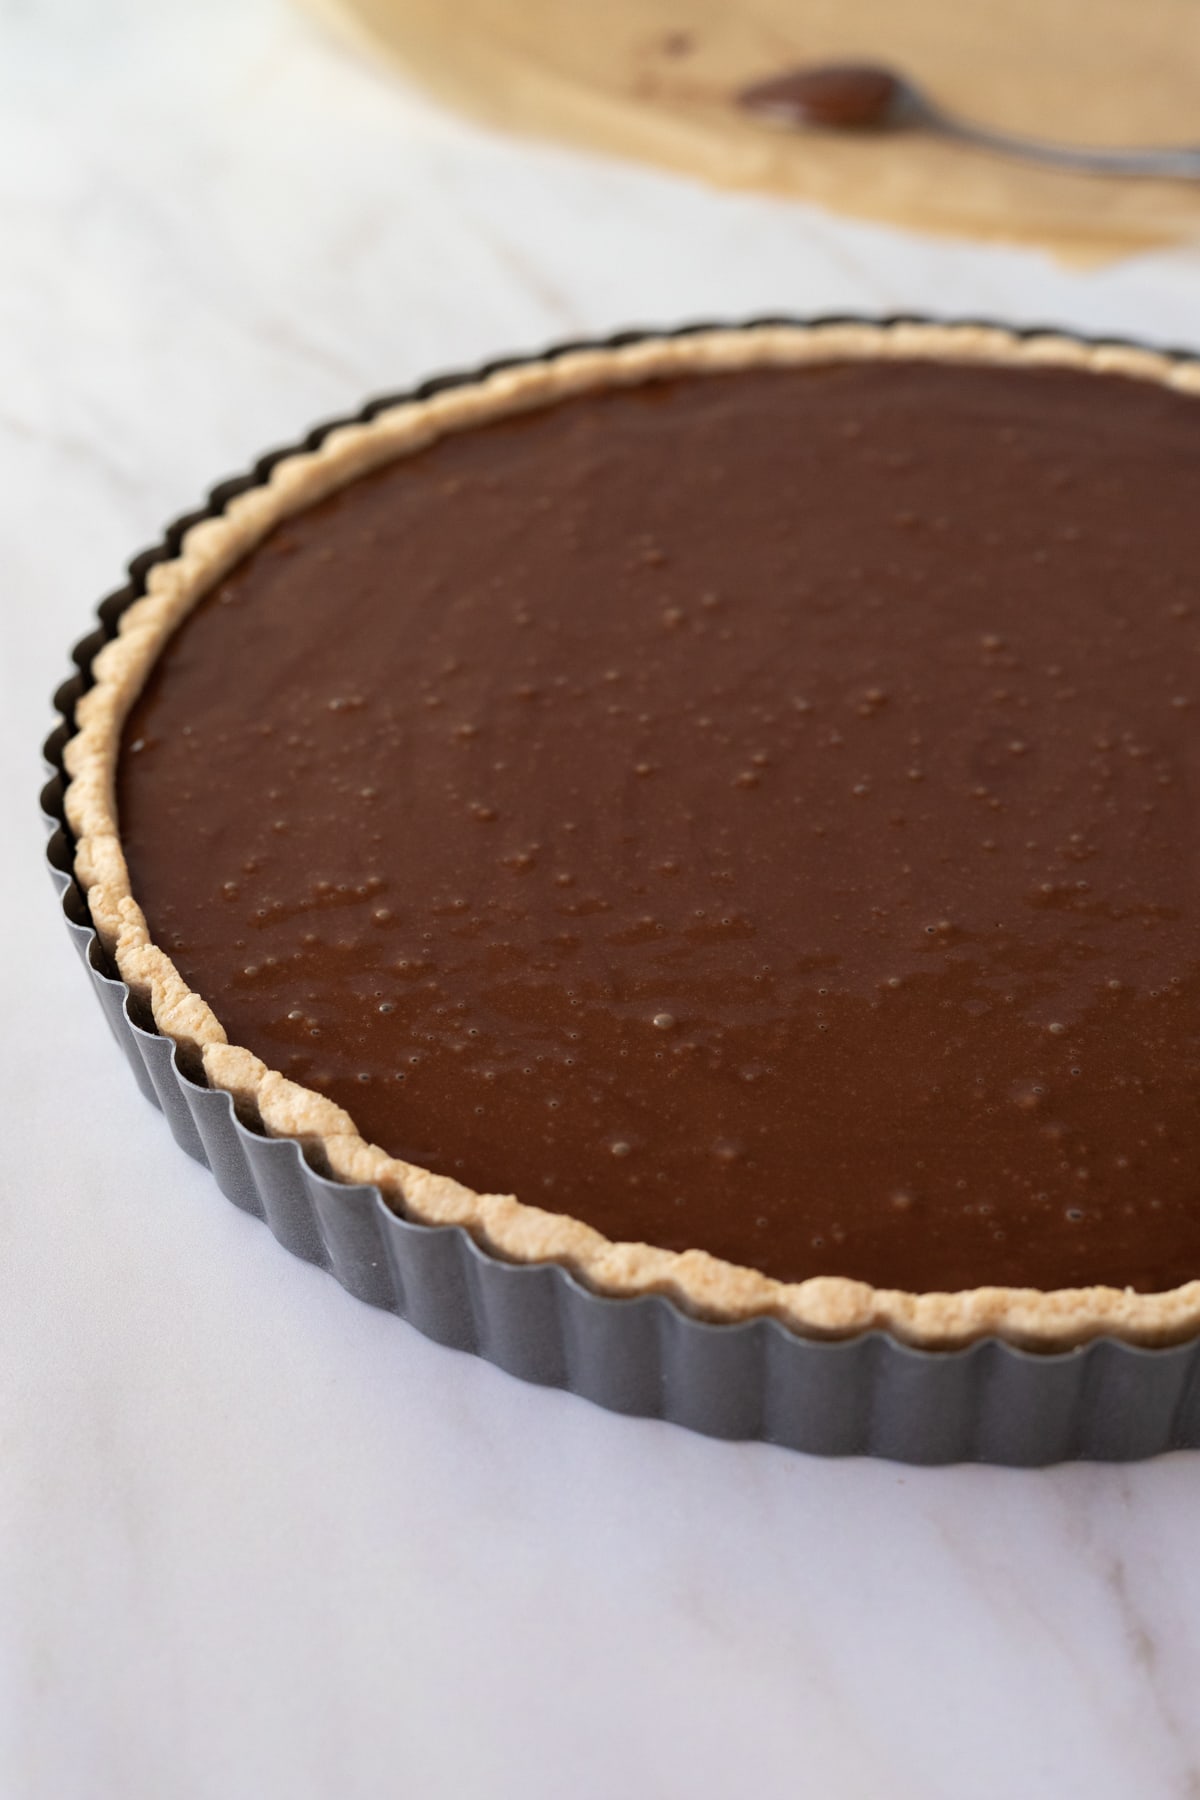
Pour the filling into the prepared crust, and refrigerate until set (about 4 to 6 hours).
Variations and Substitutions
- Cashews: Swap the cashews for your favorite nut or seed butter, such as cashew, almond, peanut butter, or tahini. Note: You'll want to go this route if you're not using a blender.
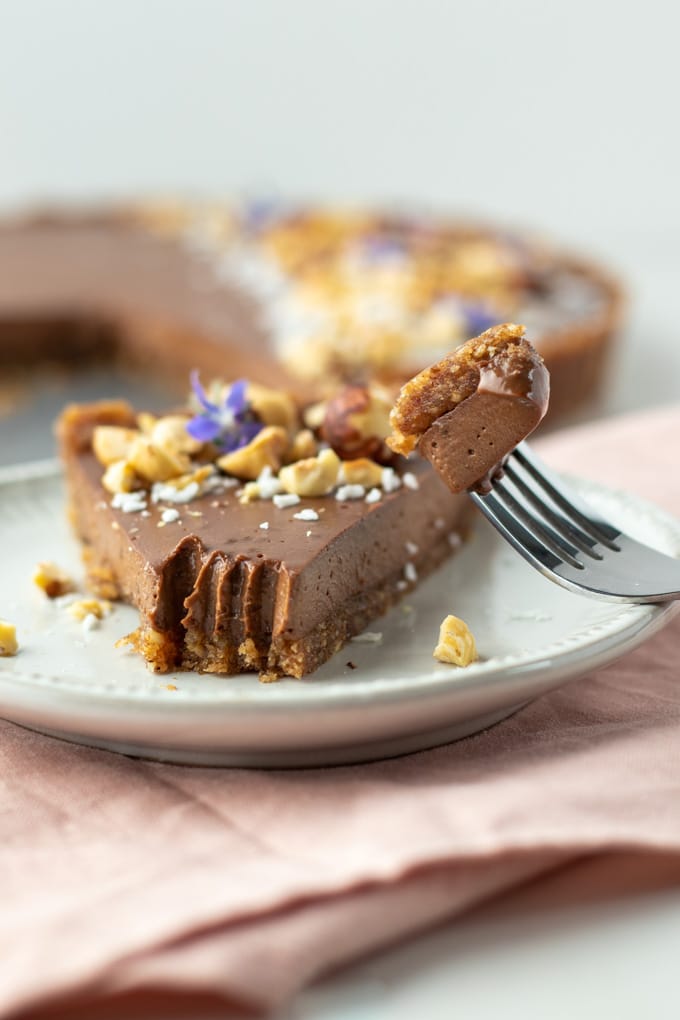
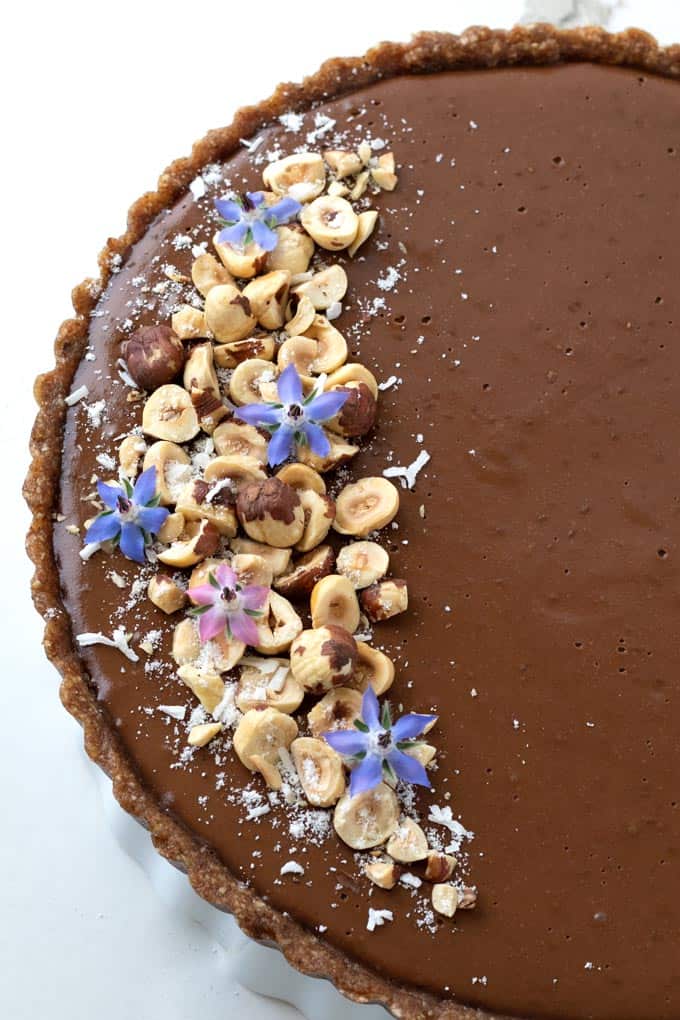
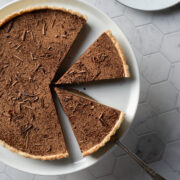
- Crust: This recipe was originally published with a crust made from medjool dates and hazelnuts (as shown in the photo below). You can still find that crust option in the recipe card below, but if you prefer a crisp gluten-free tart crust, I highly recommend the almond flour one.
Serving Suggestions
When it comes to certain chocolate desserts I'm a bit of a purist. And this particular tart doesn't really need anything to taste outstanding.
Want to save this recipe? 📩
Keep an eye out for more delicious recipes. Unsubscribe anytime.
I mean, I'll never turn down a dollop of vegan whipped cream or a scoop of vanilla oat milk ice cream, but this vegan chocolate tart is perfectly lovely all by itself.
Decorate with a simple dusting of cocoa powder and fresh chocolate shavings or top with fresh strawberries or fresh raspberries.
How to Store
Store the chocolate tart in an airtight container in the refrigerator for up to 5 days or in the freezer for up to one month. When serving from the freezer, allow the tart to thaw for 15 to 20 minutes at room temperature before slicing.
Equipment
- High-Speed Blender (To make this recipe without using a blender, see the instructions in the recipe card below).
- 11-inch Tart Pan
Can I use a different size tart pan?
I realize not everyone has an 11-inch tart pan, specifically. So, I'm including instructions on how to scale the recipe. There are a lot of handy charts online about this topic, but I especially like this thorough article over at Food52, written by Alice Medrich.
Follow this basic equation for round pans:
- 3.14 (aka π) x half the diameter of your round pan (aka radius) x half the diameter of your round pan again = surface area in square inches
For example, I calculated the area of my 11-inch tart pan to be 95.
- 3.14 x 5.5 x 5.5 = 95
But let's say you want to scale the recipe for an 8-inch round pan (you might be surprised how much smaller it is):
- 3.14 x 4 x 4 = 50
As you can see, the surface area of the 8-inch pan is essentially half that of the 11-inch pan, which makes it easy to calculate the ingredient amounts. But let's continue to work through the math because it won't always be so straight forward.
Next, divide the area of the larger pan (95) by the area of the smaller one (50), and you get 1.9. Now, divide the amount of each ingredient by 1.9, and you'll see that you'd need to cut these amounts in half to make this recipe for an 8 inch pan.
- 2 cups ÷ 1.9 = 1.05 cups
Though 1.05 isn't exactly half of the original amount, it's close enough. However, if you apply this equation to other pan sizes and start getting numbers more than .2 away from a whole number, I would try to follow those fractions as precisely as possible for the best results.
FAQ
If you are using a high-speed blender like a Vitamix, there is no need to soak the cashews. If you don't have a high-speed blender, you'll want to soak the cashews overnight or in hot water for about 2 hours. This will help soften the cashews and make them easier to blend.
No, you don't need a blender to make this dark chocolate tart. If you're not using a blender, you'll need to swap out the cashews with a nut or seed butter. Then, whisk together the coconut milk, nut/seed butter, vanilla, coffee, cocoa, salt, and melted chocolate in a microwave-safe bowl. If needed, heat the mixture briefly in the microwave (10 to 15 seconds), so that it's easier to fully incorporate the ingredients.
I hope you love the simplicity and decadence of this Vegan Chocolate Tart! If you try the recipe please leave your feedback below. I love hearing from you!
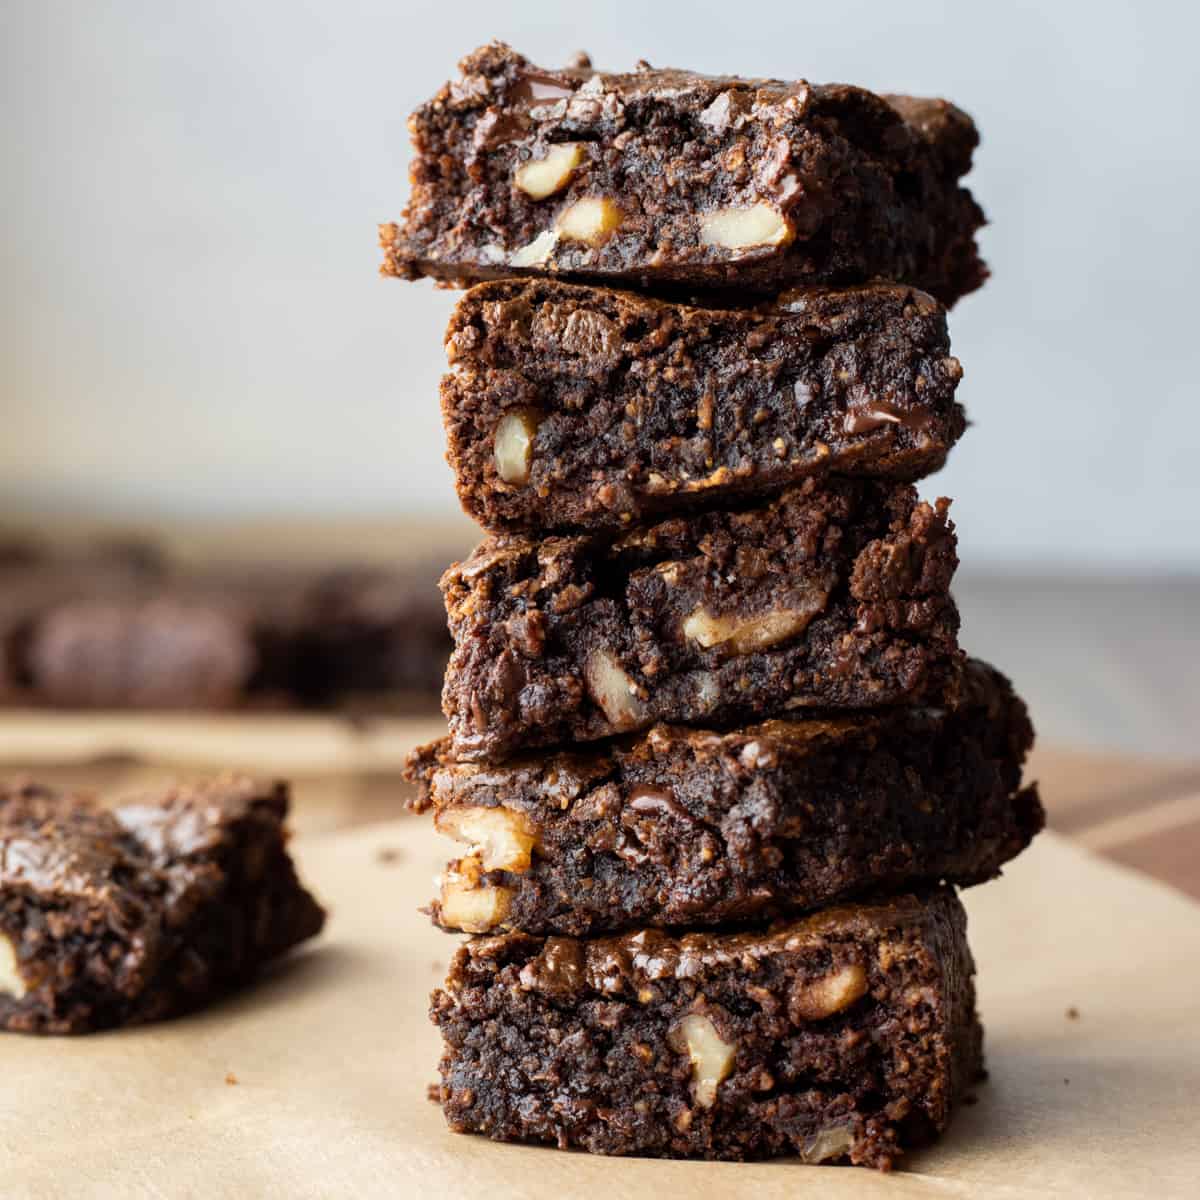
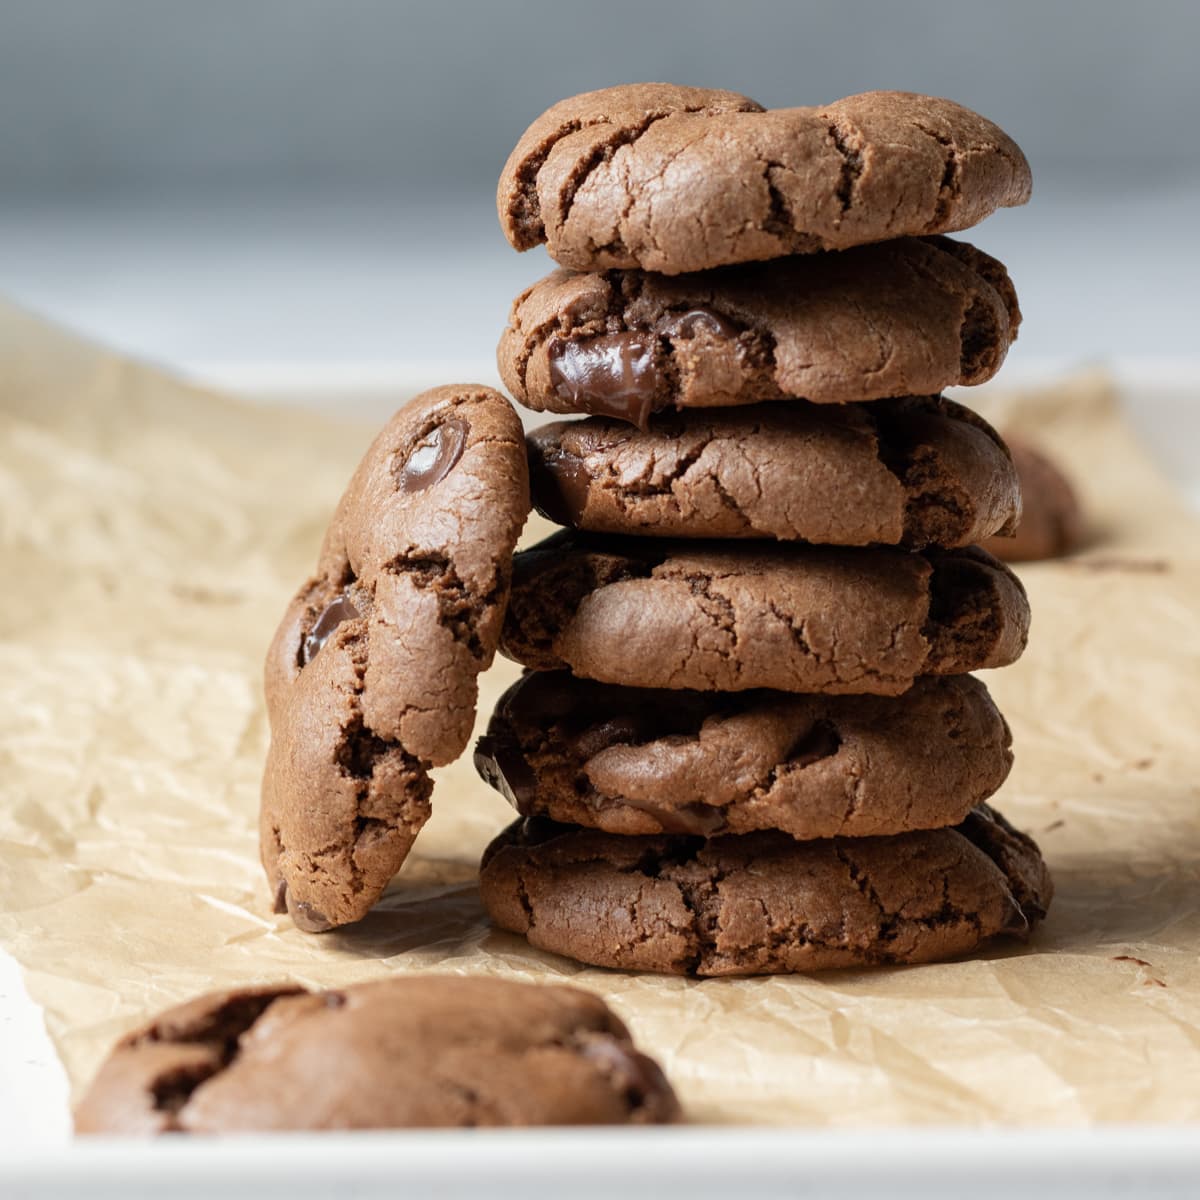
More Vegan Chocolate Desserts

Recipe
Vegan Chocolate Tart (Gluten-Free)
Equipment
Ingredients
- 1 (11-inch) vegan tart crust, baked - See instructions in post to scale for smaller pans.
- 1 (14 oz.) can full-fat coconut milk - Do not use "lite" milk or the tart won't set properly.
- 1 cup raw cashews or ½ cup nut/seed butter of choice - Try peanut butter or tahini for slightly different flavor.
- 2 teaspoons vanilla extract
- 2 tablespoons brewed coffee or 1 teaspoon good quality balsamic vinegar
- 2 tablespoons cocoa powder plus more for garnish
- ¼ teaspoon fine sea salt
- 10 ounces dairy-free chocolate (55-60% cacao), melted
- 1 to 2 tablespoons organic cane sugar, optional
Date-Hazelnut Crust (if not using the tart crust linked above):
- 2 cups whole raw or toasted hazelnuts
- 1 ¼ cups pitted medjool dates, approx 15 large
- pinch sea salt
Instructions
To make the hazelnut-date crust:
- Skip ahead to step 2 if using the almond flour crust linked in the recipe. For raw hazelnuts, toast them on a baking sheet at 350 degrees for 10 minutes. Let cool slightly before wrapping in a lint-free towel and rubbing together to remove most of the papery skins. In a food processor fitted with the S blade, pulse together the hazelnuts, dates and salt until sticky and well incorporated. Lightly oil the scalloped ring of an 11-inch tart pan. Press the crust mixture into the pan, allowing it to come up the sides. Freeze the crust for a few minutes while you blend the filling.
Prepare the filling:
- With a blender (see Notes): Blend the cashews (or nut/seed butter) and coconut milk on high speed until smooth. Add the vanilla, coffee, cocoa powder, and melted chocolate to the blender, and blend again. Without a blender: In a microwave-safe bowl, whisk together the coconut milk, nut/seed butter, vanilla, coffee, cocoa, salt, and melted chocolate. If needed, heat briefly in the microwave, 10 to 15 seconds, so that it's easier to fully incorporate the ingredients.
- Taste the filling and adjust sweetness as desired. Note: when I tested the recipe with tahini, we preferred the flavor with the additional 2 tablespoons of sugar, to offset tahini's natural bitterness.
- Pour the filling into the prepared crust, and refrigerate until fully chilled and set, 4 to 6 hours.
- Garnish as desired with sifted cocoa powder, chocolate shavings, fresh berries, or dried coconut, and serve with dairy-free whipped cream.
Notes
Estimated Nutrition (per serving)
Nutrition is an estimate and will vary depending on the exact amounts and ingredients used.
Mandy says
I can’t wait to try this !
Lori says
Fantastic! So happy you’re excited about it. Just let me know if you have any questions, but it really is sooooo easy! 😁
Julie says
Lori, I absolutely adore how you decorated your chocolate tart; it was the perfect finishing touch (as well as delightfully different from ubiquitous berries)!
I would really like to replicate it; can you tell me what edible flowers you used?
Lori says
Thanks so much, Julie. Yes, these are nasturtiums. I planted them last year from an edible flower mix I purchased from Seed Geeks on Etsy. Highly recommend them!
Candace Folks says
Lori,
So excited about your quiet kitchen! Kudos in following your heart and making your dream a reality.
I look forward to new recipes in my life, thanks to you.
Candace
Lori says
Thanks so much for the support and kind words, Candace!