
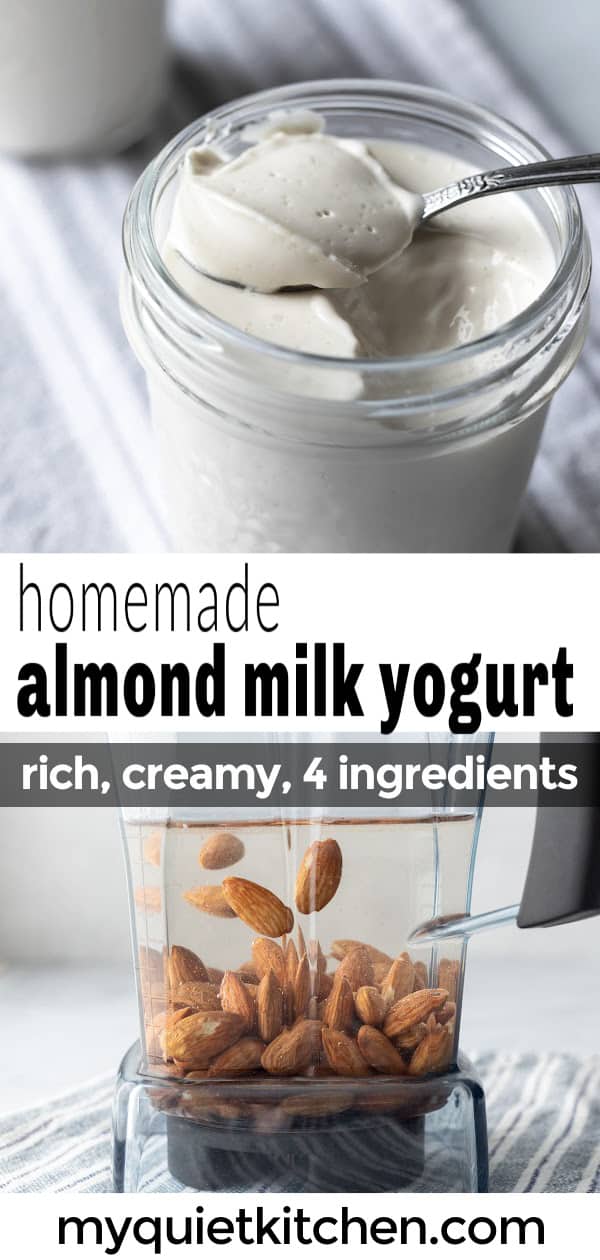
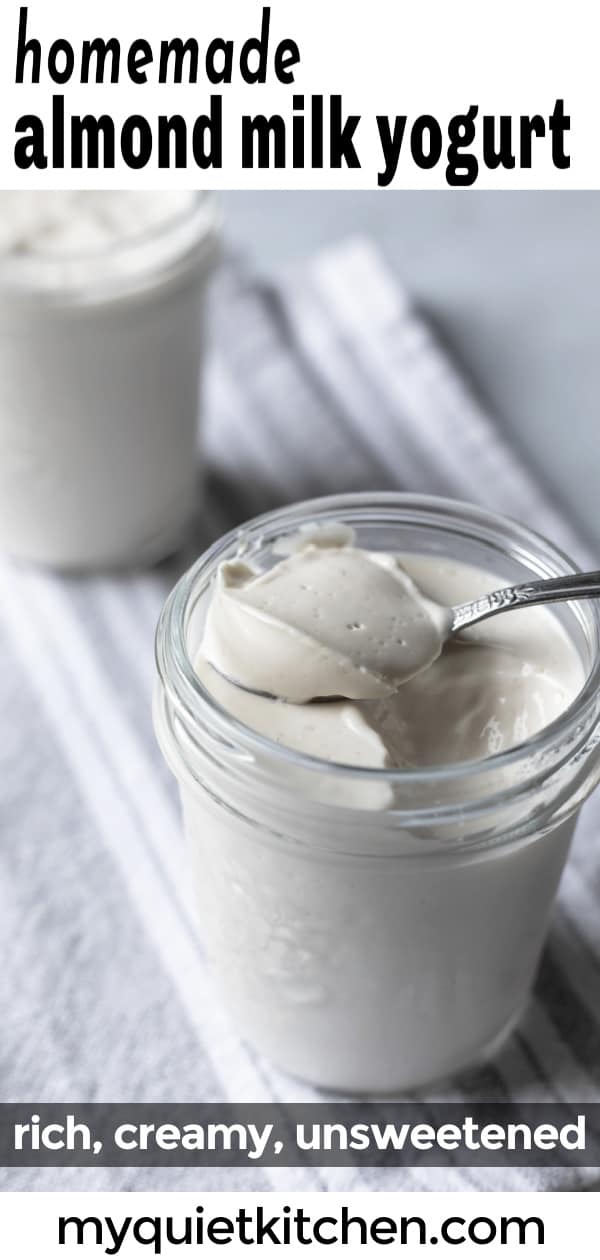
Almond milk yogurt tastes amazing and is easy to make at home with or without an Instant Pot or yogurt maker. All you need are 5 ingredients and a few minutes of hands-on time. Then let it culture overnight, and wake up to perfectly tangy homemade almond yogurt! Naturally soy-free, gluten-free, and coconut-free.
After falling in love with homemade cashew yogurt, I finally got around to experimenting with almond milk yogurt, and now I have TWO favorite ways to make dairy-free yogurt at home!
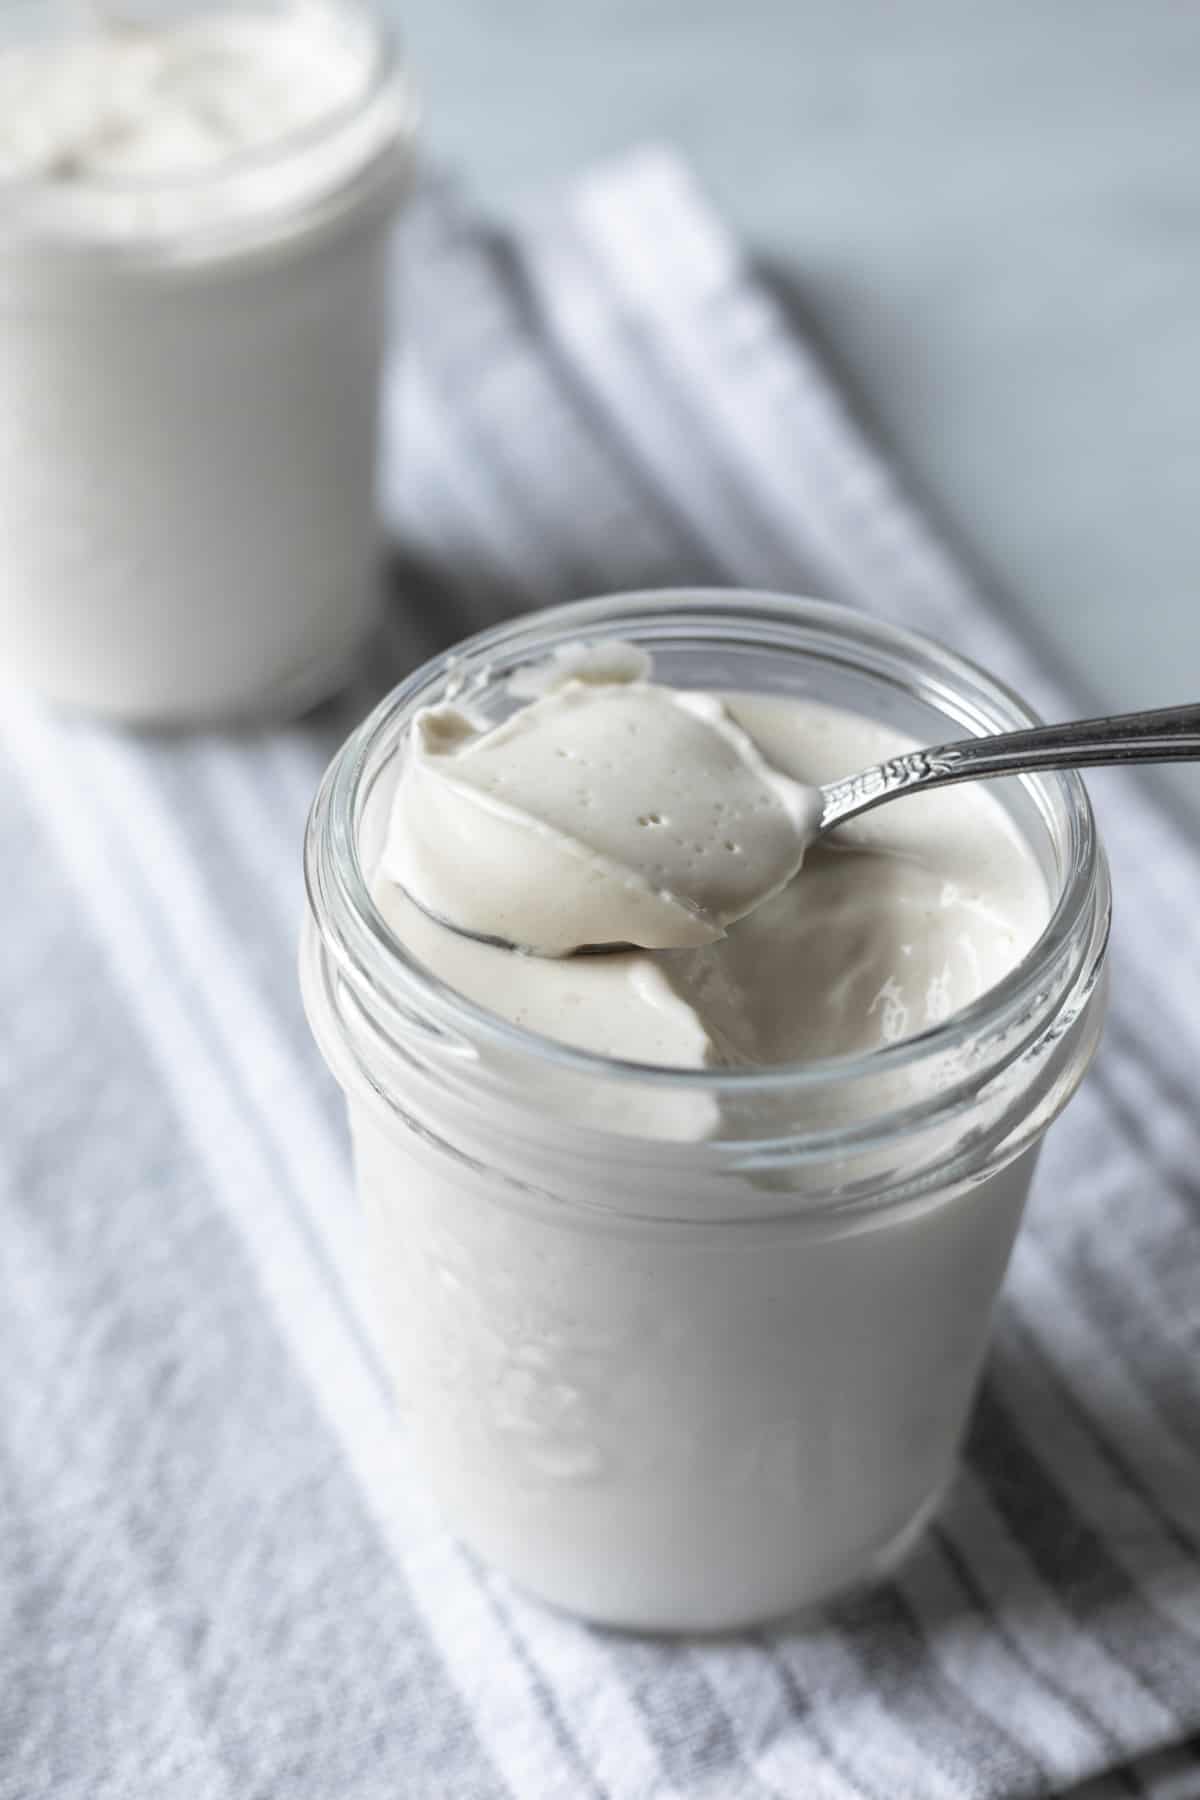
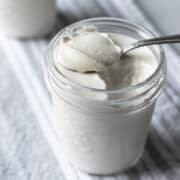
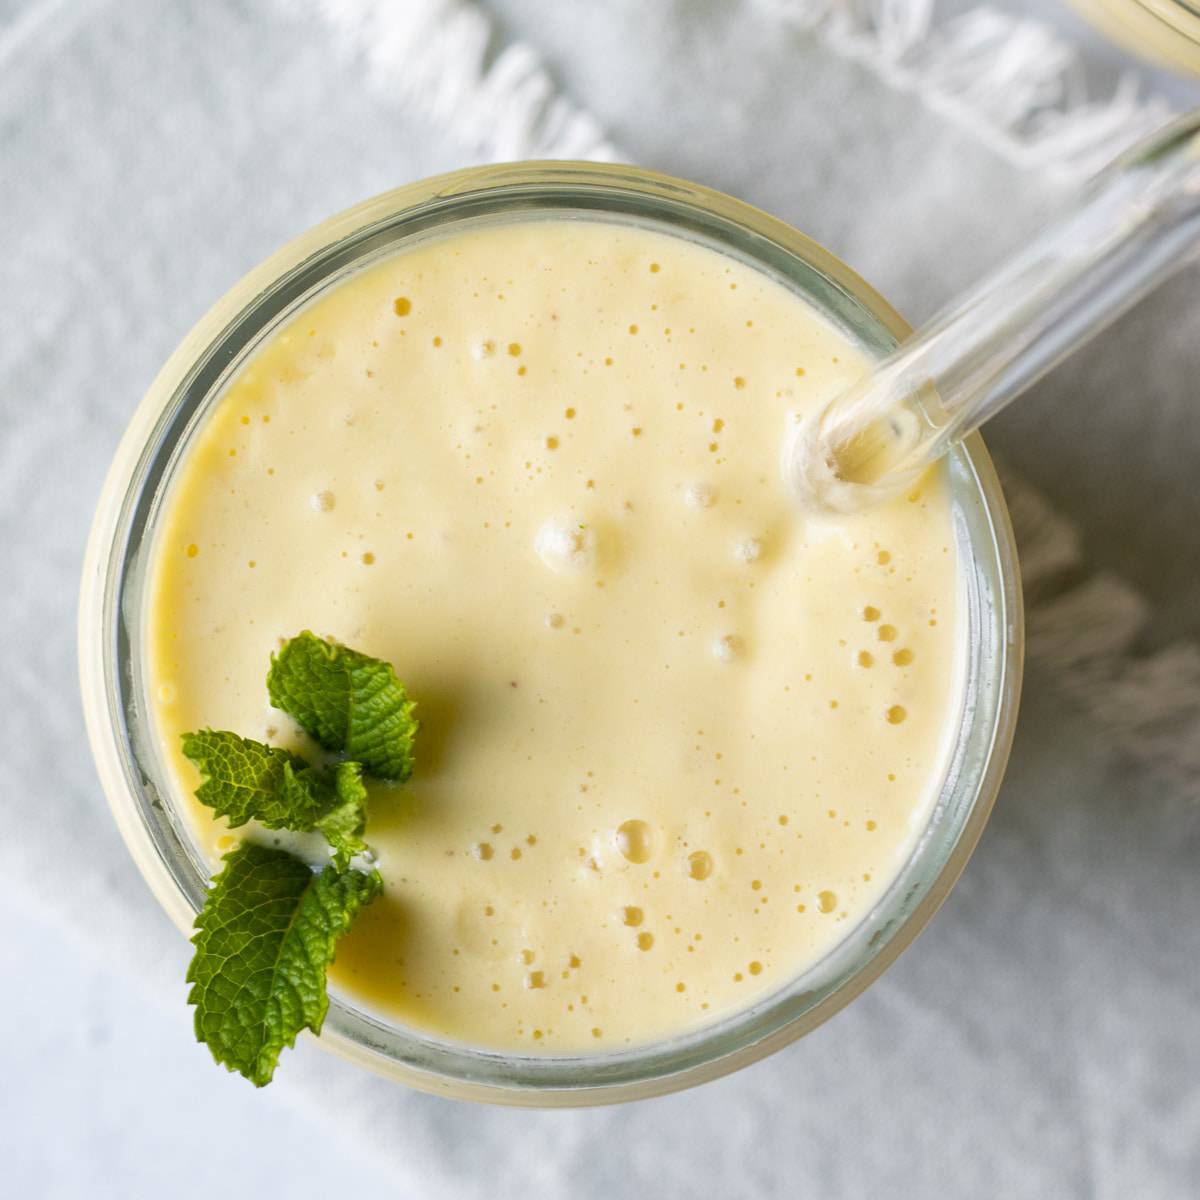
Honestly, the flavor of this almond yogurt surprised me. It tastes so clean, pure, and simple. That's really the best way to describe it.
The main difference in preparation between cashew yogurt and almond yogurt is that almond milk doesn't thicken on its own without a little help. So we're including a starch and a small amount of agar agar to help the yogurt set.
Related: Check out this new tofu yogurt recipe. It's super quick and easy!
Jump to:
Why You'll Love It
This homemade almond yogurt:
- is SO creamy, clean, and rich-tasting
- cuts down on single-use plastic containers
- can be more or less tangy, depending on your preference (by adjusting the culturing time)
- is unsweetened other than 1 tablespoon of sweetener to help the culturing process. So it's also suitable for use in savory dishes like our favorite vegan mashed potatoes!
- contains no gums
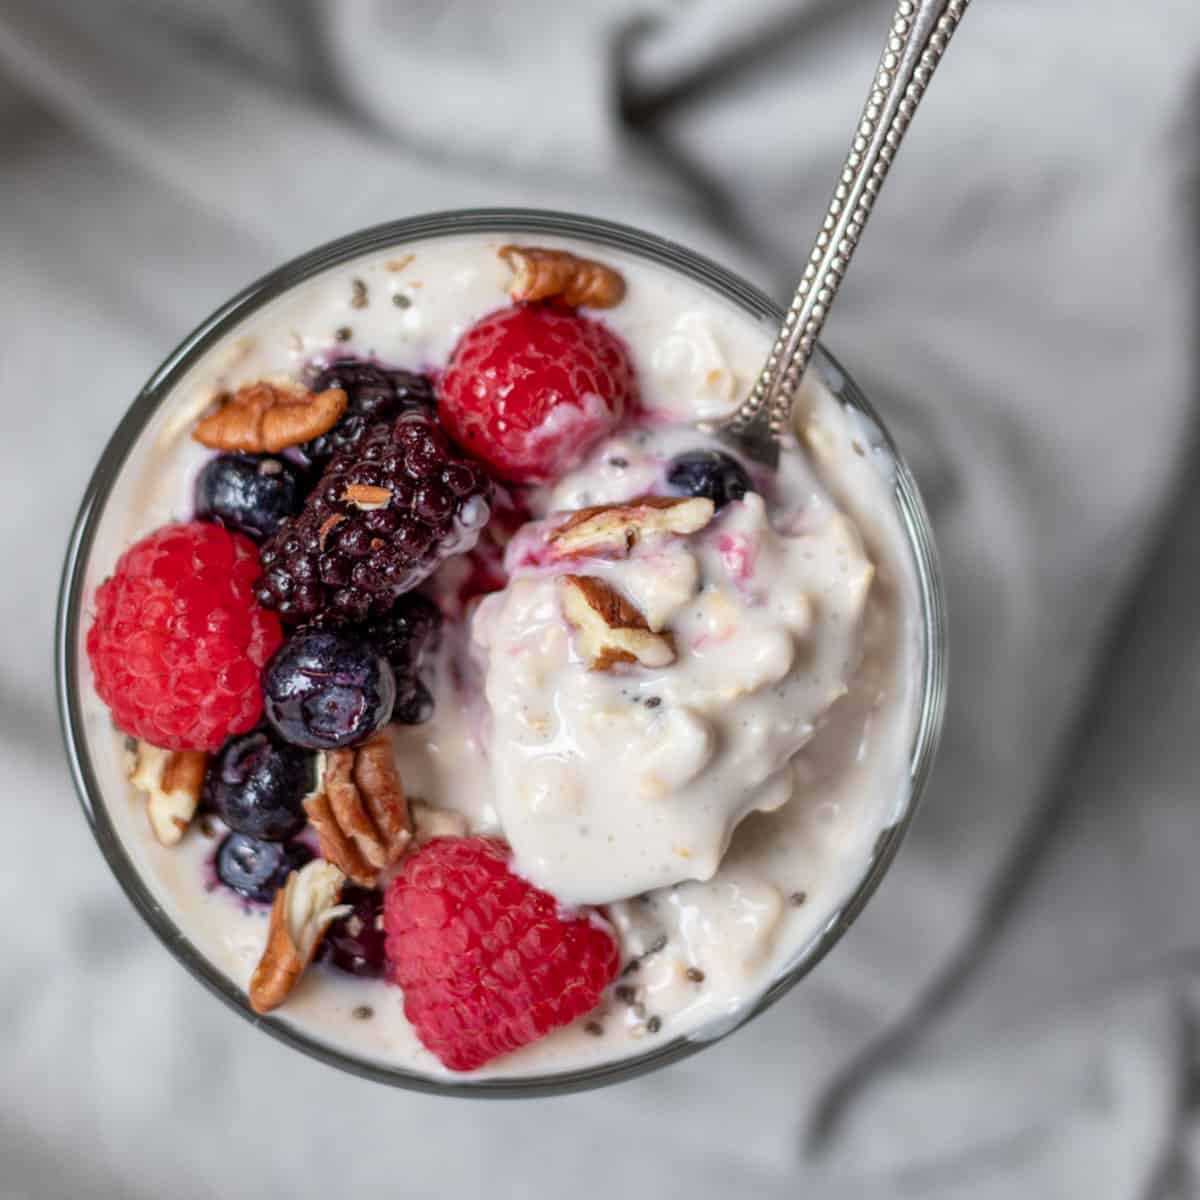
- and it can be flavored any way you like, from jam and fruit purees to maple syrup and alternative sweeteners. Add them to individual servings for ultimate flexibility.
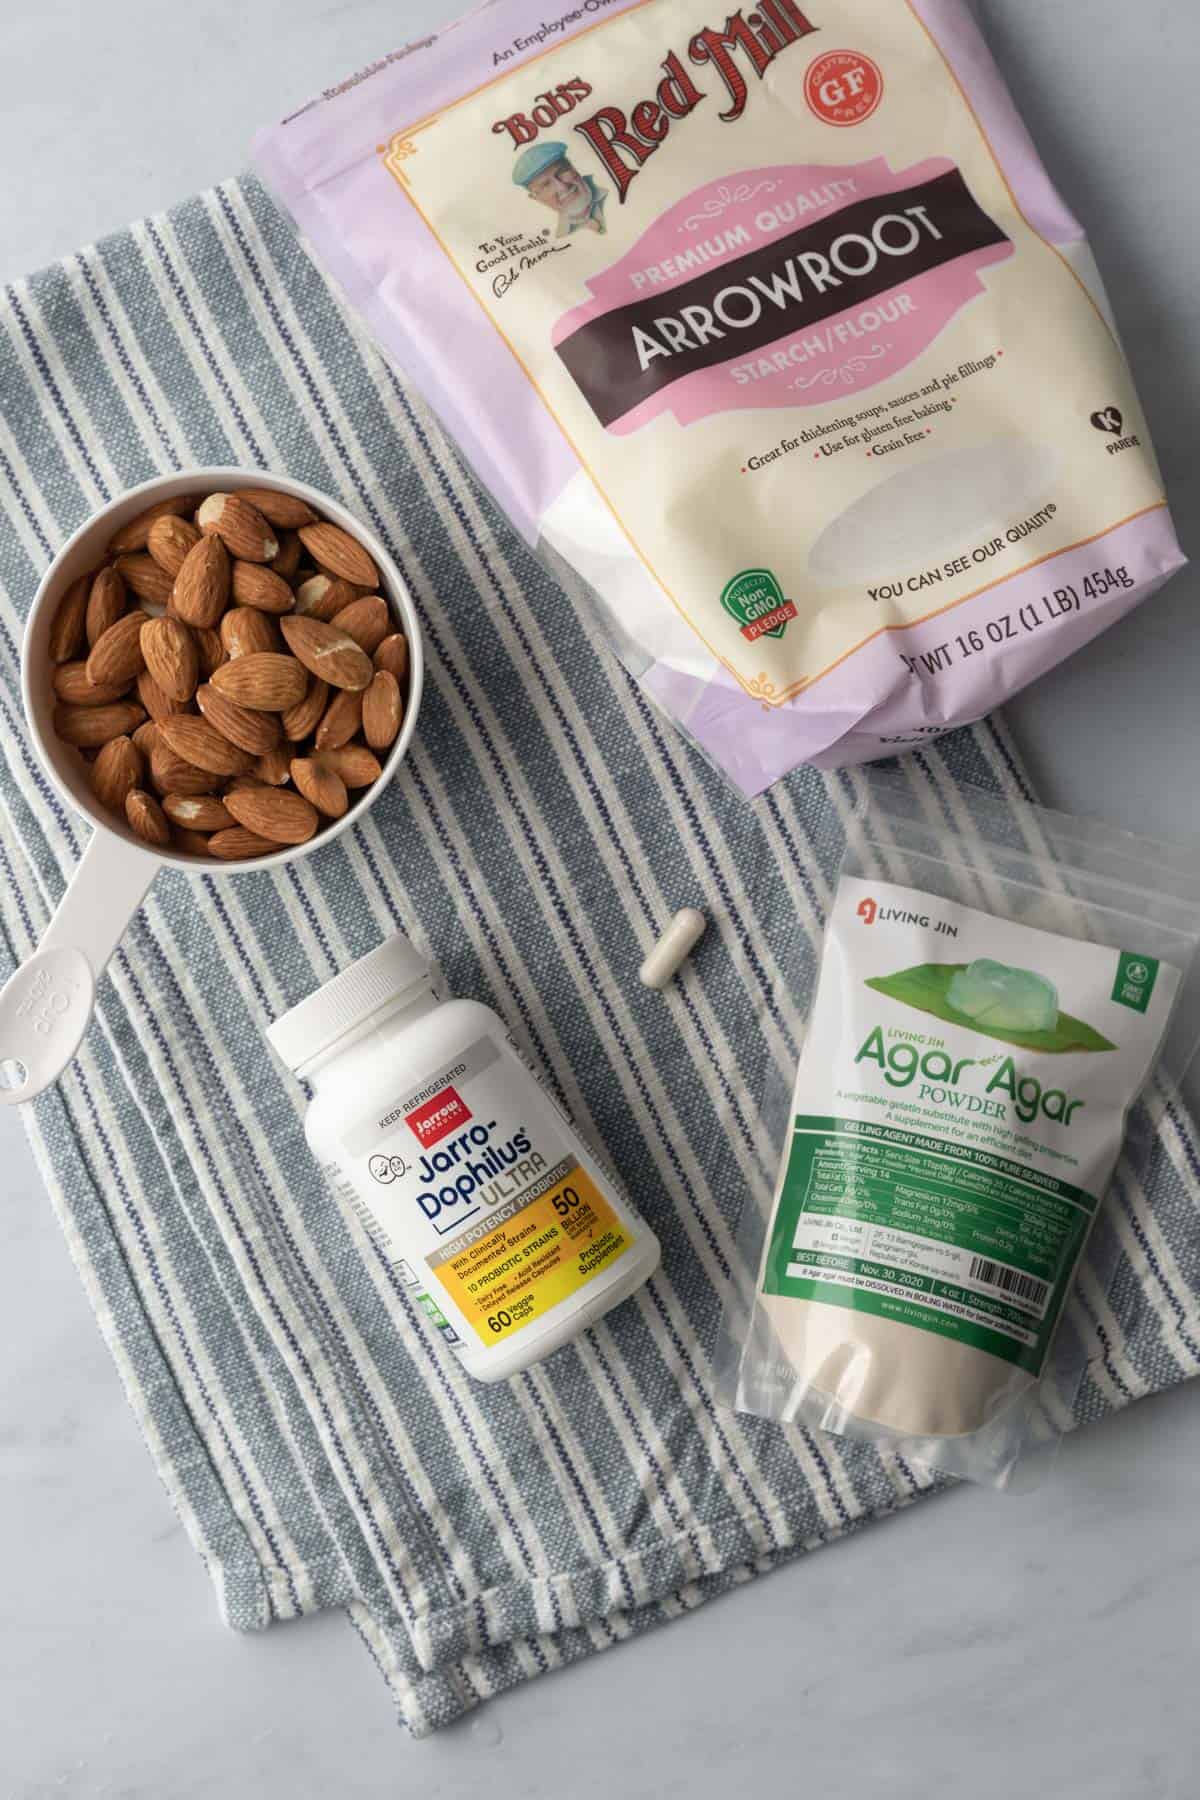
Ingredient Notes
- Raw Almonds - in the U.S., technically almonds labeled as "raw" aren't raw at all. They are steam treated for food safety. But "raw" is what you want to look for on the label or bulk bin.
- Maple Syrup - since almonds are lower in carbohydrates than cashews, this yogurt needs a touch of added sugar to help it culture. Feel free to use another type of sugar if you don't have maple syrup on hand. Note: it's such a small amount that it doesn't make the yogurt taste sweet; the end result tastes like sugar-free, plain yogurt.
- Probiotic or Yogurt Starter Culture - This is important! If using probiotic capsules you need one with live active cultures. For years I used a high-potency, multi-strain probiotic by Jarrow, which is difficult to find these days. This one by NOW Foods is a good option, or any similar product. Note that it needs to contain L. acidophilus and B. lactis.
- Arrowroot Starch - I almost always have arrowroot in the pantry because it's a great thickener for desserts, soups, and sauces. Feel free to substitute corn starch or tapioca.
- Agar Agar Powder - this seaweed-based vegan "gelatin" is such a useful ingredient! I use it to create healthy desserts, like these lightened-up Lemon Bars, and for the perfect texture in my Vegan Feta Cheese and Vegan Cream Cheese. Agar keeps for a long time in the pantry. If you decide to omit it, the yogurt will still taste great but will have a thinner consistency, more like kefir.
See the recipe card at the bottom of the post for amounts and full instructions.
Instructions
Making almond yogurt at home is easier than you might think. Here's an overview of the process.
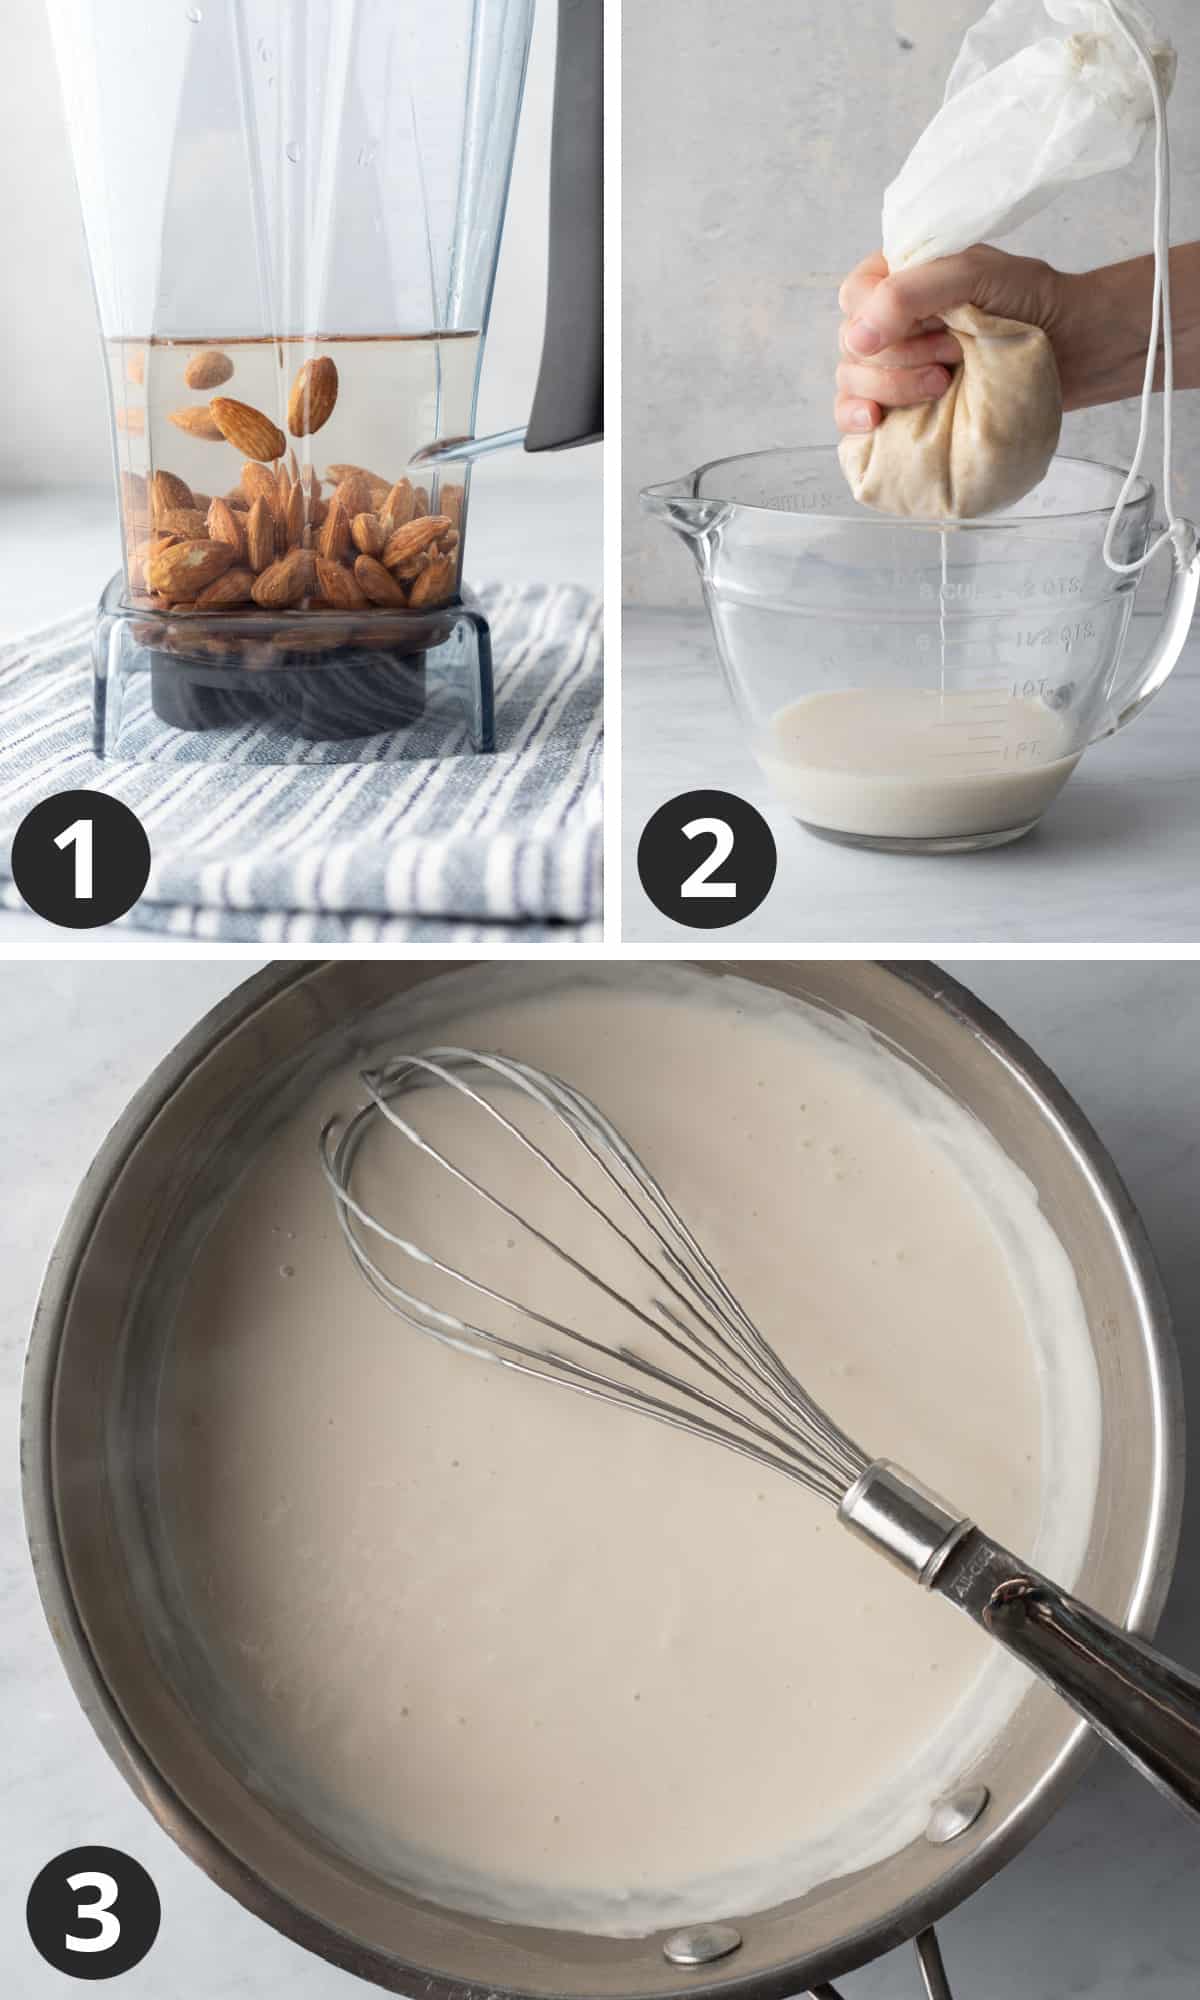
- To make the almond milk, blend 1 cup of raw almonds with 2 cups of fresh water and a tablespoon of maple syrup or other sugar.
- Then strain the milk with a nut milk bag. Tip! Don't discard the pulp. Use it to make tasty almond pulp energy balls or granola bars.
- In a large saucepan bring the almond milk, 1 additional cup of water, arrowroot, and agar to a simmer. Be sure to whisk frequently to avoid clumping.
Want to save this recipe? 📩
Keep an eye out for more delicious recipes. Unsubscribe anytime.
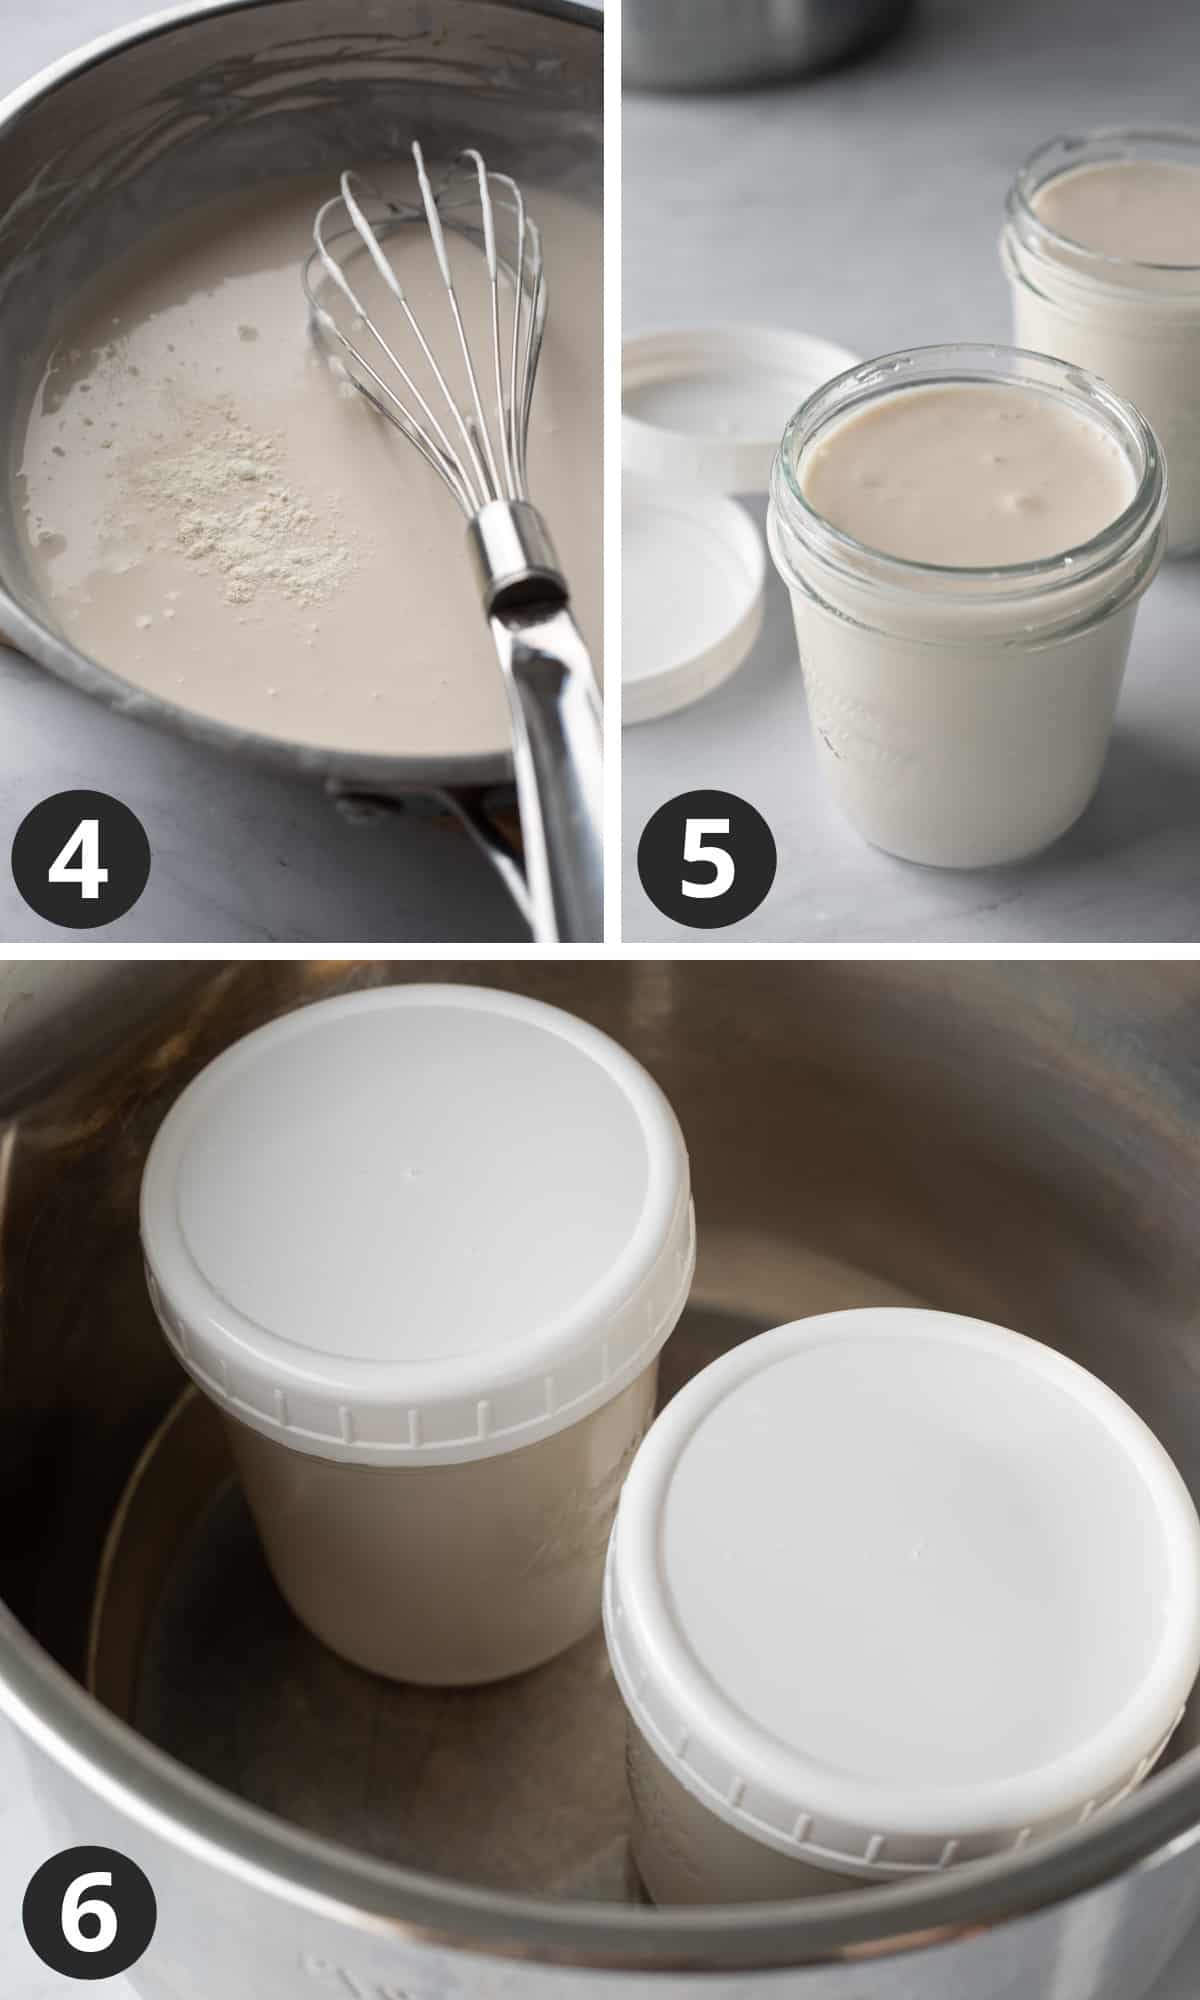
- Once the milk has thickened and simmered for about 2 minutes, remove from heat. Let cool until it reaches 105°F. For me this usually takes about 30 minutes. If you don't have a thermometer, drop some of the mixture on the back of your hand - it should feel warm but NOT hot. If it's too hot it will kill the probiotics. Open the probiotic capsule(s) and sprinkle the powder onto the milk (discard the capsule). Whisk to combine.
- Immediately pour into clean lidded jars (see tip below for an easy way to ensure the jars are clean).
- Place in the Instant Pot, if using, lock on the lid, and use the yogurt function to set the time. See below for other ways you can culture the yogurt without an Instant Pot.
Hint: When making yogurt in an Instant Pot, you can add water if you like, creating a water bath, but it isn't necessary.
Substitutions
- Maple Syrup - as mentioned above, a small amount of sugar helps the yogurt culture since almonds are naturally very low in sugars and carbohydrates. Feel free to substitute cane sugar or agave syrup if you don't have maple syrup.
- Arrowroot - corn starch or tapioca starch may be used instead.
- Agar - if you don't mind thinner yogurt with a consistency more similar to kefir, feel free to omit the agar. I don't know of a comparable substitute that's vegan.
Helpful Equipment
- Blender - A high speed blender like a Vitamix works best for making almond milk, but don't fret if you only have a standard blender. To help the blender along, soak the almonds overnight or in hot water for about 2 hours before blending.
- Nut milk bag - You'll need a way to strain the almond milk. I use these nylon nut milk bags. They're inexpensive, sturdy, and easy to clean. A fine mesh strainer lined with cheesecloth is another option.
Bonus! Once you have nut milk bags you can also use them for oat milk, condensed oat milk, and oat milk creamer! - Instant Pot - if you have an IP with the yogurt function, you're golden! It makes the process of making yogurt so very simple. Don't have an Instant Pot? See the next section for several other ways to culture yogurt.
How to Make Almond Yogurt Without an Instant Pot
The goal is to keep the almond milk at a fairly constant 105 to 110 degrees F during the culturing period.
But don't stress over it! Keep in mind that humans have been making yogurt for thousands and thousands of years without the help of electricity or kitchen appliances!
While an Instant Pot with yogurt function makes the process super easy, it's certainly not the only way to make yogurt at home. Here are a few alternative methods:
- Fill an insulated cooler with warm water (110 degrees) up to the necks of the jars, and keep the cooler closed.
- Place the jars in a draft-free spot in the house. Wrap them with a towel, and wrap a heating pad around the towel. Set it on low, cycling it on and off if needed so it doesn't get too warm.
- Pre-heat a slow cooker, then turn it off. Line it with a towel, and set the jars on the towel. Cover with the lid and another towel for added insulation. Occasionally turn on the "warm" function if needed.
- Find a warm, sunny spot in the house. Wrap the jars with a towel, and place in the sun.
Frequently Asked Questions
It's best to use homemade almond milk made with just almonds and water. Store-bought almond milks often contain stabilizers, gums, and oils, which can interfere with the fermentation process and prevent the yogurt from setting properly. That said, if you have access to a brand made with just almonds and water, that's fine to use. You'll need 3 cups.
Using jars keeps things simple and clean. Instead of risking unwanted odors from your last batch of curry getting into the yogurt, you'll know it is protected, from both unwanted food odors and bad bacteria that could be inside the Instant Pot (including on the lid). Plus, you'll have to transfer the yogurt to a storage container anyway. So, in my experience, using jars from the get-go makes sense.
Store the yogurt in the refrigerator and use within 1 week.
As with any yogurt, a small amount of water may separate during storage. Either discard it, or stir it back into the yogurt.
Top Tips and Troubleshooting
Make sure your utensils and other equipment are clean, and use good common sense to avoid contamination.
- Heating the almond milk is a critical step. This kills any unwanted bacteria or mold spores that may have made it into the milk via the blender or nut milk bag. Heating also activates the starch and agar which thickens the yogurt.
- Avoid double dipping of spoons or dipping your fingers into the almond milk while it's cooling.
- If the yogurt develops a pinkish color, often referred to as "pink mold," this indicates contamination with bacteria, and the yogurt should be discarded.
- But if that happens, don't give up! Review your process and environment, and identify potential ways the bacteria made it into the yogurt.
- Remember, different buildings and environments have varying levels of bacteria and mold in the air. You may need to take extra precautions with the next batch. Sterilize the jars, lids, and all utensils. And while the milk is cooling (before adding the probiotic), cover with a sterile lid or place the pot in an area where where there isn't a lot of activity or air disturbance. Note that covering the pot means it will take longer for the mixture to cool to 100-105°F.
Most importantly, don't let these tips scare you away from making yogurt at home. My goal is to help you have success on the first try, which means sharing as much information as possible.
Your efforts will be rewarded with creamy, delicious, affordable, homemade vegan yogurt!
Recipe Video
Recipe
Homemade Almond Milk Yogurt (Vegan)
Equipment
- pint jars - or other size, as long as it fits in IP
- 6-quart instant pot - optional
Ingredients
- 1 cup whole raw almonds
- 3 cups water, divided
- 1 tablespoon maple syrup
- 3 tablespoons arrowroot starch
- ½ teaspoon agar agar powder
- 1 capsule vegan probiotic - Or more; aim for 20-30 billion live bacteria. SEE NOTES below
Instructions
- If not using a high-speed blender, soak almonds overnight or in hot water for about 2 hours. Then drain and rinse.
- In a blender combine almonds with 2 cups of water and the maple syrup. Blend for 30 seconds, then stop to scrape down the sides, if needed. Blend again until the almonds are fully broken down, about 1 minute.
- Using a nut milk bag, strain the almond milk into a medium/large non-reactive sauce pan (stainless steel is fine). Squeeze out as much liquid as possible (save the pulp for another use; see Notes below for suggestions). To the pot add the remaining 1 cup water, arrowroot starch, and agar powder, and whisk to dissolve. Do NOT add the probiotic yet.
- Place the pot over medium heat, and slowly (so it doesn't scald) bring the milk just to a boil. Whisk frequently as the milk is coming to temperature. Once bubbles are rising to the surface, the milk has reached a slow/low boil. Reduce heat to maintain a simmer, and whisking constantly, cook for about 2 minutes. This step is important for killing unwanted bacteria and activating the starch and agar, which thickens the yogurt. Remove from heat.
- Allow the mixture to cool for about 30 minutes or until it reaches 100 to 110 degrees F. Tip: I like to leave the whisk resting in the pot so it stays clean. You may want to whisk the mixture several times as it cools to keep it smooth. If you don't have a thermometer, use a clean spoon and taste the mixture, or drop a bit onto your wrist to test the temperature. If it feels warm (similar to body temperature) but not hot, it's safe to add the probiotic. If the mixture is too warm it will kill the probiotics.
- Open the probiotic capsule(s), and sprinkle the powdered contents onto the almond milk. Discard the capsule(s). Whisk the probiotic powder into the milk. Immediately pour into 2 clean glass pint jars or 1 quart jar, but don't fill the jars all the way to the rim. It's best to leave a bit of space so that the yogurt is not in contact with the lid. Cover with clean lid(s).
- *If not using an Instant Pot use one of the alternate methods described in the Notes section below.* Otherwise, place the jars in the Instant Pot (no need to add water), secure the lid, and set the vent knob to sealed position. Press the Yogurt button, and use the +/- buttons to adjust the time. For less tangy yogurt, try 10 hours (this is the default time for some IP models). For tangier yogurt choose 12 to 14 hours of incubation (I do 12 hours). Don't disturb the yogurt during incubation.
- When the timer beeps, remove jars from the Instant Pot. Let cool for about 30 minutes, then refrigerate. Always use clean utensils when scooping out individual portions. Storage: Keep the yogurt refrigerated, and enjoy within 7 days. As with any yogurt a small amount of water may separate during storage. Either discard it, or stir it back into the yogurt.
Notes
- Fill an insulated cooler with warm water (110 degrees) up to the necks of the jars.
- Place the jars in a draft-free spot in the house. Wrap them with a towel, and wrap a heating pad around the towel. Set it on low, cycling it on and off if needed so that it doesn't get too warm.
- Pre-heat a slow cooker, then turn it off. Line it with a towel, and set the jars on the towel. Cover with the lid and another towel for added insulation. Occasionally turn on the "warm" function if needed.
- Find a warm, sunny spot in the house. Wrap the jars with a towel, and place in the sun.
-
- Heating the almond milk is a critical step. This kills any unwanted bacteria or mold spores that may have made it into the milk via the blender or nut milk bag. Heating also activates the starch and agar which thickens the yogurt.
-
- If the yogurt develops a pinkish color, often referred to as "pink mold," this indicates contamination with bacteria, and the yogurt should be discarded. Review the Top Tips section above.
Estimated Nutrition (per serving)
Nutrition is an estimate and will vary depending on the exact amounts and ingredients used.


Cathy says
I don't make almond milk but I have used it in the past to make yogurt, using the quarts stored on a shelf. Do you have any idea how much milk I will need to make this recipe? It looks delicious!
Lori Rasmussen says
Hi Cathy, you'll need about 3 cups almond milk.
elainegean1953 says
After trial and error on my part, I love this recipe. It is work but very well worth it. 👍🏼