
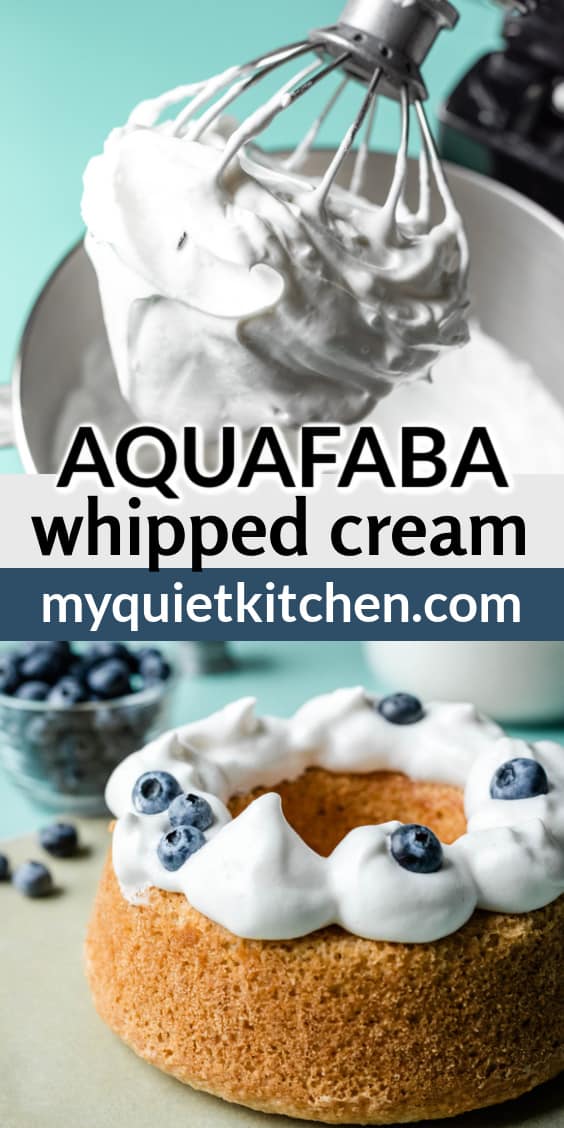
Vegan whipped cream made with aquafaba is a light and healthy alternative to both dairy cream and whipped coconut cream. But this isn't your basic whipped aquafaba! One key difference makes this vegan whipped topping tastier AND more stable. Choose from 2 different ways to prepare it: a fat-free whipped topping or with oil added for a richer, creamier flavor and mouthfeel (like vegan Cool Whip)! No coconut, only 5 ingredients, and it can be made in advance and re-whipped.
Jump to:
Types of Vegan Whipped Cream
Since whipped coconut cream has been the go-to for vegans for years now, I love that there are people out there experimenting with other homemade options, like this soy whipped cream.
Coconut whip is fine and tasty in a heavy sort of way, but sometimes it doesn't whip all that well. And not everyone is a fan of coconut.
Whether you have or haven't tried aquafaba whipped cream, you probably don't have high hopes that it can possibly taste good. I mean, it is bean water after all!
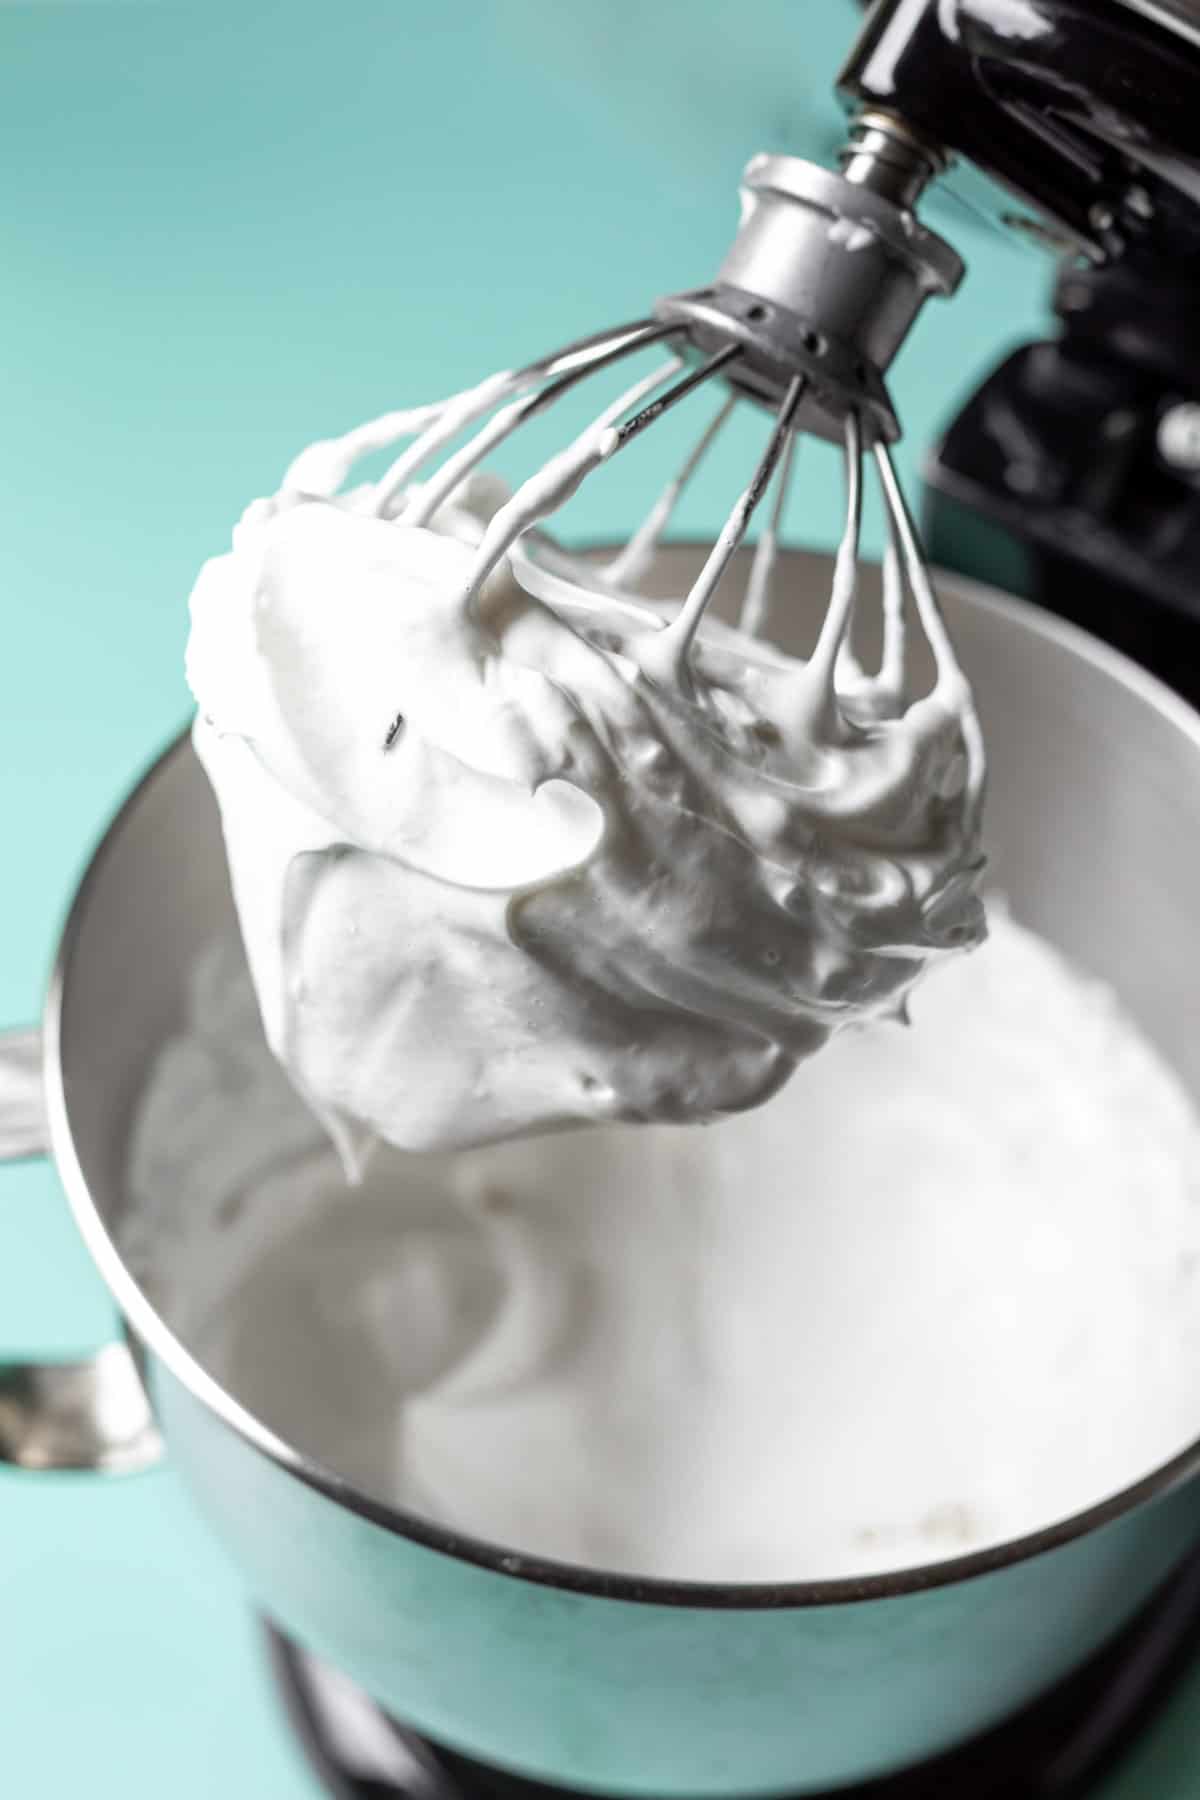
The first few times I experimented with whipped aquafaba I wasn't all that impressed. Actually, I was impressed with the way it whipped and became so glossy, white, and massive! It's straight up plant magic.
But in the taste department, it always left me wanting both more and less - more creamy richness and less bean-y taste. The problem is that there's a limit to what you can add to whipped aquafaba without causing it to deflate.
So I tested a few different methods and was finally able to add just enough sugar, vanilla, and fat to make it more delicious and deserving of the title vegan whipped cream!
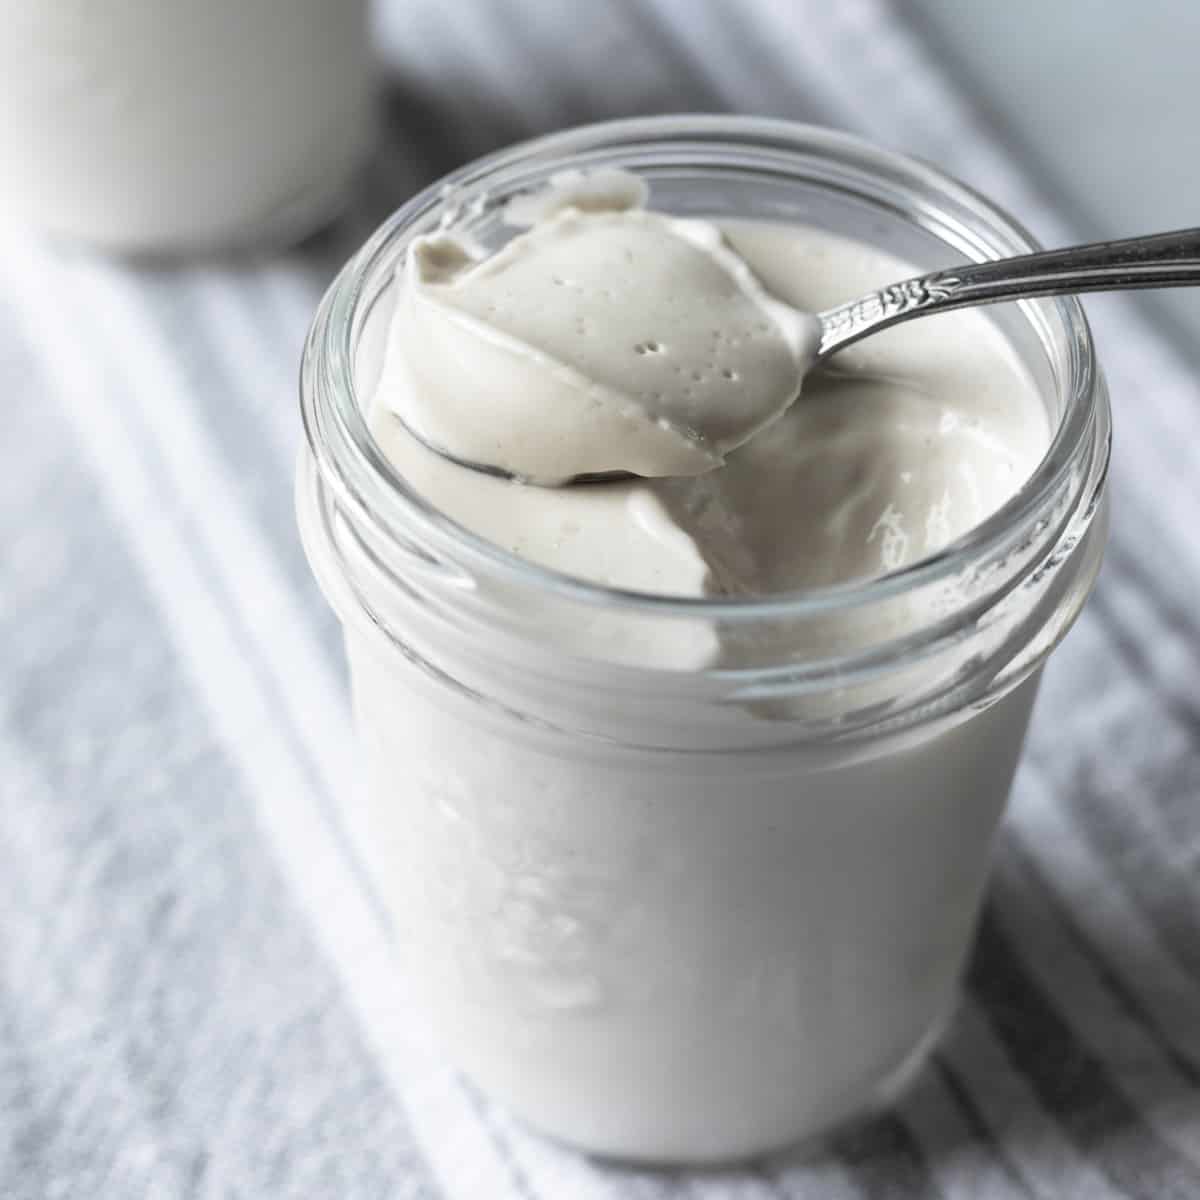
Even with the added oil, this vegan whipped cream is much lighter than the coconut versions. It has a consistency and mouthfeel more like slightly melty Cool Whip, which is exactly what I want on top of my desserts!
Bonus: You can even make it in advance and re-whip the leftovers!
What is aquafaba?
Aquafaba is the water that chickpeas or other beans were cooked in. It's often used as an egg replacer in baking and can add a certain viscosity to vegan mayo and even low calorie salad dressings.
Aquafaba also has the magical ability to transform into glossy, white, meringue-like fluff when whipped. And yes, that fluff can even be piped and baked into beautiful vegan macarons and piled on top of pies.
Ingredient Notes
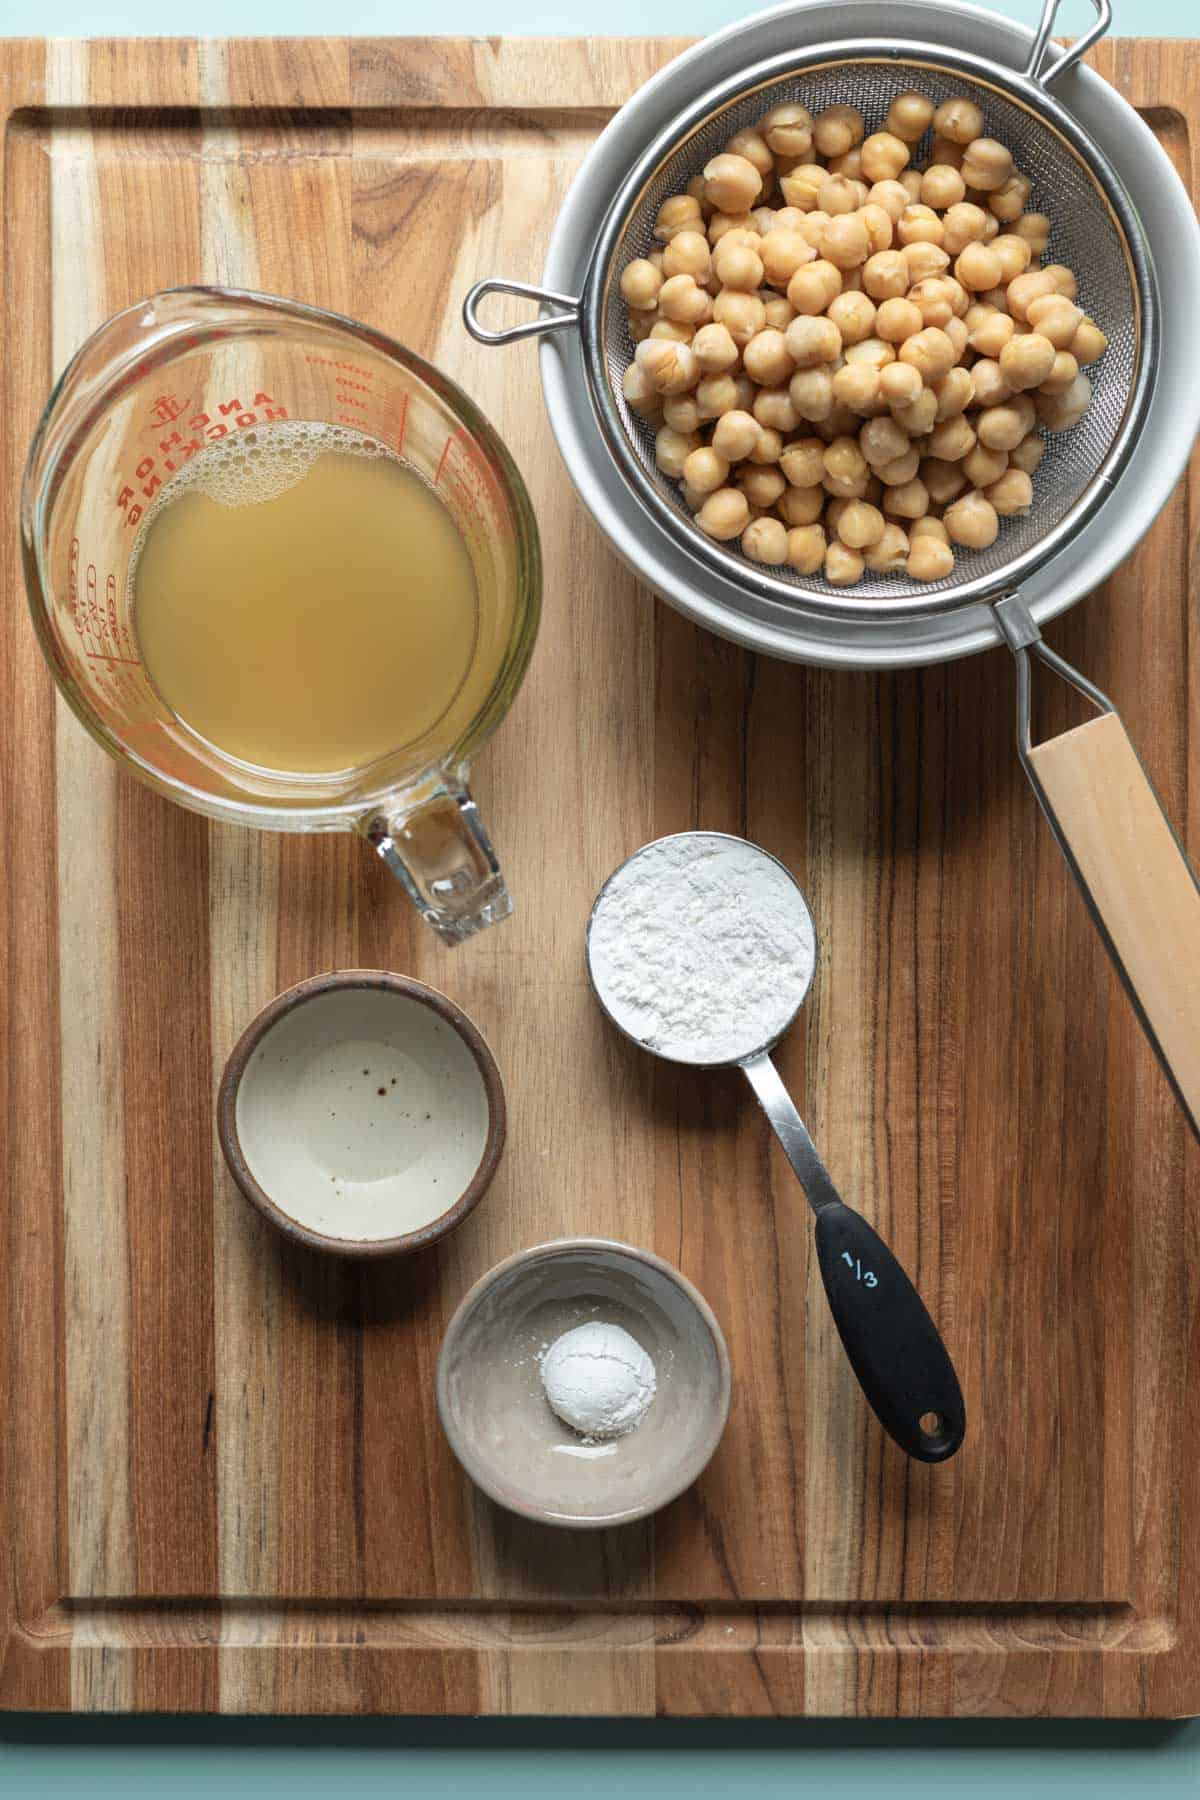
- aquafaba - This is simply the liquid drained from a can of chickpeas. It's possible to whip homemade aquafaba (after cooking your own beans), but the concentration isn't as consistent as store-bought. So for the best results I recommend purchasing canned chickpeas. For this recipe choose unsalted.
- powdered sugar - If you don't have powdered sugar, you can blend granulated sugar until it's a powdery, very fine consistency. In my Vitamix this only takes about 5 pulses. The lighter, smaller sugar granules incorporate more easily during whipping.
- starch - I used a teaspoon of potato starch to help fortify the whip and add creaminess. Feel free to sub arrowroot or corn starch, or omit it if needed.
- lemon juice or cream of tartar - Adding one of these acids makes the aquafaba more stable and easier to whip to stiff peaks.
- vanilla extract - You can use pure vanilla or clear imitation;. For a nostalgic, Cool Whip flavor, I like to use clear vanilla.
- optional: neutral oil such as avocado oil
See the recipe card below for quantities and full instructions.
Want to save this recipe? 📩
Keep an eye out for more delicious recipes. Unsubscribe anytime.
How to Make Vegan Whipped Cream
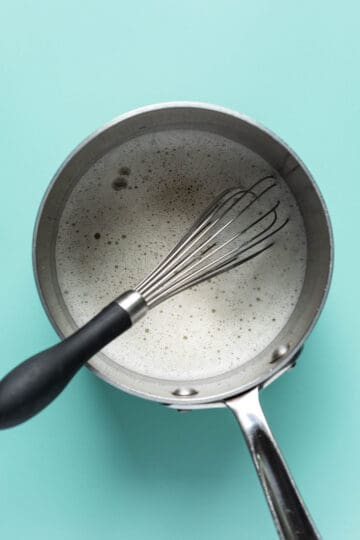
In a small saucepan, whisk together the aquafaba, half of the sugar, and the starch. Place over low to medium-low heat. Whisking frequently, slowly heat the mixture until steamy. This should take about 6 minutes. Don't let it reach a simmer.

Pour the hot liquid into the bowl of a large stand mixer with a whisk attachment. Add the cream of tartar or lemon juice.

Let the machine run for about 2 minutes on medium speed. The mixture will look foamy but still liquid.
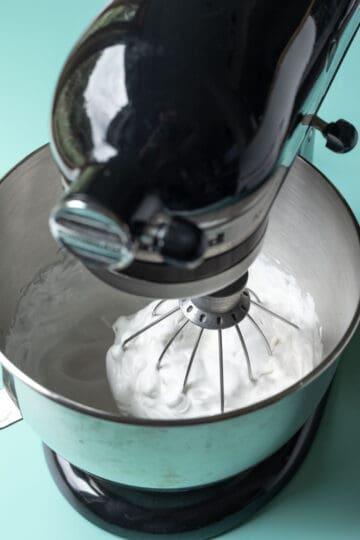
Increase to medium-high speed, add the vanilla, and beat for another 2 to 3 minutes.
Finally, increase to high speed, and continue until stiff peaks form, about 2 more minutes. During this time, stop the machine and taste for sweetness. Sift in the remaining sugar, beating on high after each addition.
Variations: Vegan Cool Whip!
For a richer mouthfeel, with the machine on high speed, very slowly drizzle in one tablespoon neutral-tasting oil. You'll be amazed how much this transforms the flavor and mouthfeel!
Adding oil will cause it to deflate a bit, which is totally normal.
You can also switch up the flavor with different extracts like orange, coffee, and peppermint.
Serving Suggestions
- Serve with fresh fruit and muffins for breakfasts
- as a dip for strawberries, cookies, and granola bars
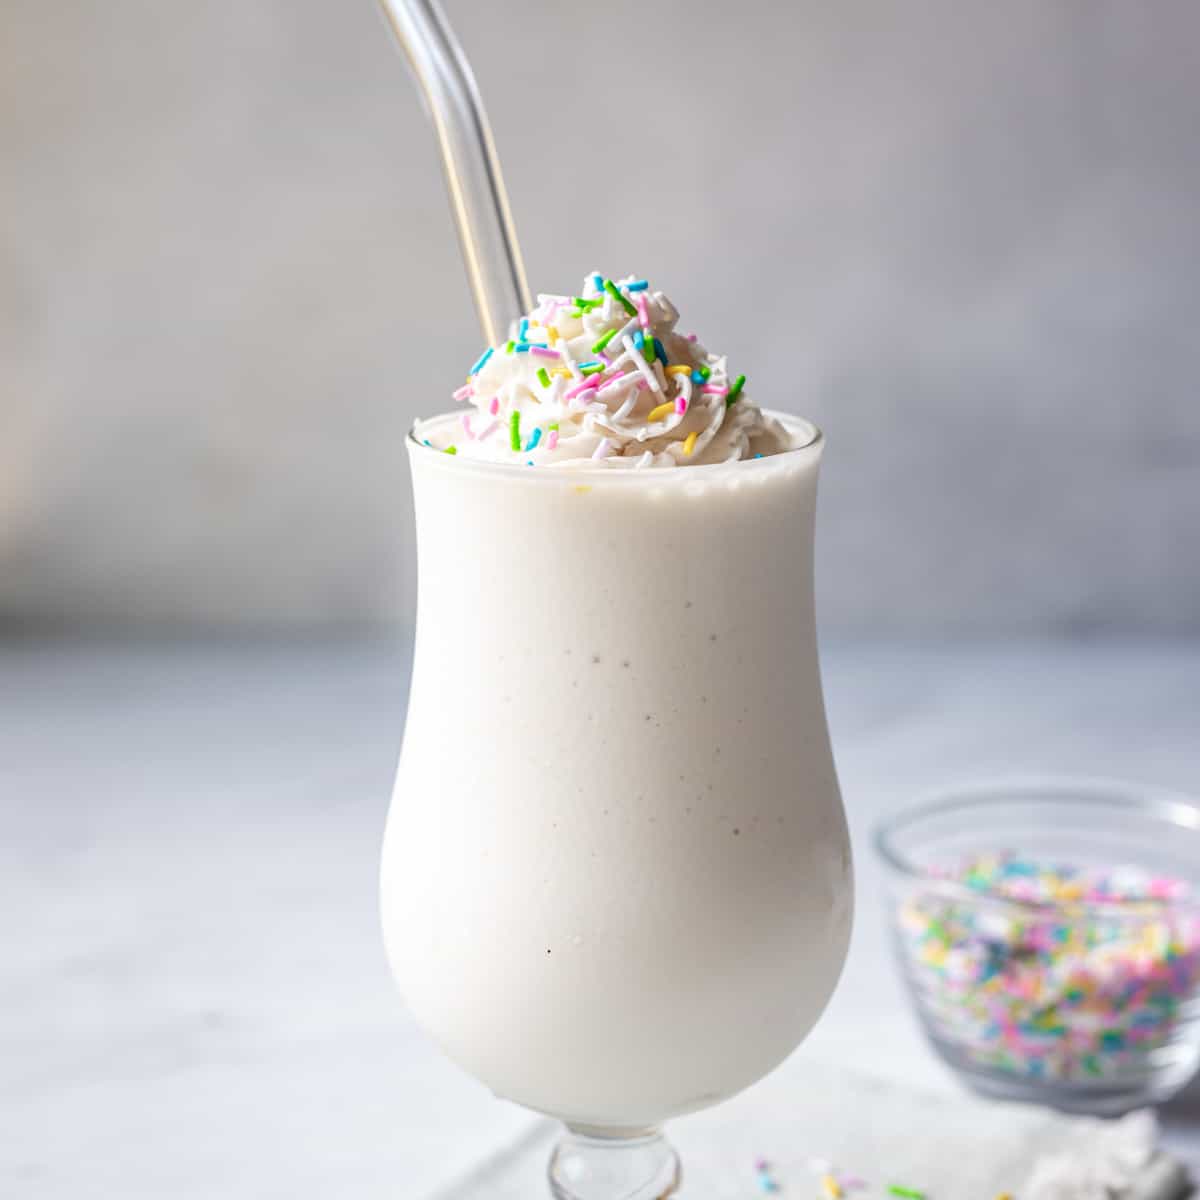
- on vegan lemon bars, almond flour brownies, non-dairy milkshakes, pudding, and ice cream
- And of course, on top of cakes and pies like:
Here are a few ways to put the chickpeas to use:
Equipment
For this particular method of whipped aquafaba, you'll need:
- small saucepan - to heat the aquafaba and sugar
- stand mixer - or electric handheld mixer
- sifter - to add the powdered sugar
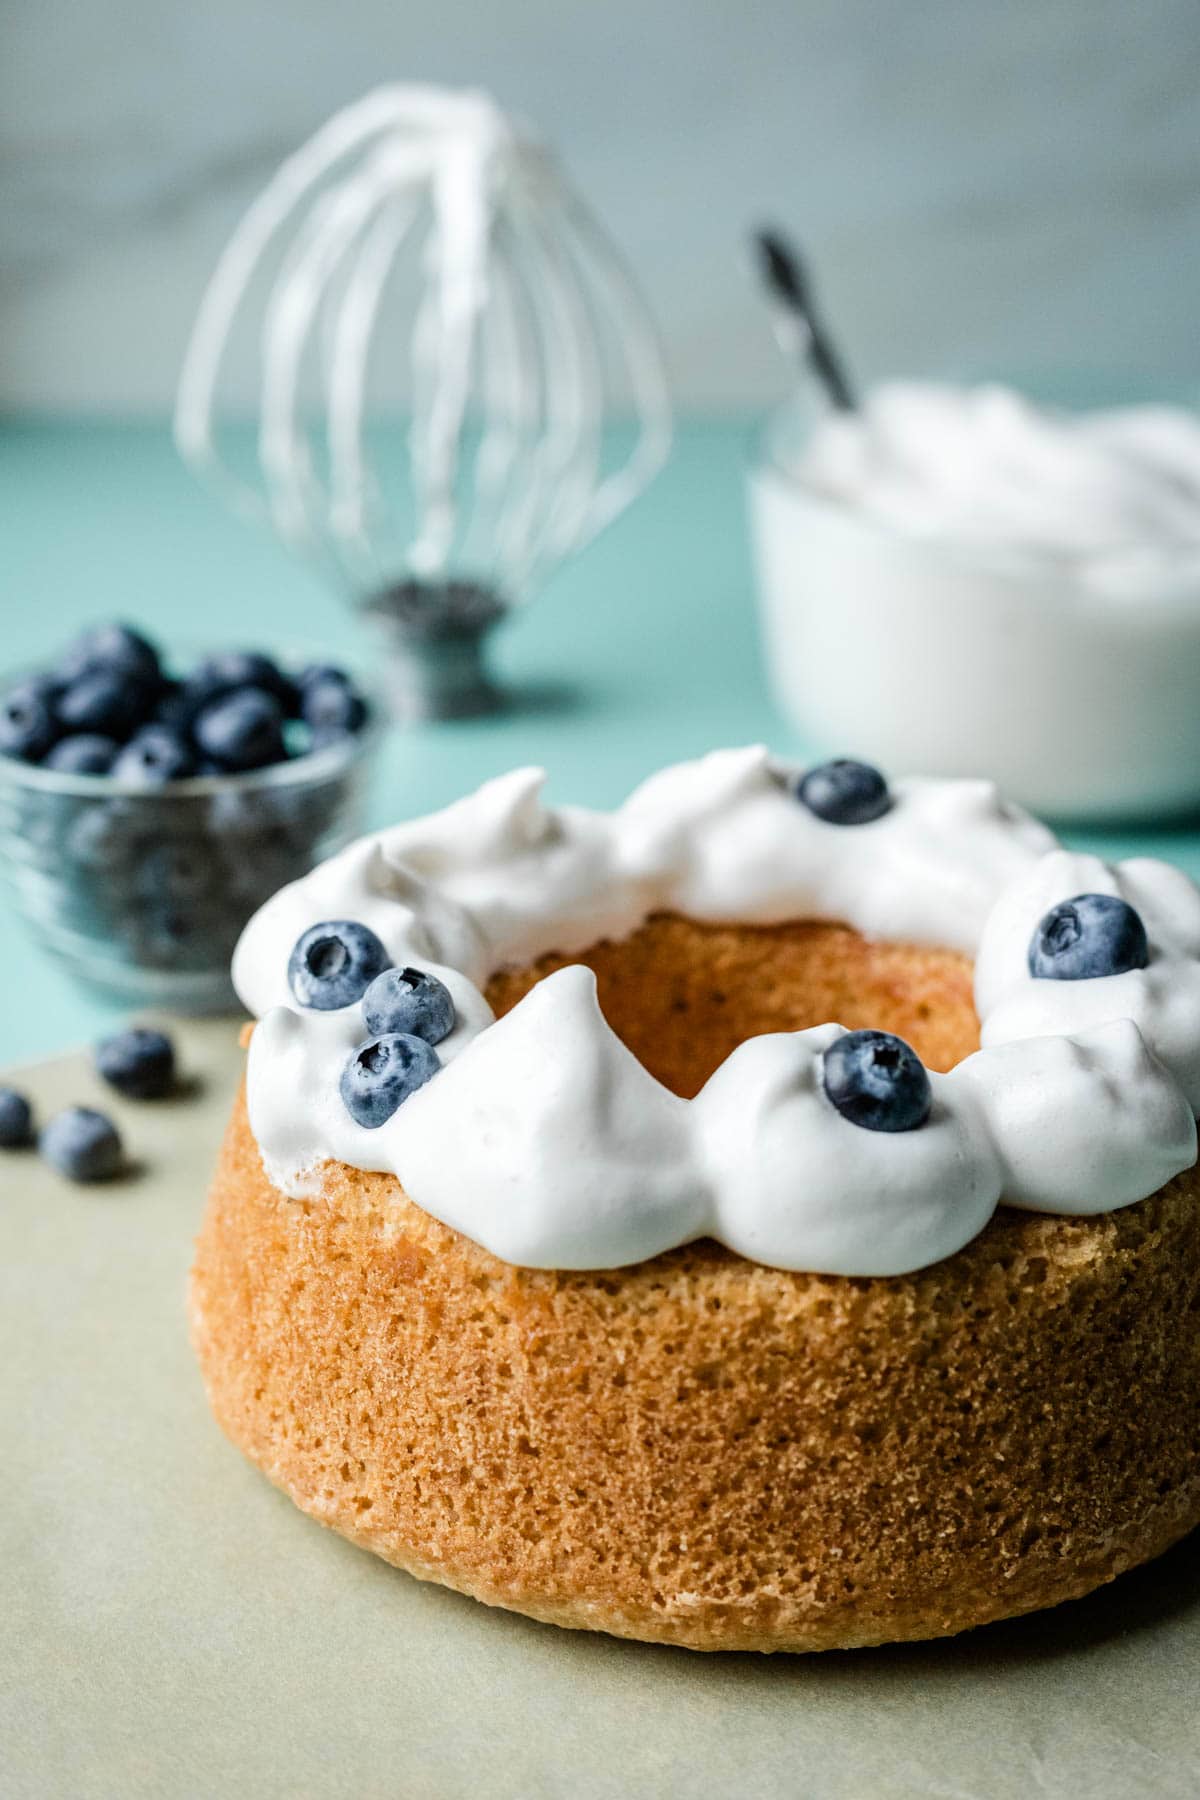
Hint: The whipped topping pictured above was dolloped onto the cake about 30 minutes before I took the photo. As you can see, it was still holding strong!
Heating the aquafaba with sugar and adding a small amount of starch is the trick to making it more stable.
FAQs
Yes, but you may need to reduce it on the stovetop first. This makes it more concentrated and similar to aquafaba from canned beans. For the most consistent results I recommend using canned.
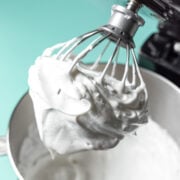
With a powerful stand mixer, it usually takes around 8 minutes for aquafaba to reach its full potential, comparable to the stiff peaks of whipped egg whites.
Yes! Though the consistency of aquafaba whipped cream is perfect straight from the mixing bowl, with this particular recipe the leftovers can be re-whipped. Store it in the refrigerator in an airtight container for up to 5 days. It will deflate and separate overnight. Simply whip again on high speed until fluffy.
Top Tips
In the first step, don't heat the sugar-aquafaba mixture too rapidly OR let it reach a full simmer. In my experience, simmering and reducing aquafaba makes it taste too bean-y.
The goal is to very slowly heat the aquafaba and dissolve the sugar. The process should take about 6-7 minutes.
Keep the heat low, around mark 2 on the stove, and adjust it up or down as needed. Keep a close eye on the liquid the entire time, and once it looks steamy hot and just short of bubbling, immediately remove it from heat.
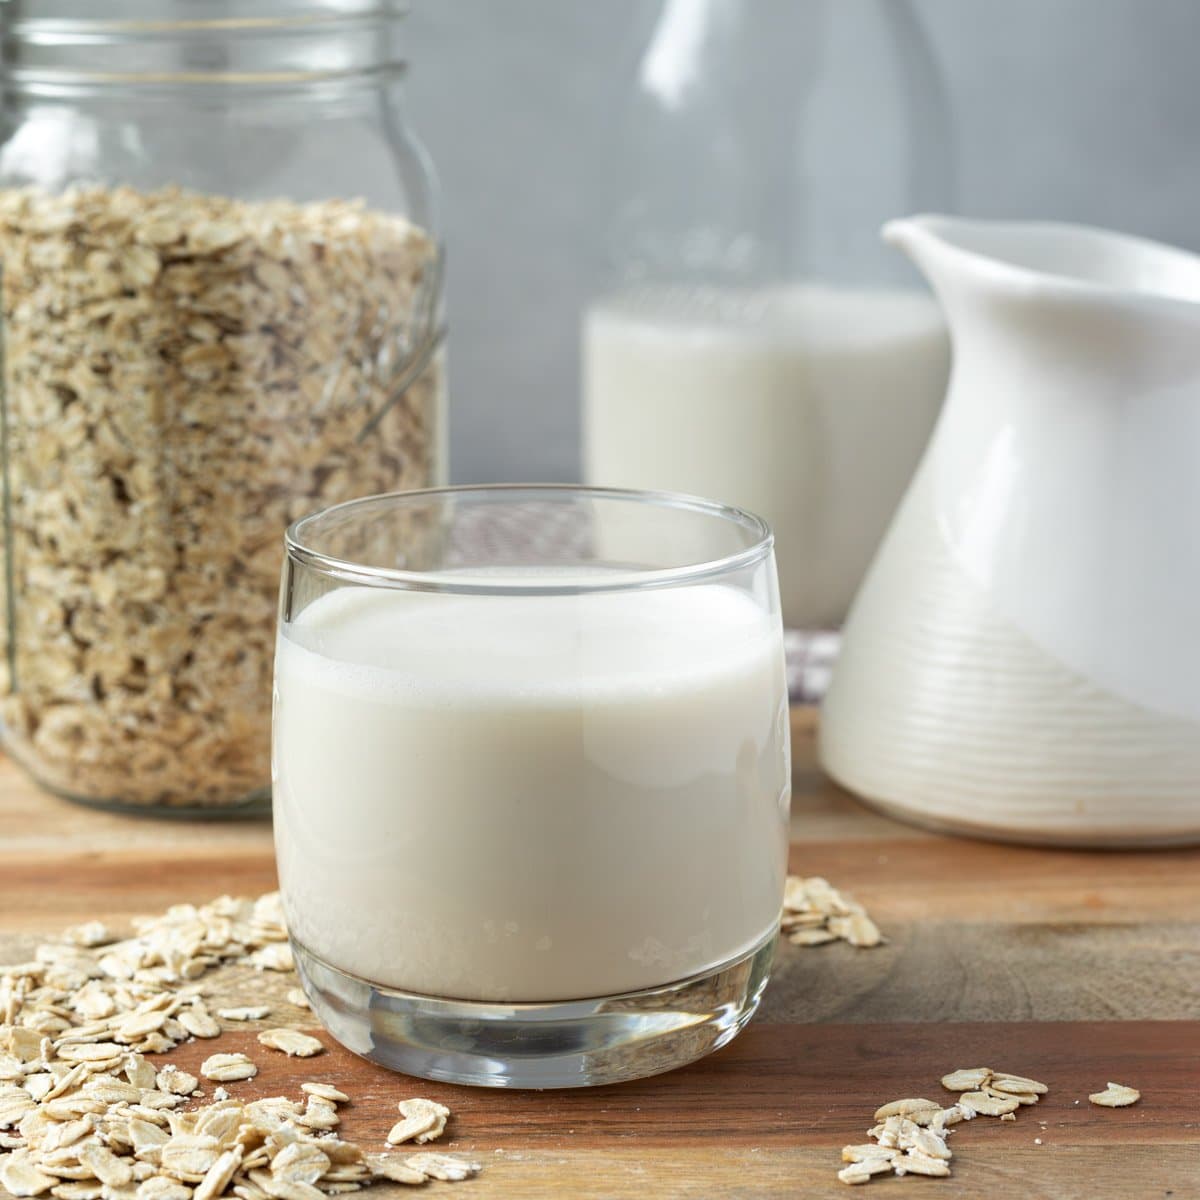
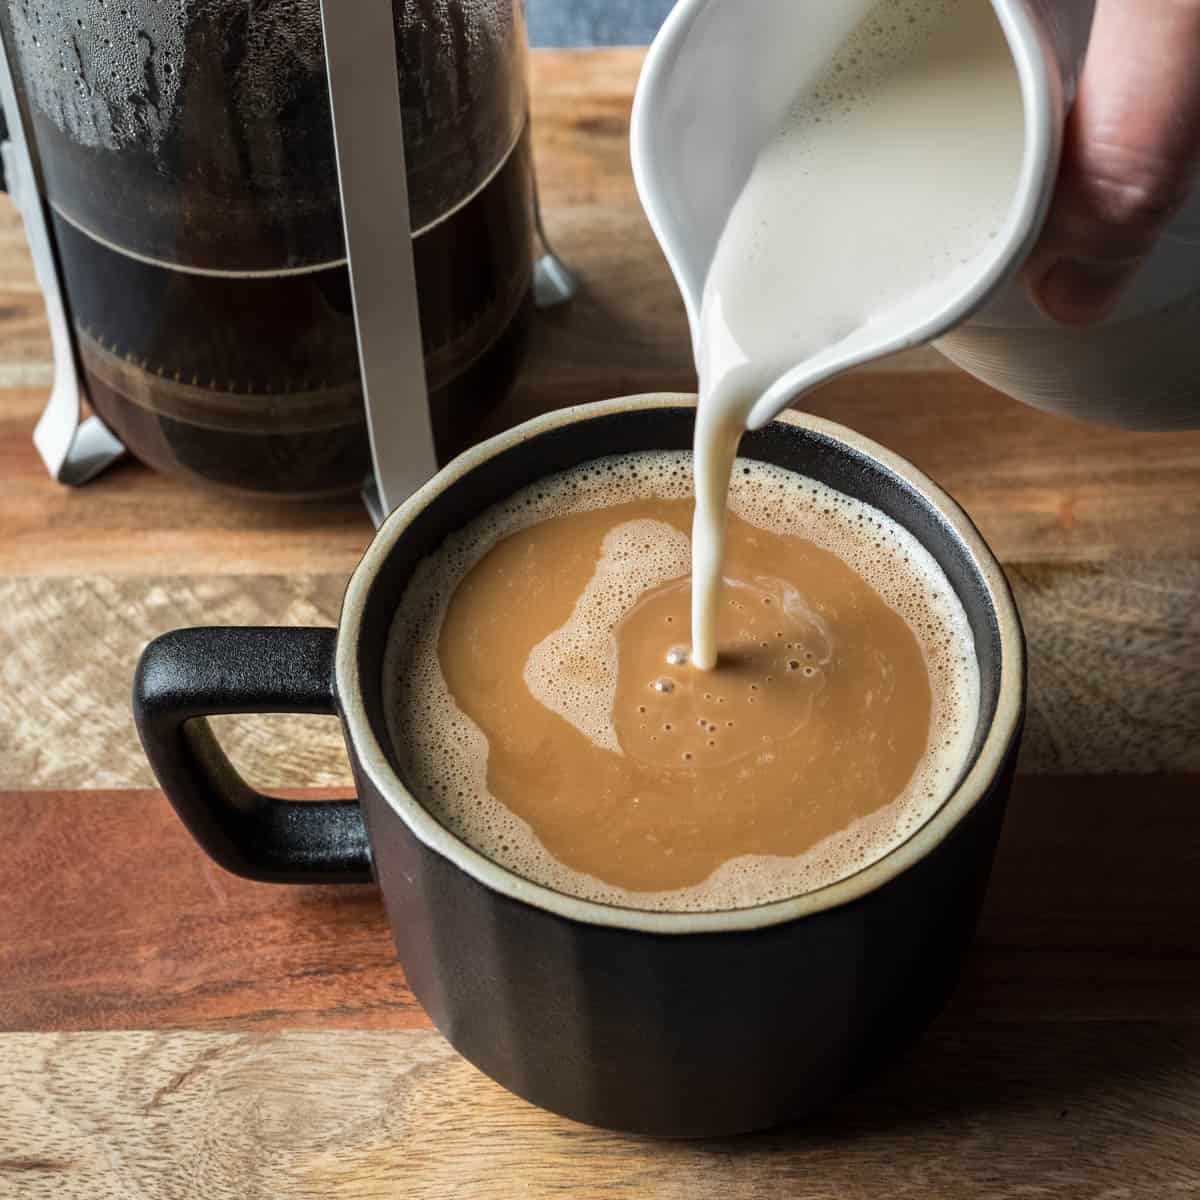
More Homemade Dairy-Free Alternatives
I hope you enjoy my lightened-up take on vegan whipped cream. If you try the recipe be sure to comment below and let us know your favorite ways to use it!
Recipe
Vegan Whipped Cream (Best Aquafaba Method)
Equipment
- stand mixer - or electric handheld mixer
Ingredients
- ⅔ cup aquafaba - the liquid drained from a can of unsalted chickpeas; Tip: shake the can before opening
- ½ cup powdered sugar, divided
- 1 teaspoon potato starch - or corn starch or arrowroot
- ½ teaspoon cream of tartar - or 1 teaspoon lemon juice
- 1 ½ to 2 teaspoons vanilla extract - or clear imitation vanilla
- 2 to 3 teaspoons avocado oil, optional - or other neutral tasting oil
Instructions
- In a small saucepan, whisk together the aquafaba, ¼ cup of the powdered sugar, and the starch. Place over low to medium-low heat. Whisking frequently, slowly heat the mixture just until steamy. This should take about 6 minutes. If it is heating too quickly reduce the heat; do NOT let it reach a simmer. Once it's steamy and just short of bubbling, remove from heat.
- Pour the hot aquafaba mixture into the bowl of a large stand mixer with a whisk attachment. If using an electric handheld mixer, pour the mixture into a large stainless mixing bowl. Add the cream of tartar or lemon juice. Beat on medium speed for about 2 minutes. The mixture will look foamy but thin.
- Increase to medium-high speed, add the vanilla, and beat for another 2 to 3 minutes.
- Increase to high speed, and continue until stiff peaks form, about 2 minutes longer. During this time, stop the machine to taste and adjust sweetness. Sift in the remaining sugar 1 tablespoon at a time, beating on high after each addition. You can also add more vanilla if desired.
- Optional: To add oil, with the machine on high speed, very slowly drizzle in up to 1 tablespoon neutral-tasting oil. This will cause it to deflate a bit, which is normal. Serve right away or refrigerate until ready to use. See Notes for re-whipping and storage tips.
Notes
Estimated Nutrition (per serving)
Nutrition is an estimate and will vary depending on the exact amounts and ingredients used.
Mia says
Hi there! Your recipe looks wonderful and I can't wait to try it! I was wondering if you've experimented with using agar agar to stabilize it? If you haven't I'll probably give it a try and report back! Thanks for the great recipe!
Deb says
This worked really well!! I used homemade aquafaba, 1/4c sugar, real vanilla extract and no oil. I found that cooling the aquafaba+sugar mixture in the refrigerator overnight before whisking it formed stiffer peaks.
Thanks for posting this.
Lori Rasmussen says
Happy to hear that, Deb! Thanks for sharing with us.
Rachel says
Ooh, this is a helpful tip. Thank you, Deb!
Freya says
Thank you for this Lori. The Aquafaba whipped cream recipe I’ve used has heavy in the sugar, waaaay heavy, and this is so much better. Whipped up wonderfully too.