Festive and healthy vegan rice krispie treats made with dates, crispy brown rice cereal, almond or cashew butter, and gingerbread spices. With an optional coconut butter glaze! FREE from gluten, oil, soy, and refined sugar, and suitable for WFPB (whole-food, plant-based) diets.
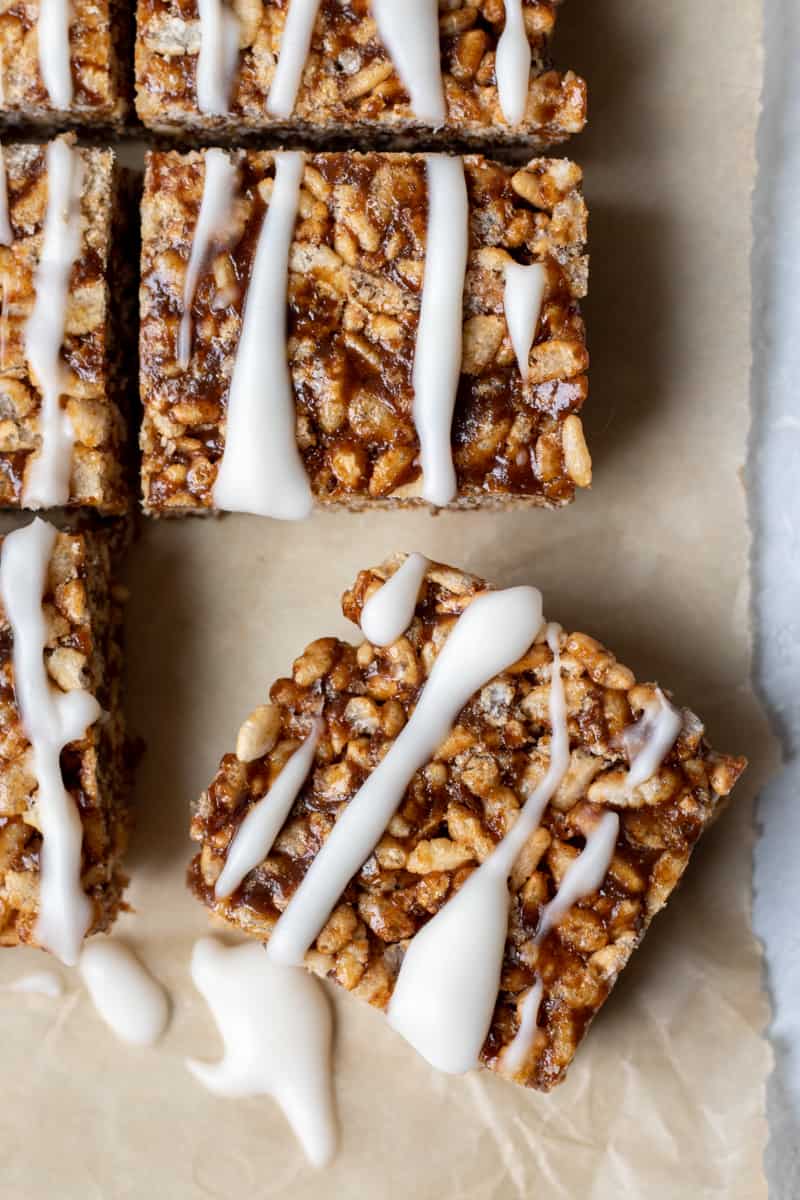
I've been a fan of vegan rice krispie treats for years, but I usually make them with brown rice syrup. I love the non-cloying, mellow sweetness of brown rice syrup, and it does a great job keeping the treats crispy.
The problem, though, is that brown rice syrup can be hard to find!
So last winter, I set out to create a more accessible version using dates. I made these gingerbread rice krispie treats and then totally forgot about them, for almost a year!
Now that the holiday season is upon us, I thought it would a great time to re-test the recipe, dial in the spices, and share it with you.
How to Make Vegan Rice Krispie Treats
Vegan rice krispie treats can be accomplished a few different ways, but there are definitely challenges to consider.
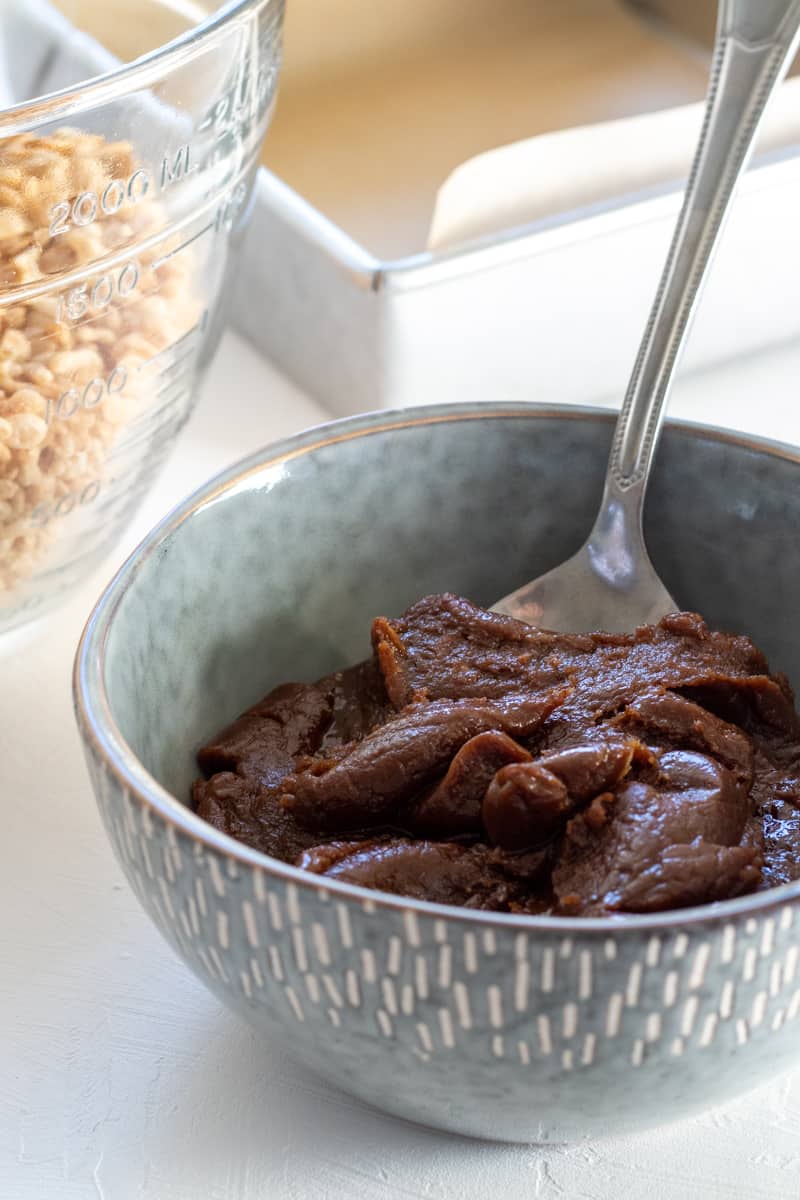
For starters, you need something sticky to replace the marshmallow. That's why brown rice syrup and/or dates work really well. Also, you can't add anything that contains water (like non-dairy milk), or the crispy rice cereal won't be crispy anymore.
You can incorporate maple syrup into vegan krispie treats, but it's best to combine it with some date paste or brown rice syrup for overall texture and bindability (I'm sure that's not a word, but let's go with it).
You can also make them with vegan marshmallows like Dandies, though I haven't gotten around to trying that yet.
Date-Sweetened Rice Krispie Treats
For these gingerbread-date rice krispie treats, we're going to put whole, room temperature (so they're soft) medjool dates in a food processor and turn them into date paste.
Want to save this recipe? 📩
Keep an eye out for more delicious recipes. Unsubscribe anytime.
The nut butter and spices are added to the food processor, as well. Then, to make it easier to mix the date mixture into the cereal, we're going to warm it slightly.
To warm the date mixture you can either remove the metal S-blade from the food processor and pop the bowl in the microwave for a few seconds, or you can transfer the date paste to a small sauce pan and heat it on the stove.
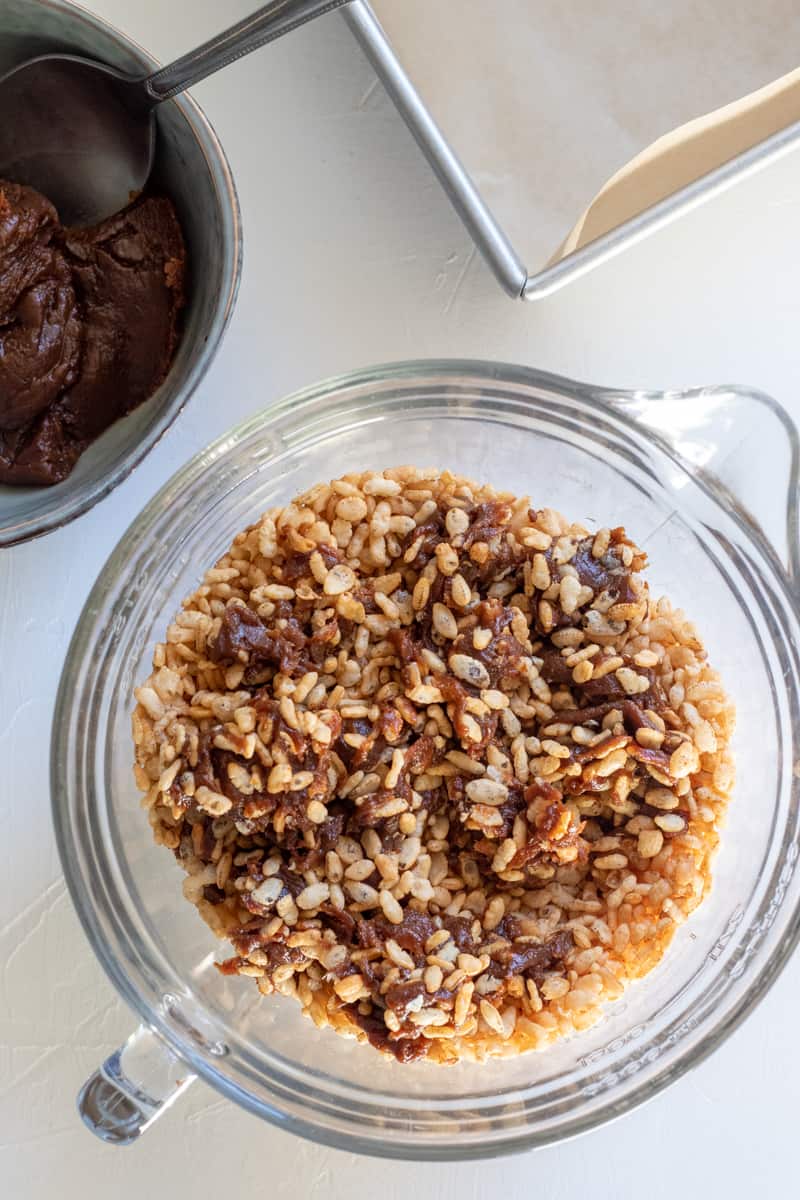
Then, with the rice cereal in a large pot, drop dollops of gingerbread-date paste into the cereal and mix, mix, mix! Don't be afraid to really get in there with your hands. It's okay to crunch up the cereal as you go.
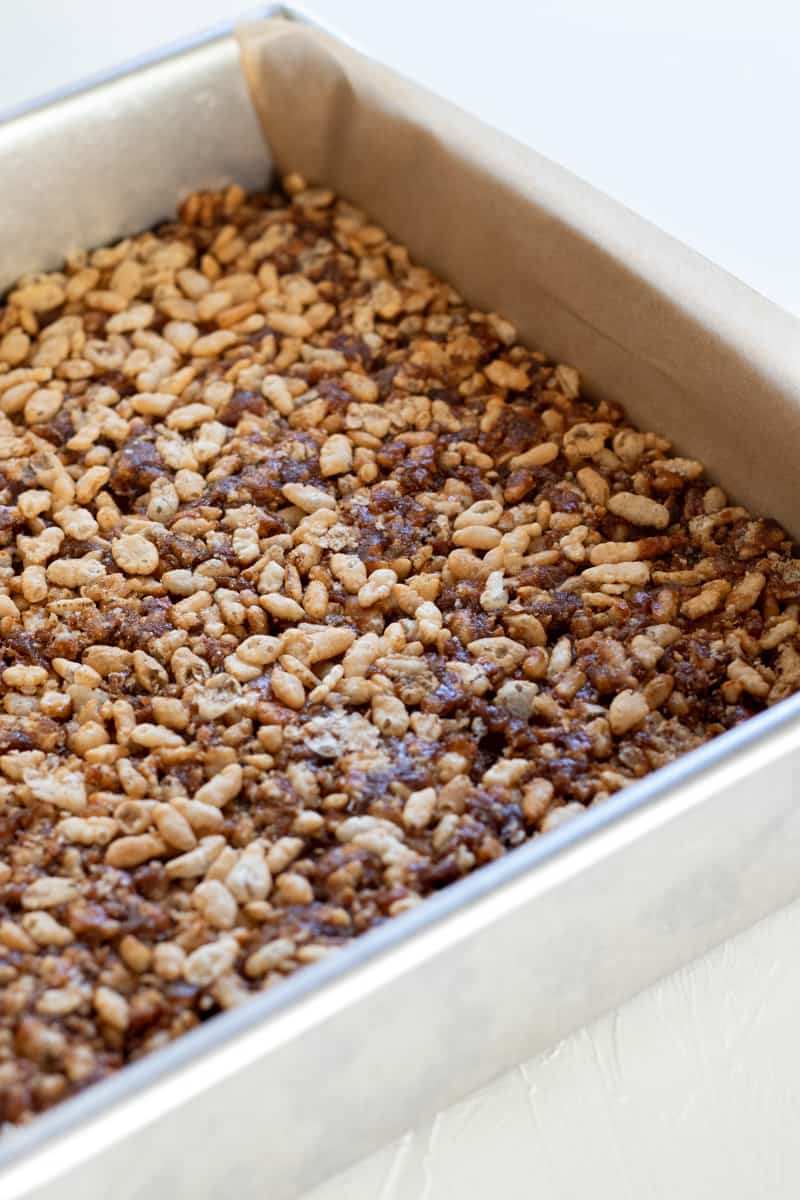
Line an 8x8-inch baking pan with parchment, and fill it with the krispie treat mixture. Use the back of a spatula to firmly press it down into the pan, and then pop it in the fridge for about 30 minutes. And you're done!
Oh, wait! We're not finished yet. We can't forget about the scrumptious coconut butter glaze!
It only takes a couple of minutes to mix together. Once your treats have cooled, cut into 16 squares, and drizzle the glaze on top in any sort of decorative pattern you want. Voila! Perfectly wholesome, vegan, oil-free, festive holiday treats ready for sharing.
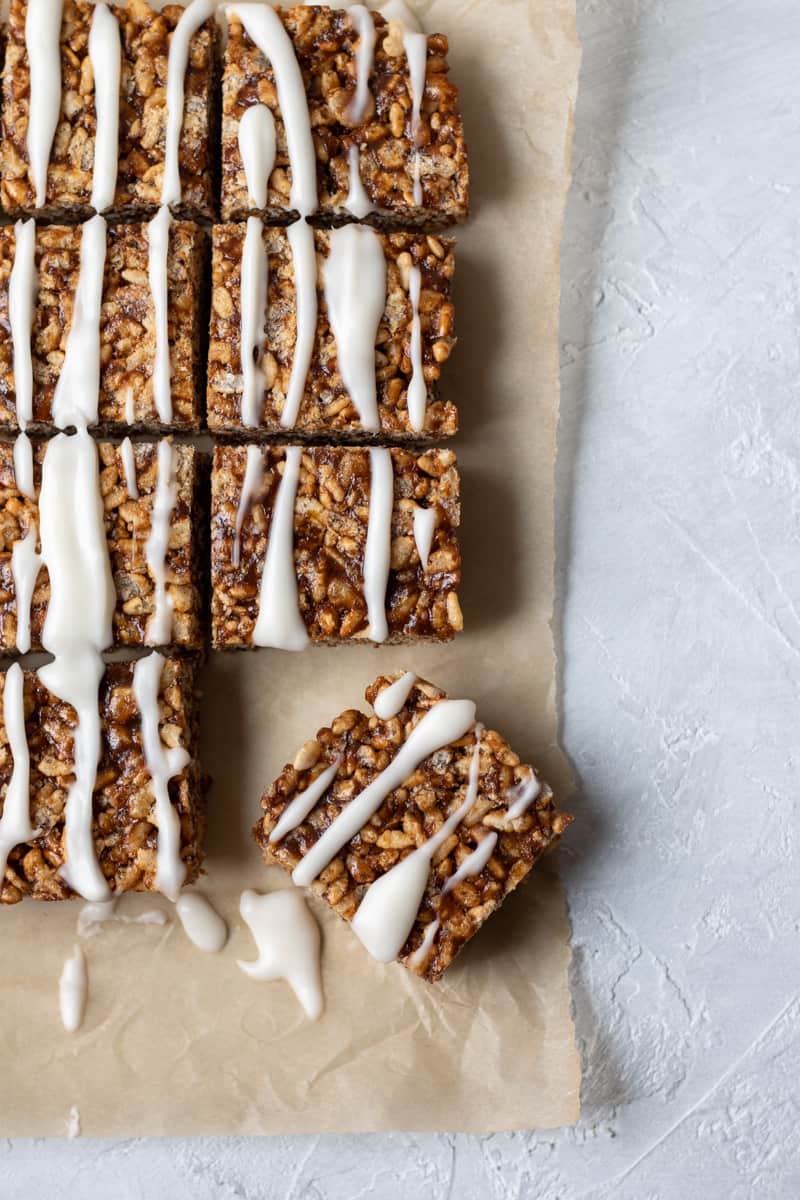
I hope you enjoy these Gingerbread-Date Vegan Rice Krispie Treats! If you try them I would love to hear from you! Feel free to leave a comment below, or tag me in a photo on facebook or instagram with @myquietkitchen.
Enjoy!
You might also like these healthy vegan treats:
- Coconut Rice Krispie Treats (CBD optional; GF)
- 4-Ingredients Peanut Butter Rice Krispie Treats (GF)
- Popped Sorghum Balls (GF)
- Salted Chocolate-Almond Popped Sorghum Balls (GF)
- Oil-Free Almond Flour Thumbprint Cookies (GF)
- Oil-Free Banana Brownies (GF)
Recipe
Gingerbread-Date Rice Krispie Treats
Ingredients
- 12 to 14 large pitted medjool dates, soft/room temperature (about 1 ¼ cups packed; 8 ounces) - Do NOT soak; that will make cereal soggy.
- ½ cup raw almond or cashew butter
- 2 Tablespoons molasses
- ¼ teaspoon salt
- 2 teaspoons ground cinnamon
- ¾ teaspoon ground ginger
- scant ⅛ teaspoon ground cloves
- 4 to 4 ½ cups crispy brown rice cereal - Such as Barbara's or One Degree. Check labels for fruit juice-sweetened vs. sugar-sweetened, if sugar-free is important to you.
For the coconut glaze (optional):
- 3 Tablespoons coconut butter
- 2 Tablespoons maple syrup
- 3 to 4 Tablespoons non-dairy milk, for thinning/consistency
Instructions
- Line an 8 x 8 inch baking pan with parchment paper.
- In a food processor combine the dates and nut butter and process until very crumbly. Stop to scrape down the sides, and add the molasses, salt, cinnamon, ginger, and cloves. Process until the mixture is a smooth, sticky, paste.
- Warm the date paste so that it will mix more easily with the cereal: One option is to remove the metal S-blade from the food processor work bowl and microwave the bowl in 15 second intervals until the date paste is softened (about 45 seconds). Alternatively, transfer the paste to a sauce pan and warm it on the stove.
- Place 3 ½ cups of the rice cereal in a large bowl or soup pot (I like to use a soup pot because the vertical sides keep the cereal contained during mixing). Pinch off small chunks of the date mixture, and drop them into the cereal, coating each chunk with rice krispies as you go. The date paste will try to stick together, so don't be afraid to get in there and crunch up some of the rice krispies! Using your hands or a sturdy, long-handled spoon, continue to stir and mash until there are no more large chunks of date paste. Add the remaining ½ to 1 cup cereal near the end of mixing.
- Transfer mixture to the parchment-lined pan, and use your hands or the under side of a spatula to press it down evenly. Refrigerate for 30 minutes.
Make the glaze:
- Warm the coconut butter just enough to soften it. Add the sweetener and 1 tablespoon of milk. Whisk with a fork until smooth. Add more milk 1 tablespoon at a time, until the glaze is barely thin enough to be drizzled from a spoon.
- Cut the krispie treats into 16 squares and drizzle with glaze. Let rest for a few minutes until the glaze is set.
Notes
Estimated Nutrition (per serving)
Nutrition information is an estimate and will vary depending on the exact amounts and specific products and ingredients used.


Marcy says
The only reason I gave this a 3 rating is that mine did not stick together well at all. Not sure what I did wrong but the flavor was FABULOUS! I'm going to keep trying - maybe more dates (I used 12), maybe newer dates (mine were just about to reach their use by date. The picture of your date paste looks much smoother than mine as well. Hmmm..........just need to figure this out because they're definitely worth trying again!
Lori says
Hi Marcy,
So glad you loved the flavor. 😀 It sounds like you've got the sticky issue figured out! When dates get older they can tend to be on the dry side. Did you measure out 1 1/4 cups paste? Next time, just to play it safe, you could also start by adding less cereal to make sure you'll have enough date paste.
Thanks for the feedback!