
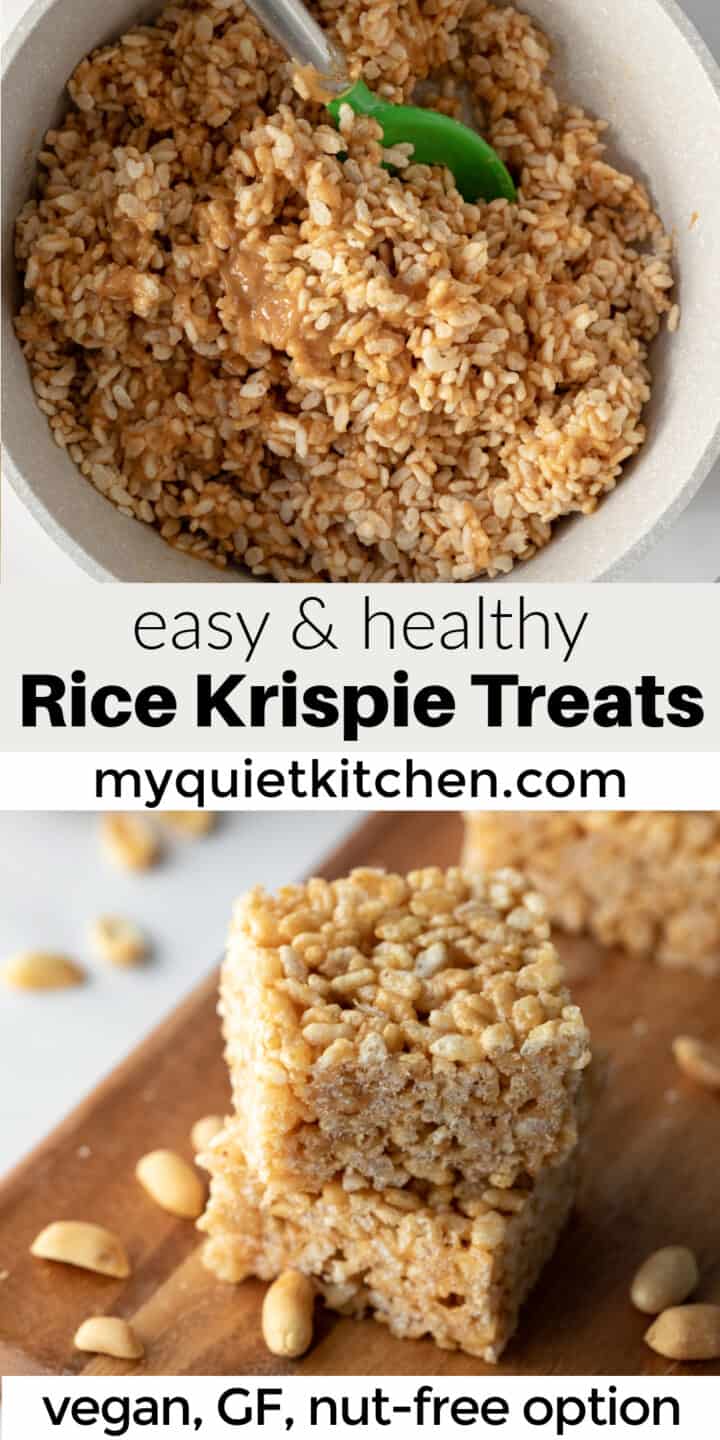

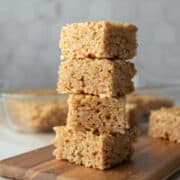
The whole family will love these healthy vegan rice krispie treats! They're chewy, just sweet enough, made with 4 wholesome ingredients, and totally irresistible - no marshmallows needed! With only 15 minutes of prep time and an allergy-friendly option, these vegan rice crispy treats are perfect for parties and lunch boxes!
This recipe was originally published in August 2018 and has been updated with new content and photos.
A Healthier Rice Crispy Treat
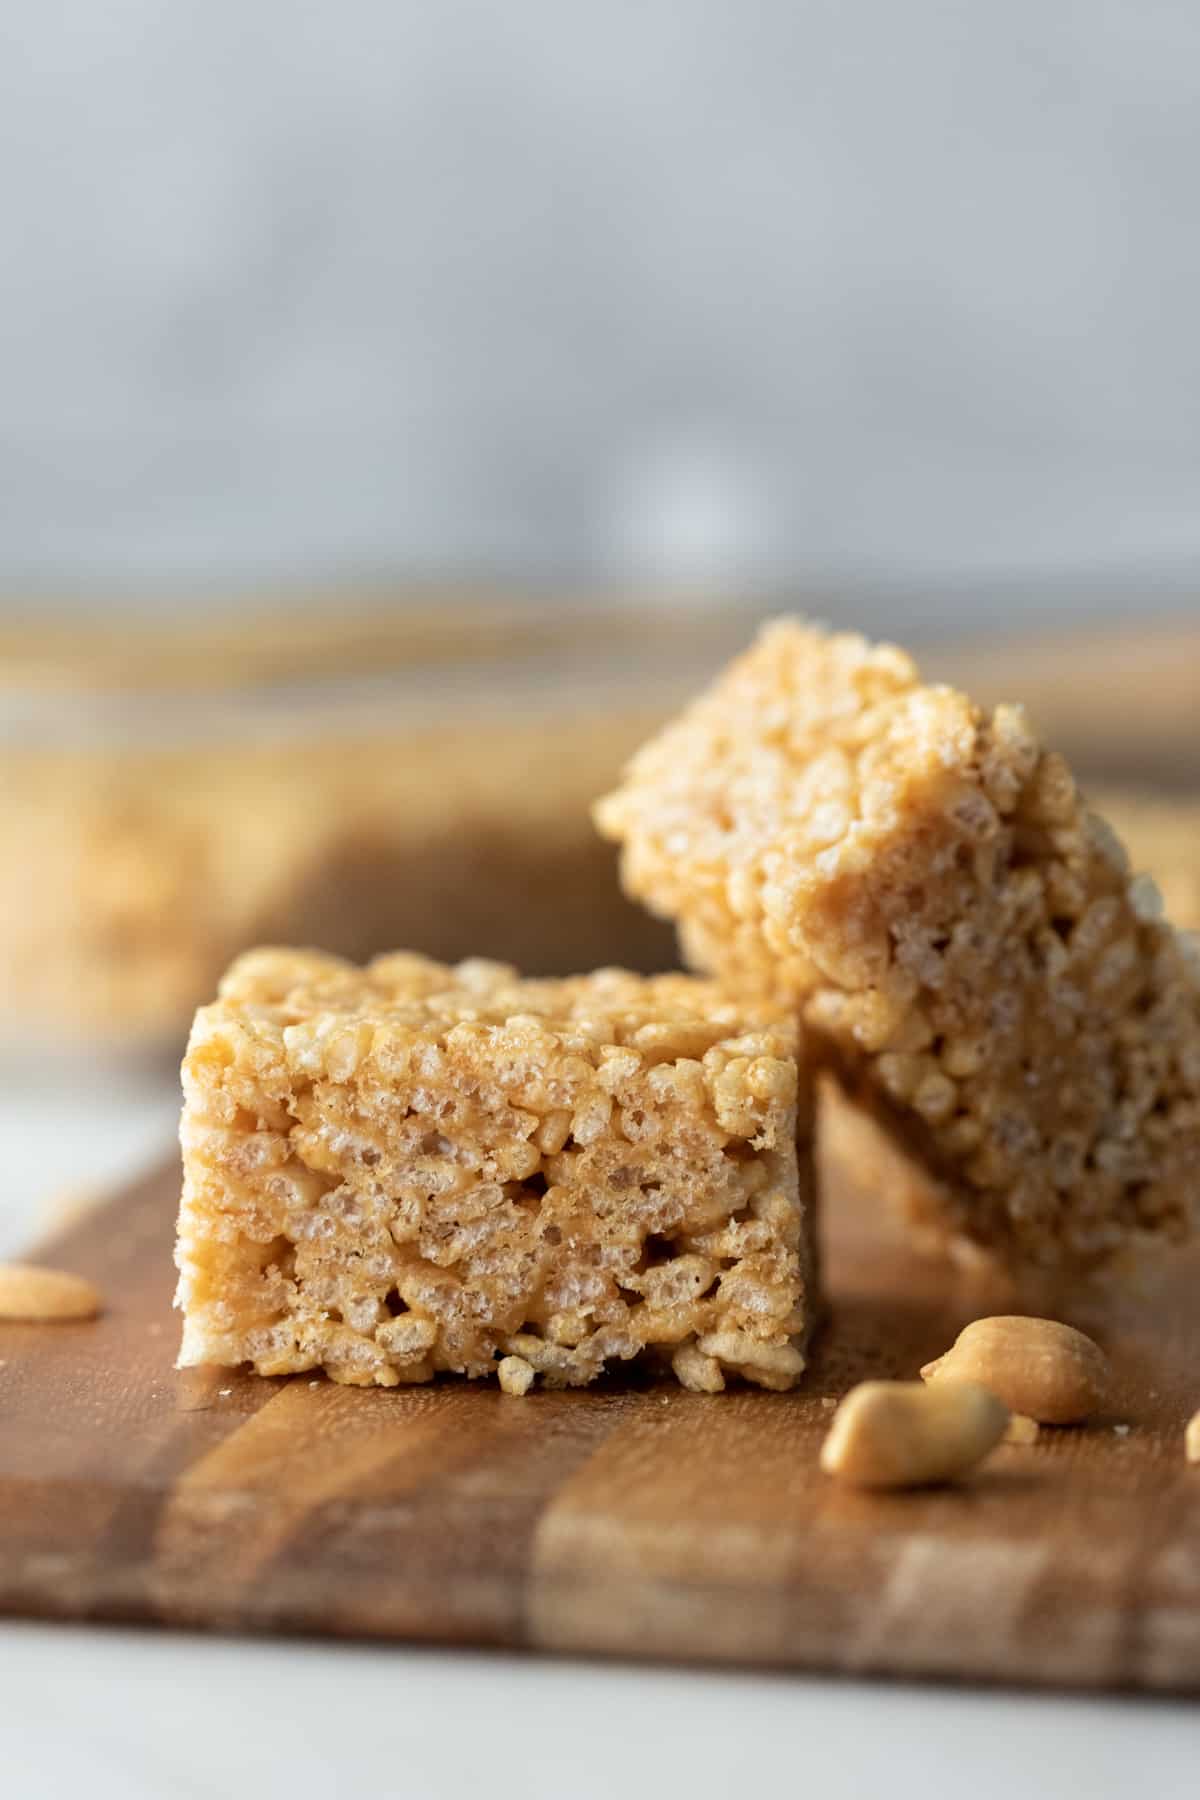
Crispy, chewy, sweet, salty, and oh so good. If the kids are begging for a sweet snack or you need an easy potluck dessert that travels well, vegan rice krispie treats are the answer!
Brown rice syrup and nut or seed butter replace the marshmallows and butter found in other rice crispy treat recipes. Not only do these swaps make this recipe much healthier, they also make it vegan!
These healthy rice krispie treats are also gluten-free, oil-free, and can be nut-free, so they're perfect when you need an allergy-friendly dessert.
Credit to the Original
Years ago I came across Dreena Burton's recipe for Nicer Krispie Squares, a healthy, vegan version of the classic treat. Instead of the macadamia nut or coconut butter called for in her recipe, I subbed peanut butter, and the rest is history.
I can't even venture a guess at the number of times I've made these over the years (my friends can attest). They're just so darn good! Best of all, they're also amazing with sunbutter.
Ingredient Notes
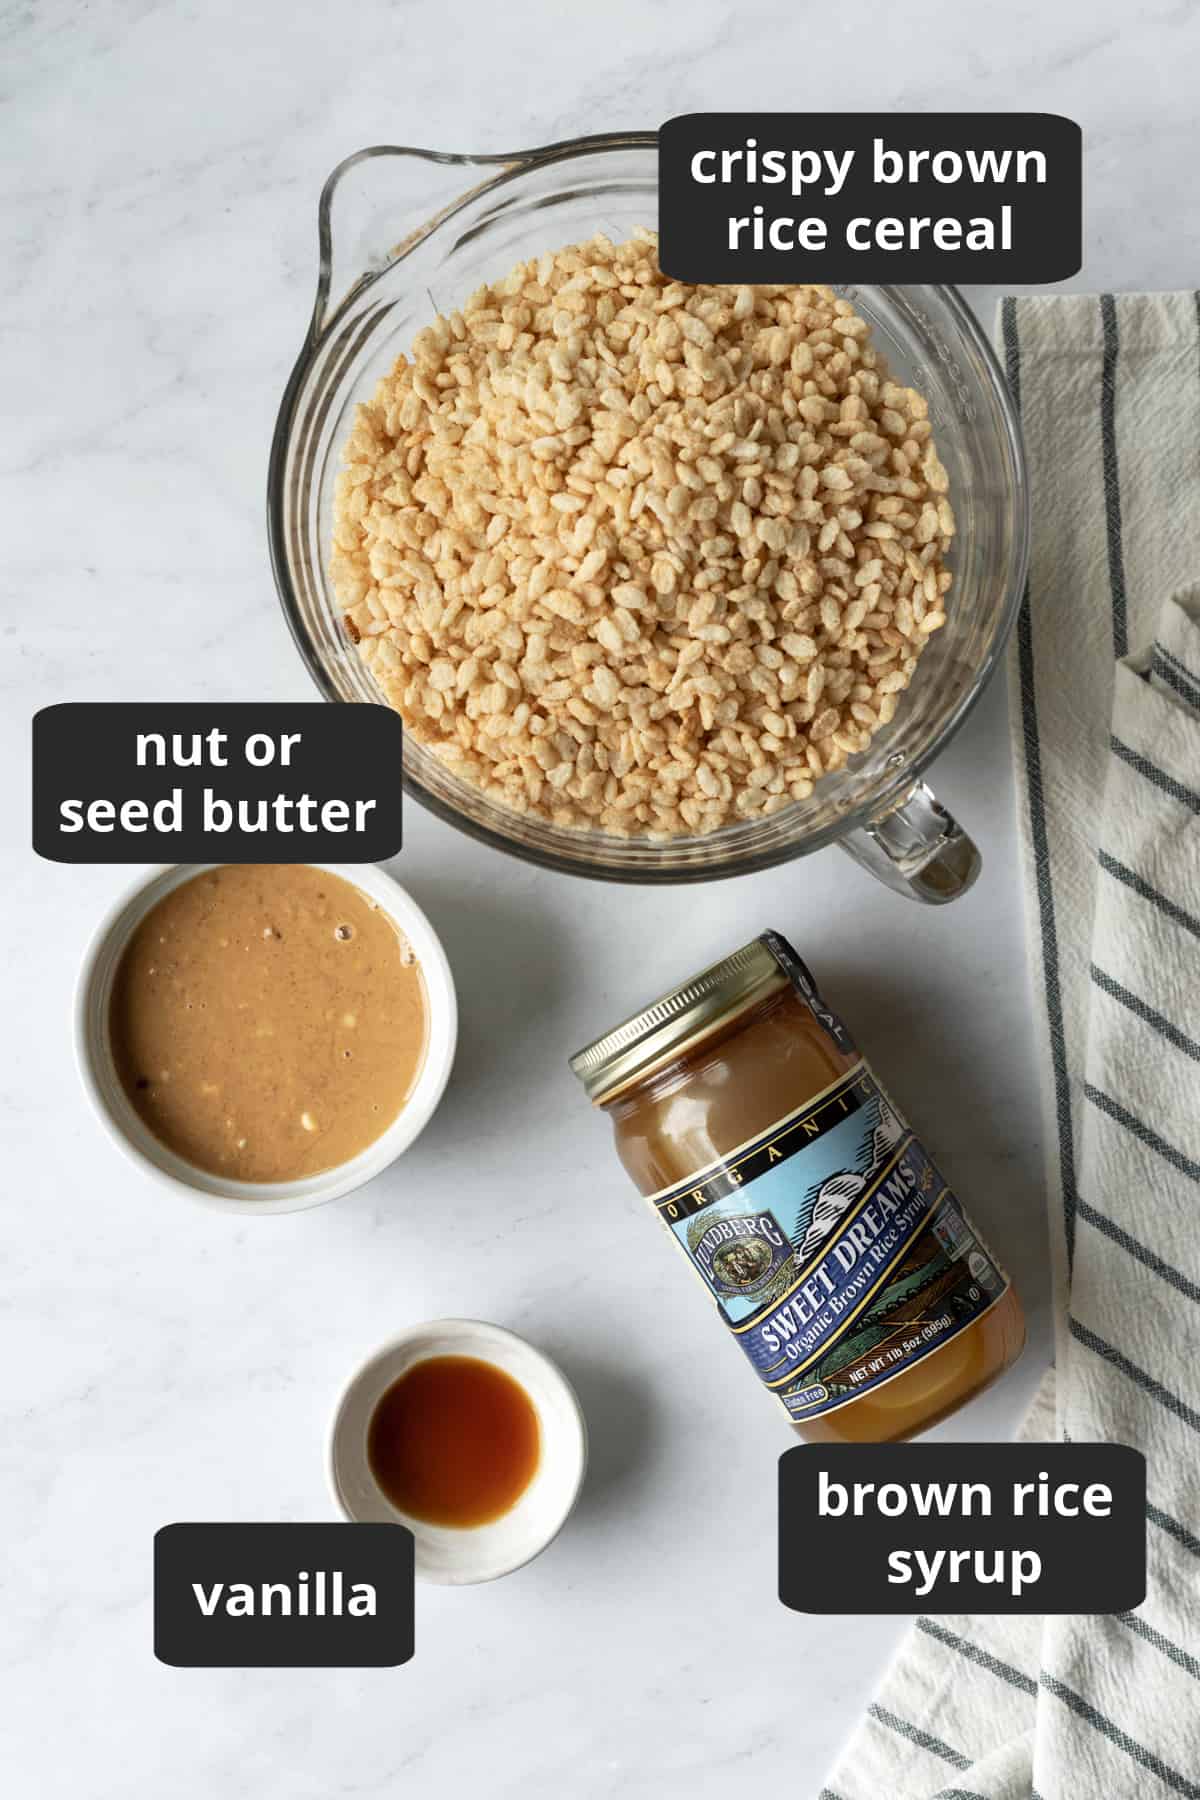
You need just 4 ingredients and 15 minutes to whip up a batch.
Want to save this recipe? 📩
Keep an eye out for more delicious recipes. Unsubscribe anytime.
- Crispy Rice Cereal - to keep our krispie treats as healthy as possible, I go with brown rice cereal over regular rice krispies. I know of three brands that make a crispy brown rice cereal (these are Amazon links): Barbara's, 365 (Whole Foods), and One Degree, but there may be others. Note: make sure you buy crispy rice cereal not puffed rice.
- Brown Rice Syrup - this is critical for super sticky rice krispie treats. It is possible to substitute maple syrup, but the texture won't be the same. Maple syrup is also much sweeter than brown rice syrup, so you'll need to adjust the amount to taste. You can usually find brown rice syrup online, at Whole Foods, and often at local health food stores.
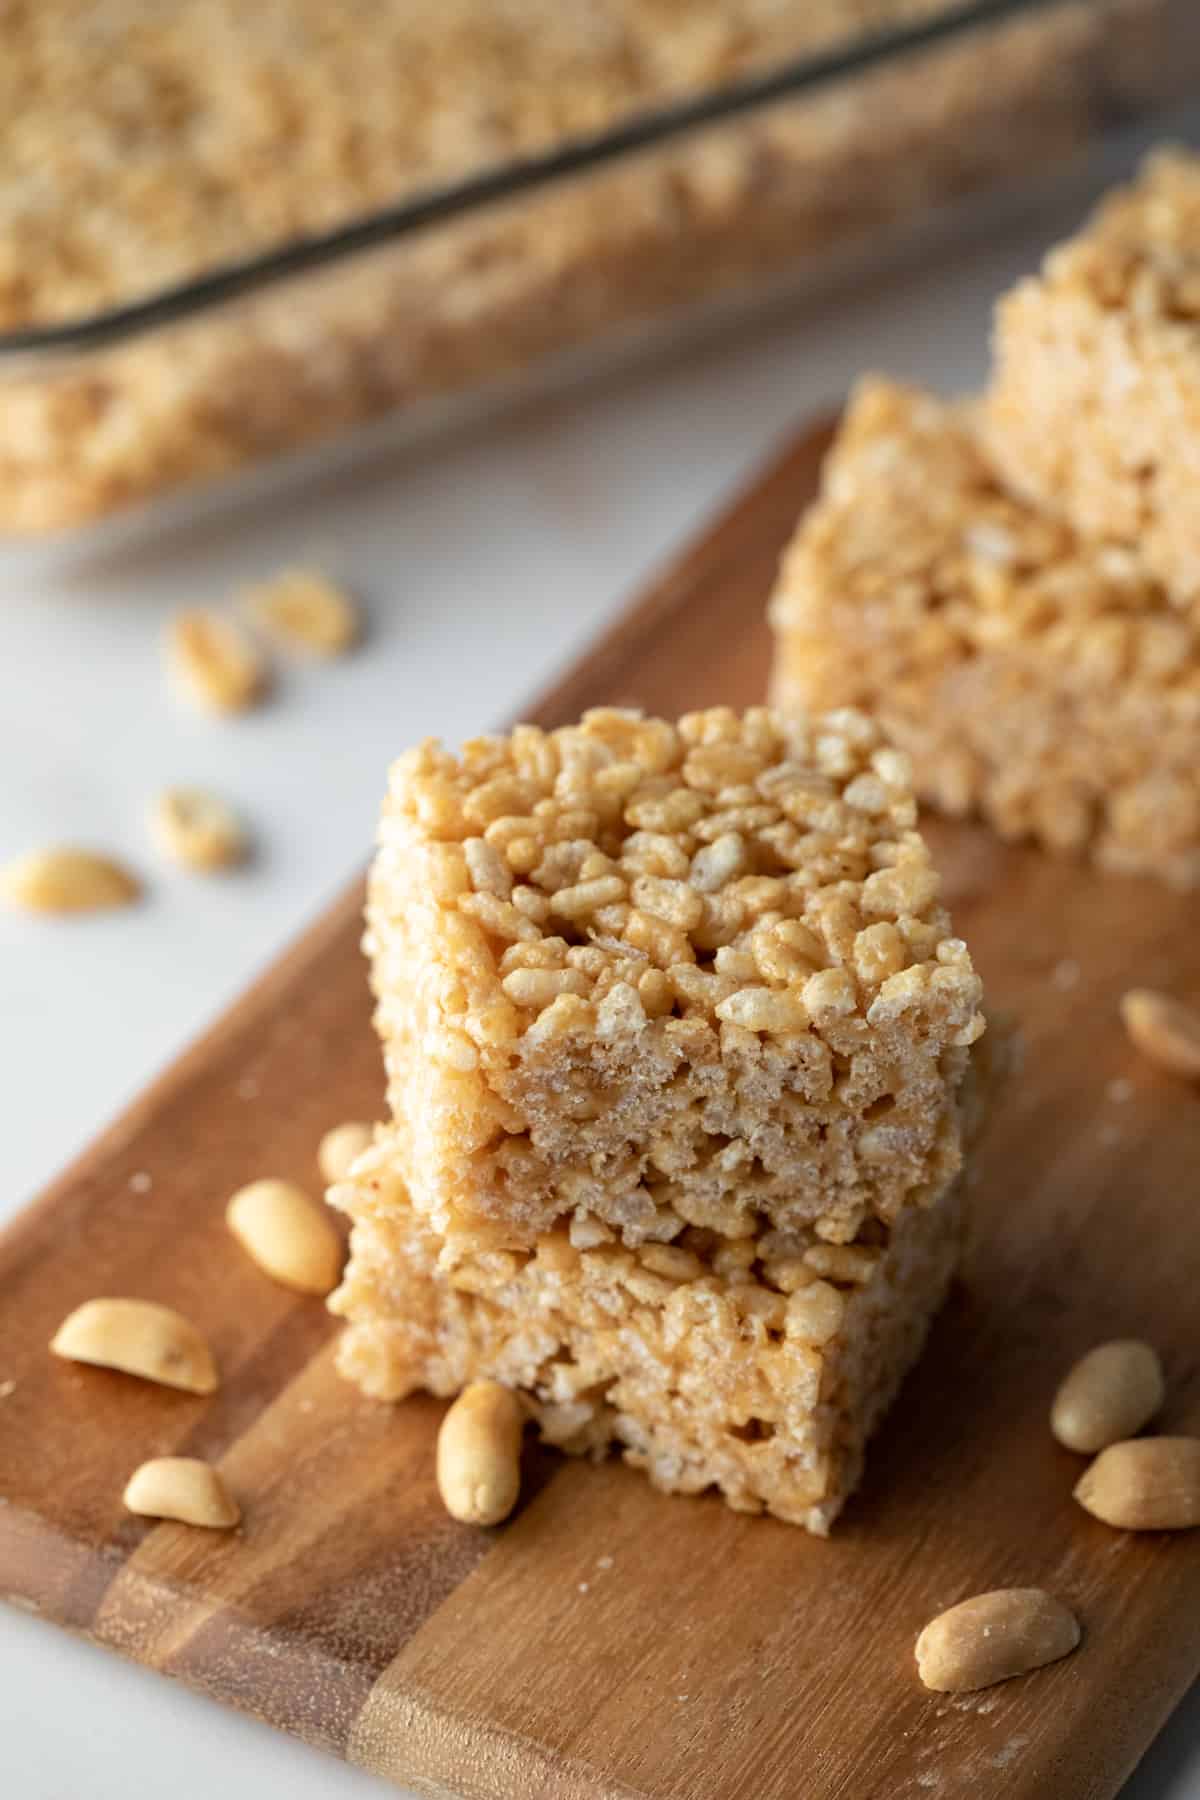
- Nut or Seed Butter - my favorite way to make these is with natural, salted peanut butter, but you can also use almond butter or sunflower seed butter for a nut-free option. *If using unsalted nut/seed butter add about ¼ teaspoon of salt to the wet mixture.
- Vanilla Extract - optional but it does make them taste more like traditional krispie treats.
How To Make Rice Crispy Treats Without Marshmallows

- Combine the nut/seed butter, brown rice syrup, and vanilla in a large pot. While stirring, cook over medium heat for 2 or 3 minutes, just until warm.
- Remove the pot from heat, and stir in the rice cereal. Stir until all the cereal is incorporated.
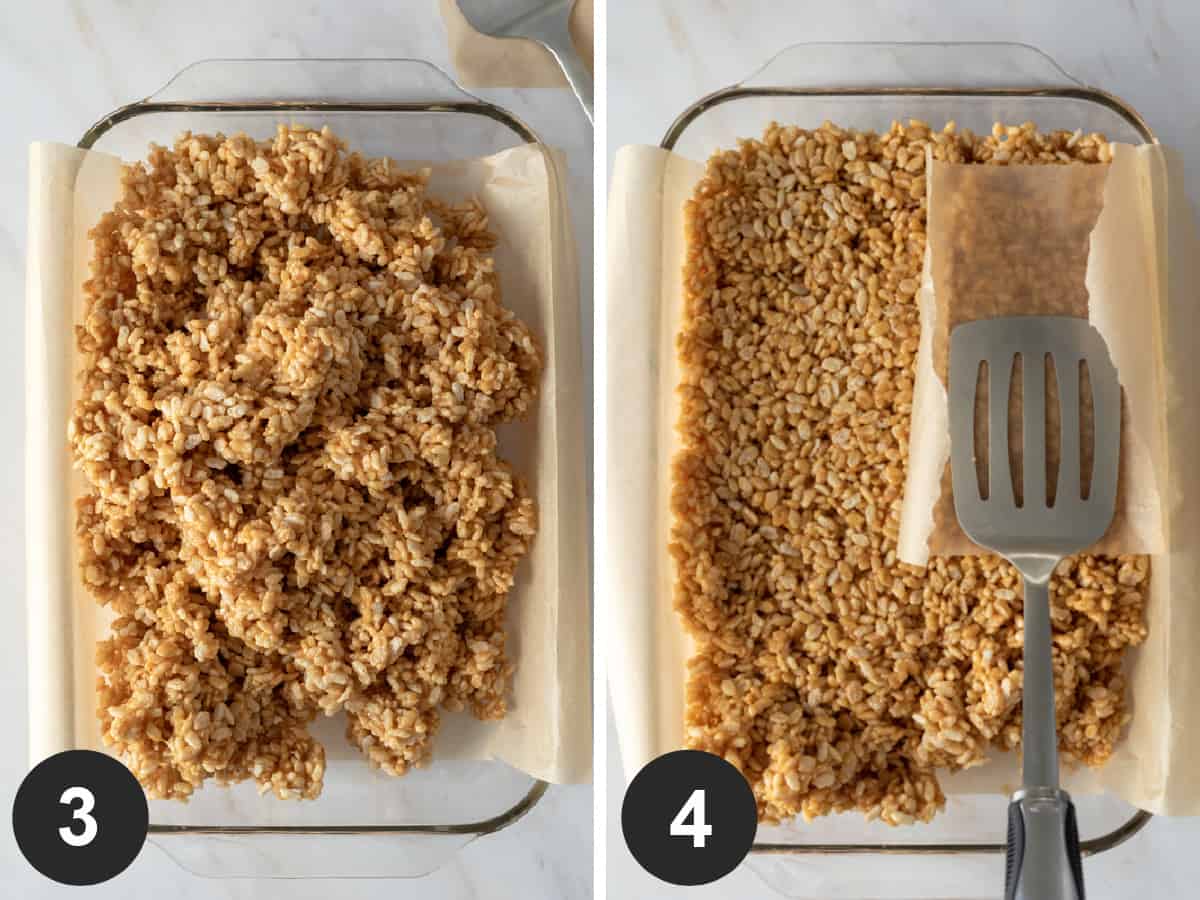
- Spoon the mixture into a 9x13 casserole dish lined with parchment paper. Alternatively, use two 8-inch square pans.
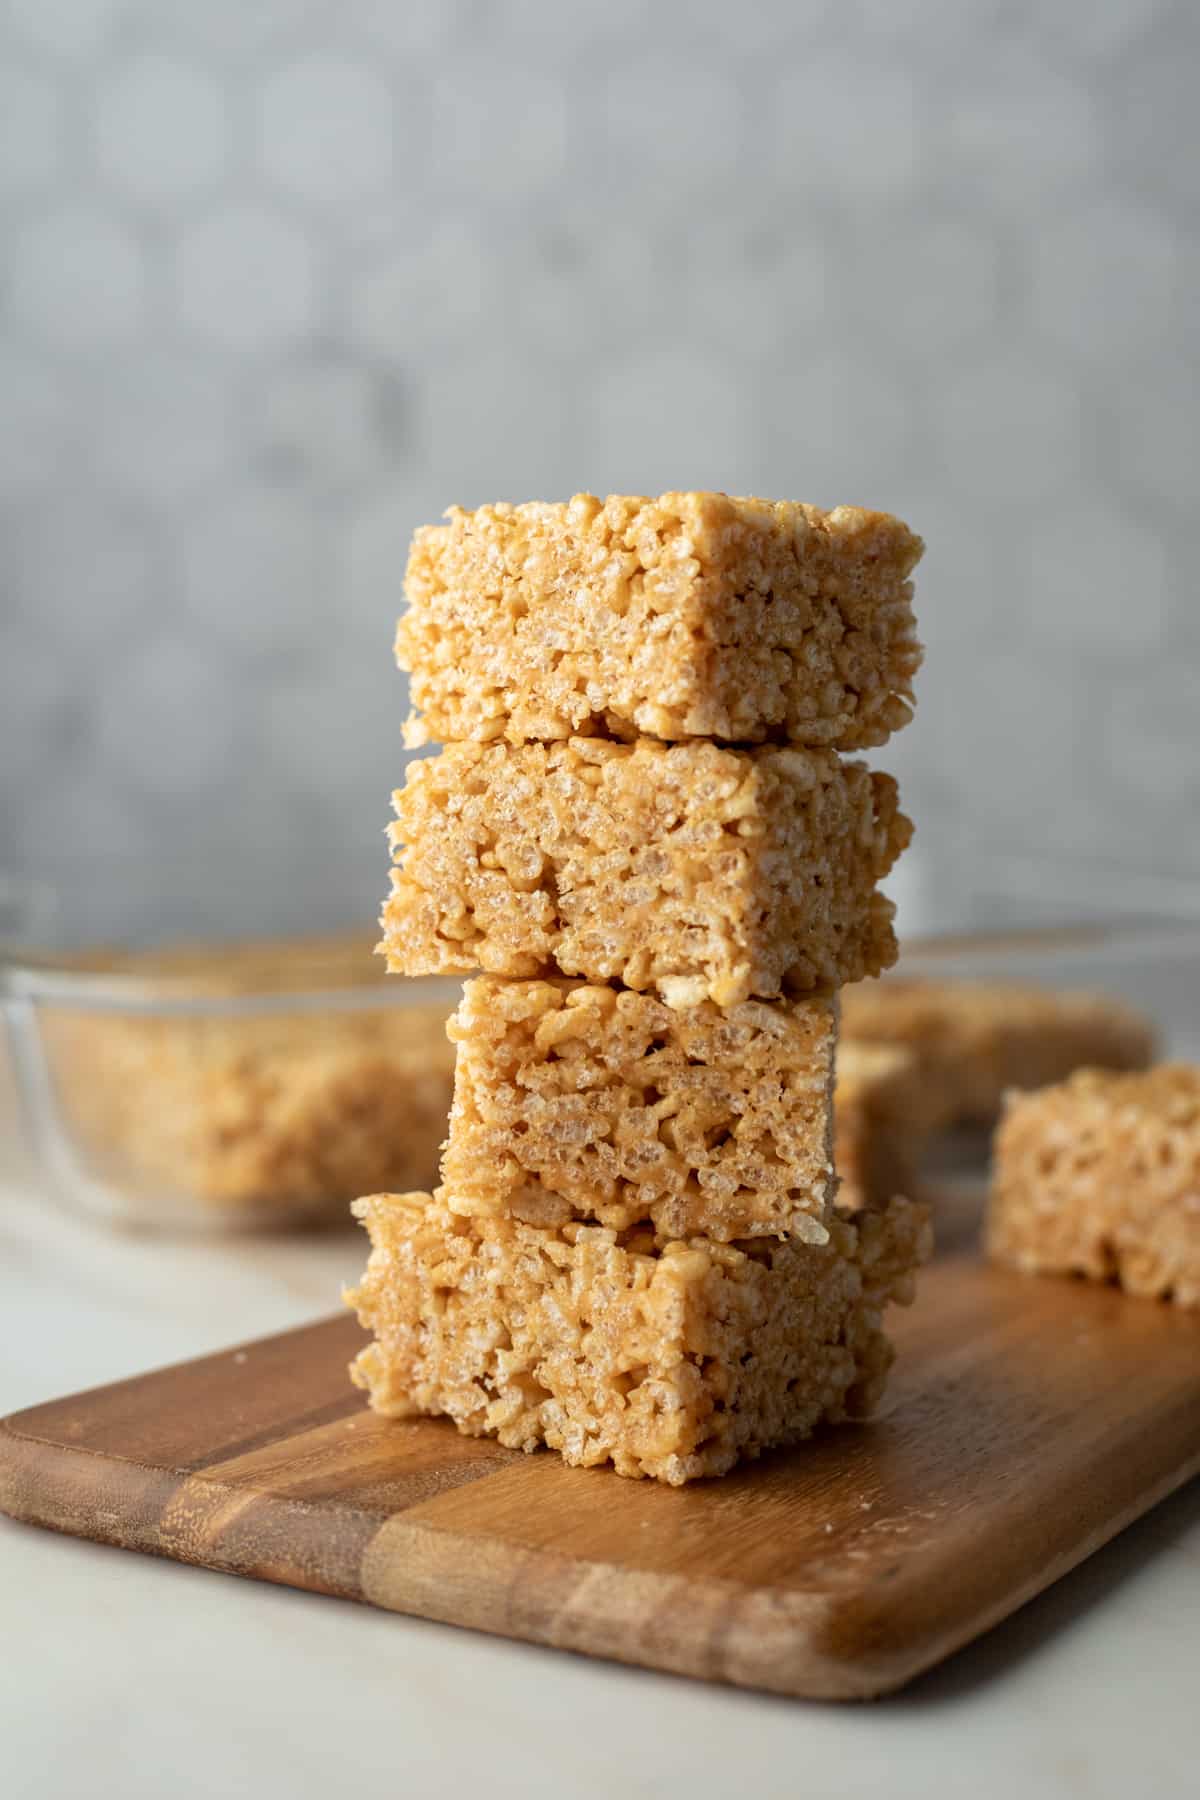
- Firmly press the mixture into the dish. A spatula works well for this, along with a small piece of parchment paper to prevent sticking. Refrigerate the krispie treats uncovered for about 30 minutes or until firm and set. Then cut into squares and serve.
Vegan Rice Krispie Treats FAQs
Absolutely! Feel free to use whichever crispy rice cereal you can find. Just don't use puffed rice, as it's much softer.
For the best, most authentic texture I highly recommend brown rice syrup for this recipe. Maple syrup may be used, but it's not as thick and sticky, so the treats will be much softer. Also, since maple is much sweeter I recommend starting with less syrup, then tasting and adjusting as needed.
I prefer to use natural, salted, smooth peanut butter (or sunflower seed butter) to make these, but crunchy is also fine. Also make sure it's fairly runny, not thick or dry. If you're using an unsalted variety, simply add a rounded ¼ teaspoon of salt.
Yes, krispie treats can be frozen for up to two or three months. Make sure they are wrapped very well and protected from air. Then thaw and enjoy!
More ways to use brown rice syrup:
- Crunchy Oil-Free Granola
- Copycat Go-Macro Bars
- Ginger-Turmeric Granola
- Popped Sorghum Balls
- Peanut Butter Granola
- Vegan Coconut Rice Krispie Treats
More healthy vegan desserts:

Recipe
Healthy Vegan Rice Crispy Treats
Ingredients
- 1 cup natural salted peanut butter or sunflower seed butter (for nut-free) - If using unsalted, add a rounded ¼ teaspoon fine sea salt.
- 1 cup brown rice syrup
- 1 ½ teaspoons vanilla extract
- 7 to 7 ½ cups crispy brown rice cereal - See brand recommendations in post above.
Instructions
- Line a 9x13 rectangular dish or two 8x8 baking pans with parchment paper. Allow paper to overhang the edges for easy removal.
- In a large soup or stock pot combine the nut/seed butter, brown rice syrup, and vanilla. Stirring frequently, cook over medium-low heat until warm and smooth, about 2 or 3 minutes.
- Remove from heat, and stir in 7 cups of the cereal. Continue mixing until the cereal is fully incorporated. If the mixture seems too wet and sticky, add another ½ cup cereal.
- Transfer the mixture to the lined pan(s) and press down evenly. A flat object like a spatula makes this easy. Use a small piece of parchment paper underneath the spatula to prevent sticking.
- Refrigerate the rice krispies uncovered until firm and cool, about 30 minutes. Then lift out onto a cutting board, and cut into squares. Serve now or store in an airtight container in the refrigerator for up to one week.
Notes
Estimated Nutrition (per serving)
Nutrition is an estimate and will vary depending on the exact amounts and ingredients used.
daisy says
Made these yesterday, and OH. MY. STARS. I subbed Sunbutter for the peanut butter. I think I ate 5 in one day, which is not like me, unless it involves chocolate. Hmmm, maybe I'll add some Lily's dark chocolate chips next time. Because there WILL be a next time.
Thank you for sharing this wonderful allergy-friendly treat!
Lori says
So glad you love them, Daisy! And I'm happy you found this old recipe buried at the back of the blog. 😆 It's actually on my to-do list to give this post a re-write and some new photos next week.
Thanks so much for being here and for the feedback!