Learn how to make oat milk at home that's perfectly creamy, lightly sweet, and can be heated, frothed, and blended without getting slimy! Inspired by processes used by Oatly and other manufacturers, the trick is to soak the oats with enzymes that break down starch into sugars. But don't worry, it's not as tricky as it sounds! I'll walk you through it step by step so that you can make oat milk at home that performs and tastes just like store-bought, for a fraction of the cost!
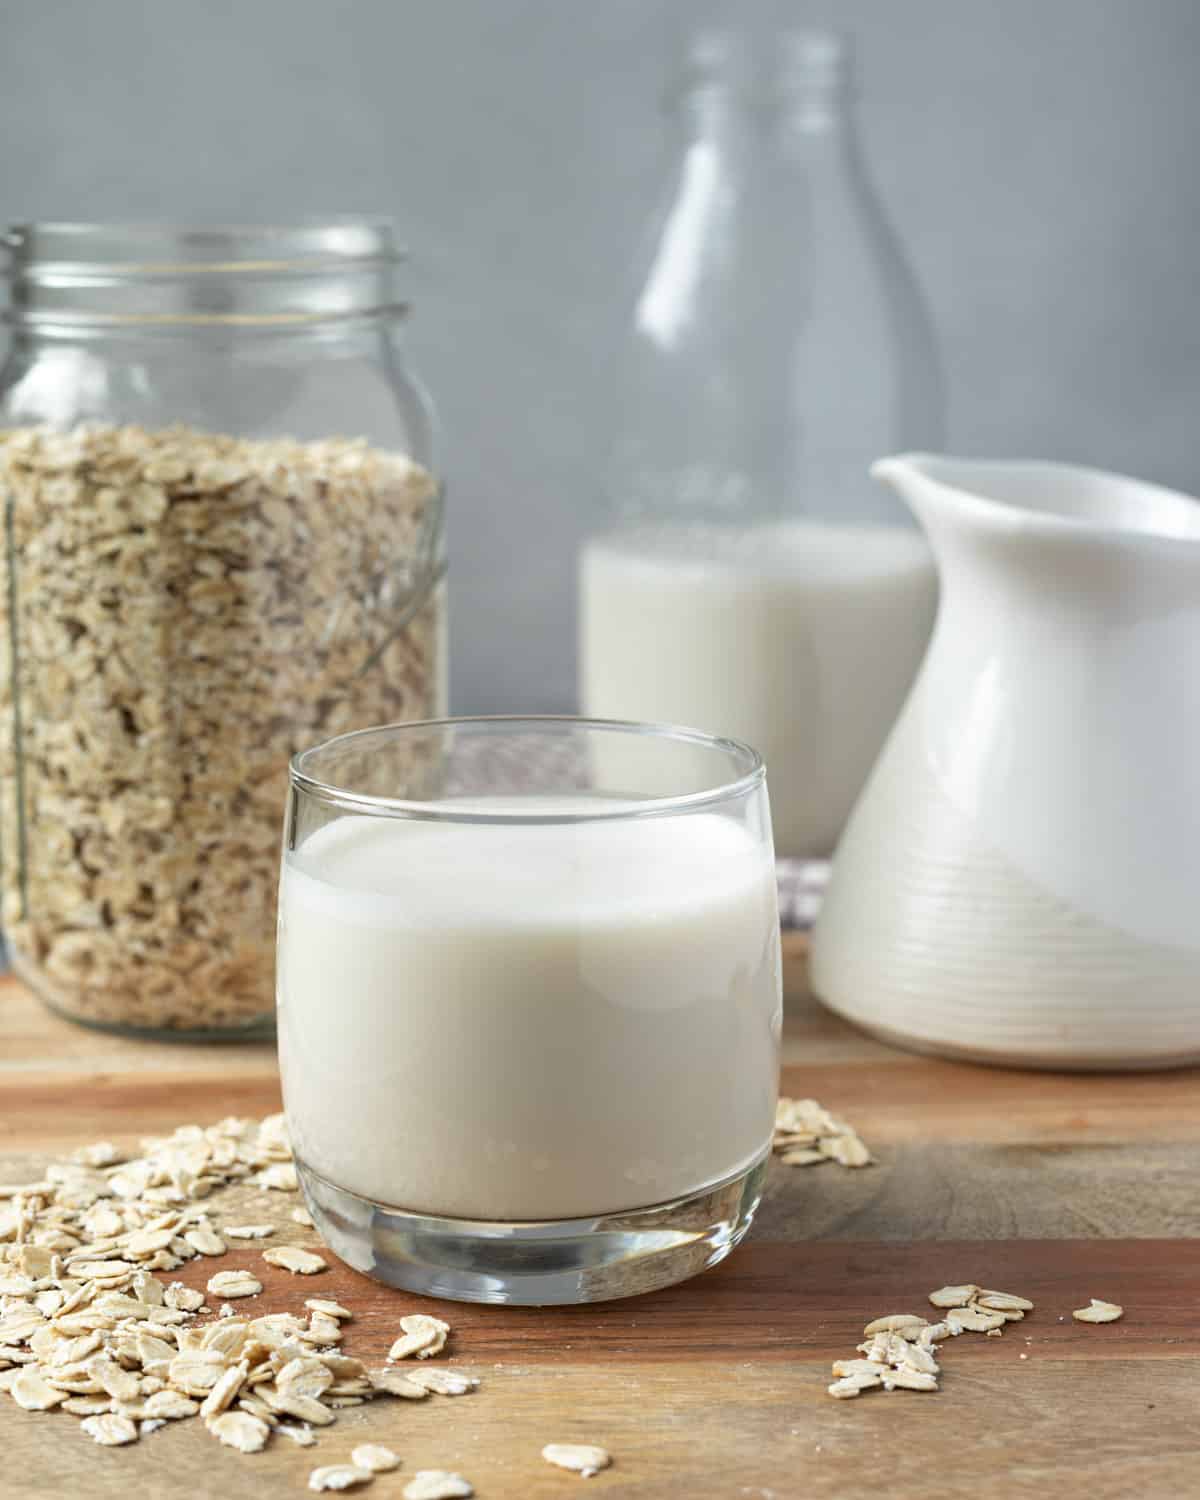
How to Make Oat Milk Like the Pros
I share a lot of recipes made with oats, from oat flour in baking to oat milk in desserts and sauces. So naturally, I've wanted to share an oat milk recipe for ages! But I didn't want to do it until I figured out how to make a better oat milk.
If you've made oat milk before, you know exactly what I mean. It's finicky, and often feared, because oats get slimy when combined with liquid.
There are a few tricks you can use to reduce the sliminess, like using ice cold water and only blending for 30 seconds, but you're still left with an oat milk that can't be heated without basically turning into a goopy pudding.
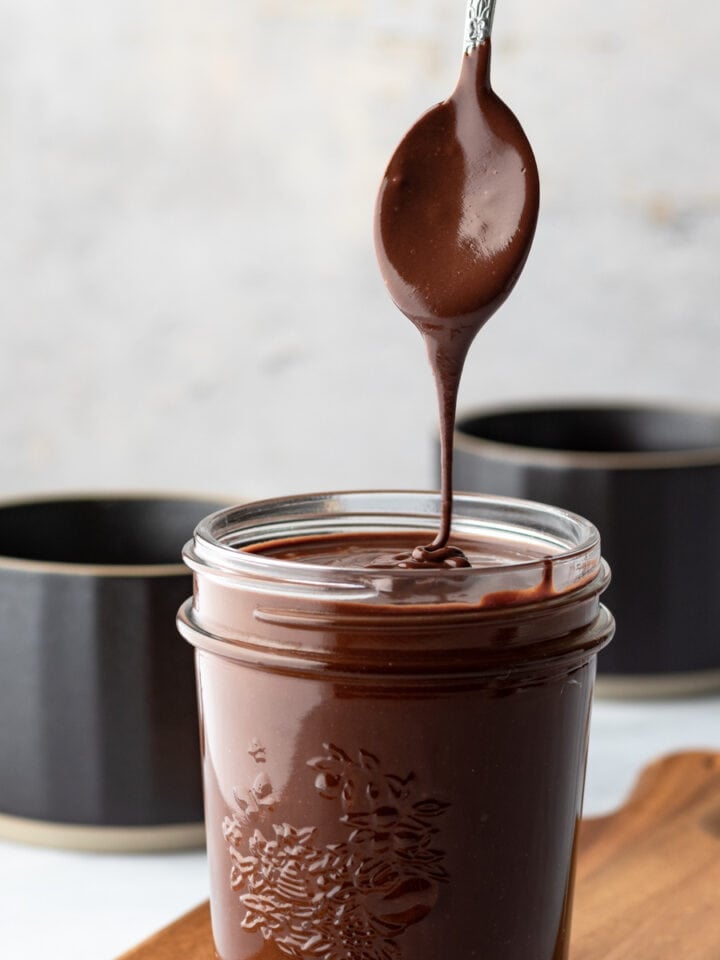
As a side note, sometimes it's fun to use that "oat slime" to our advantage. It's great for creating extra creamy vegan ice cream, chocolate sauce, and even dairy-free sweetened condensed milk.
But for the best homemade oat milk, I wanted to learn more about how Oatly and other manufacturers use enzymes to transform starch into sugars.
Others have experimented with using enzymes in recent years, like Sauce Stache on YouTube, Modernist Pantry, and even Popular Science. But ultimately, we're all just guessing how the pros really do it. And I noticed that everyone's guess is a little different.
So I decided to order a few different enzymes and start experimenting. Each test batch taught me something, and eventually I landed on a recipe that makes sense to me. The ingredients are affordable, the results are consistent, and I feel confident I can teach you how to recreate the best oat milk in your kitchen!
Jump to:
What does amylase do to oat milk?
Amylase is an enzyme produced by the salivary glands and pancreas. It breaks down complex carbohydrates into simpler sugars, which our bodies then use for energy.
You can think of amylase like a cleaver, acting at random locations along the starch chain, chopping it up into shorter chains.
Amylase is also manufactured (most often from plant or microbial sources, not animals) and commonly used in brewing and distilling to break down starches into fermentable sugars.
Oat milk manufacturers use a multi-step process (source), adding enzymes at two different stages, liquefaction and saccharification.
This is why store-bought oat milk tastes sweet, even without sugar in the ingredient list.
Temperature and time are also important factors. I found that heating the water to around 150 degrees Fahrenheit encourages the enzymes work more quickly.
That all sounds pretty simple, right? Well, it turns out there are several types of amylase, and they don't all do the same thing!
Alpha amylase breaks down longer starch chains into dextrins. Then, either beta or gamma amylase or glucoamylase breaks down the dextrins into sugars. This is key for removing the gritty, starchy mouthfeel, preventing slimy oat milk, and creating a naturally sweet taste.
During recipe testing I tried using alpha amylase that I'd purchased from a brewing supply company, but the results weren't great. It was like the job was only half complete.
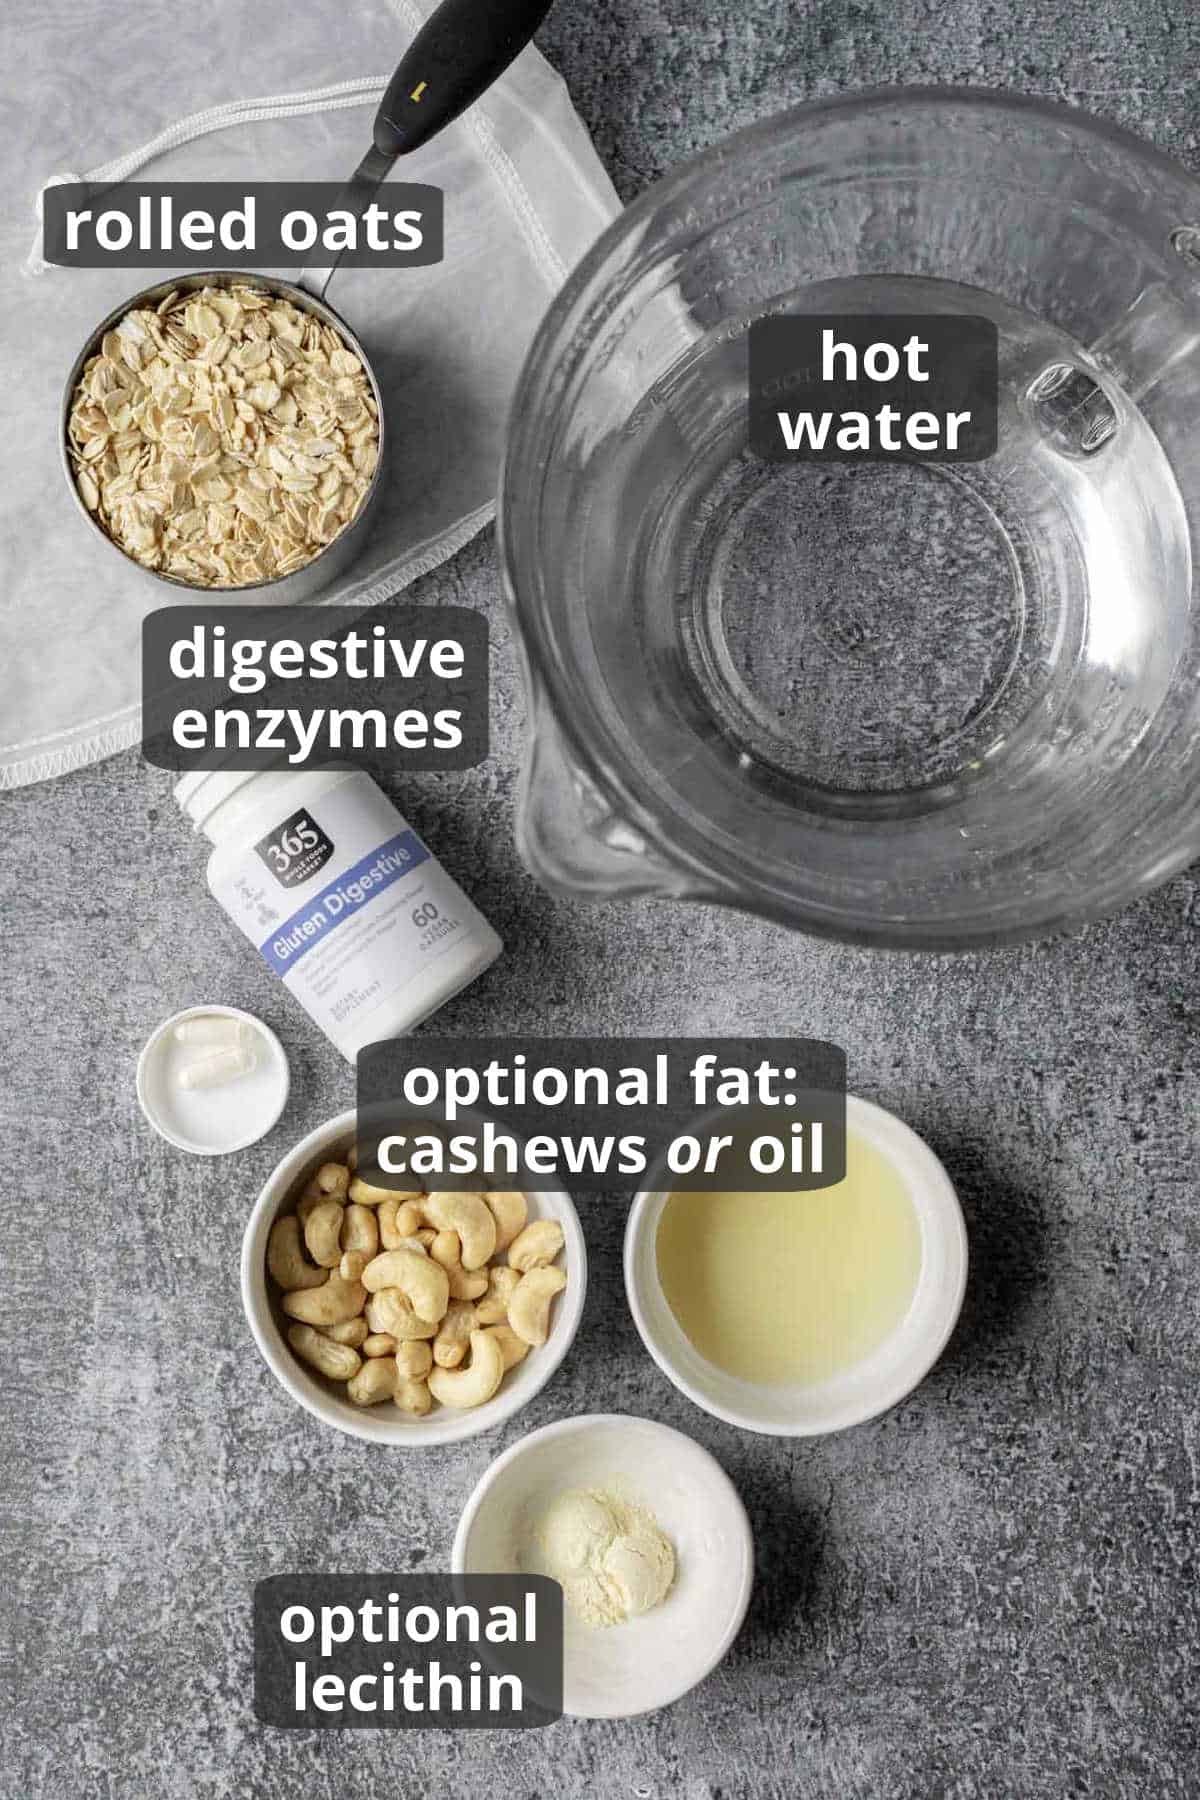
Surprisingly, this 365 digestive enzyme supplement created the best tasting oat milk. As you can see on the label, the supplement contains two types of amylase and glucoamylase.
Ingredients
Want to save this recipe? 📩
Keep an eye out for more delicious recipes. Unsubscribe anytime.
- rolled oats - According to this article, some manufacturers make oat milk with heat-treated oat flour. Initially, I used whole rolled oats, and it worked great until the thickness of the oats changed. Last year we noticed that all of the rolled oats available at the stores where we shop, whether from the bulk bins or packaged, were much thicker than the oats we used to buy. And I realized that they are TOO thick for the enzymes to work. So after more testing, I now recommend pulsing the oats in the blender first to turn them into a coarse flour.
- digestive enzymes - as mentioned above, it seems that 2 different enzymes are needed to fully break down the starches.
Based on my experience, the most cost effective way to accomplish this is to use a digestive enzyme supplement that has both amylase and glucoamylase. Below are two vegan options that I've tested. If considering other brands, just make sure the product is vegan, has a similar amount of these enzymes, and comes in capsules. - vanilla, optional - for a flavor more similar to store-bought milks, I like to add a few drops of clear vanilla, but pure vanilla extract is also great.
- fat, optional - The milk tastes amazing as is, but if you want a full-fat, richer oat milk like Oatly, you'll also need either a flavorless oil - such as avocado, grapeseed, or canola - or if you avoid oil, raw cashews work well. If you include oil, I recommend adding a teaspoon of sunflower lecithin to help with emulsification.
See the recipe card below for quantities and full instructions.
How to Make Oat Milk
This is a basic overview of the process. Find the detailed instructions in the recipe below.
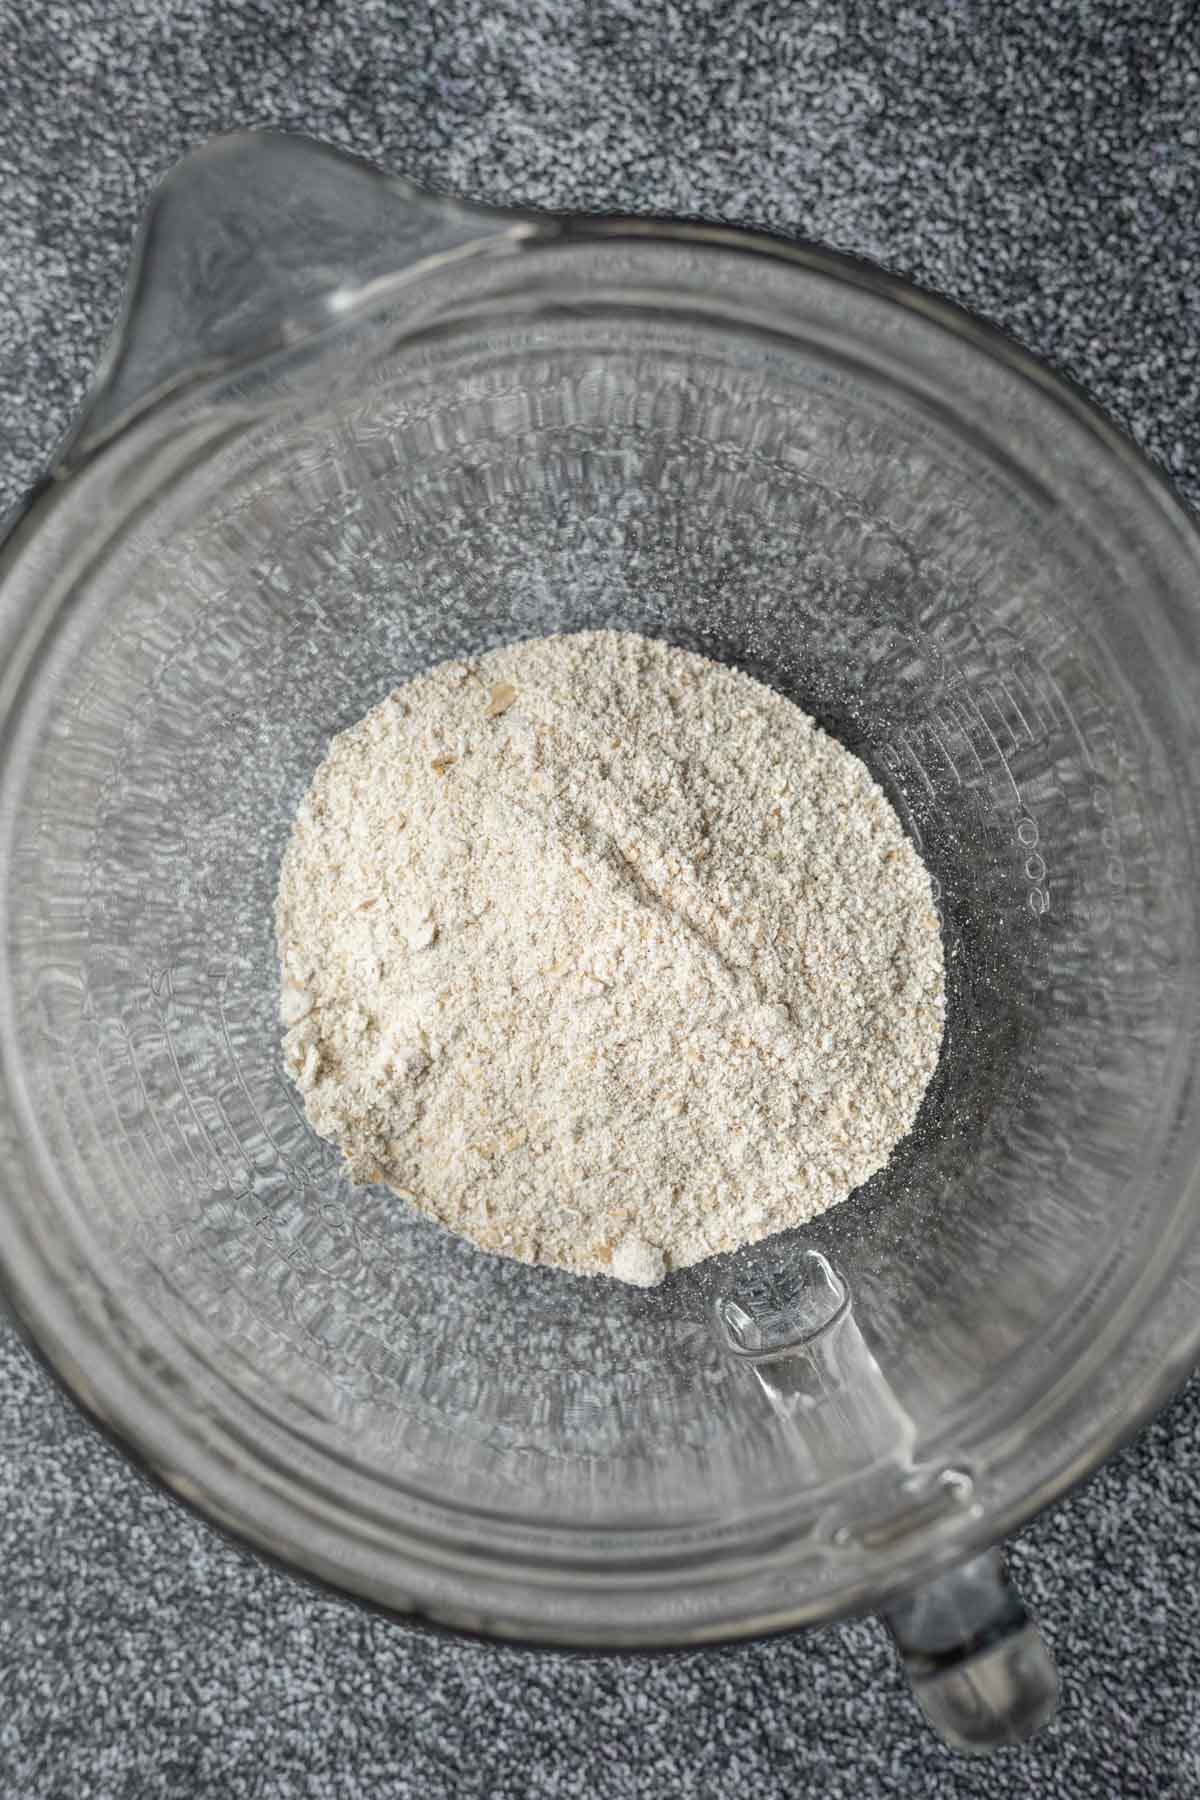
First, pulse the oats in a blender until the consistency of a coarse flour. Open a capsule of the digestive enzymes and pour into the bowl.
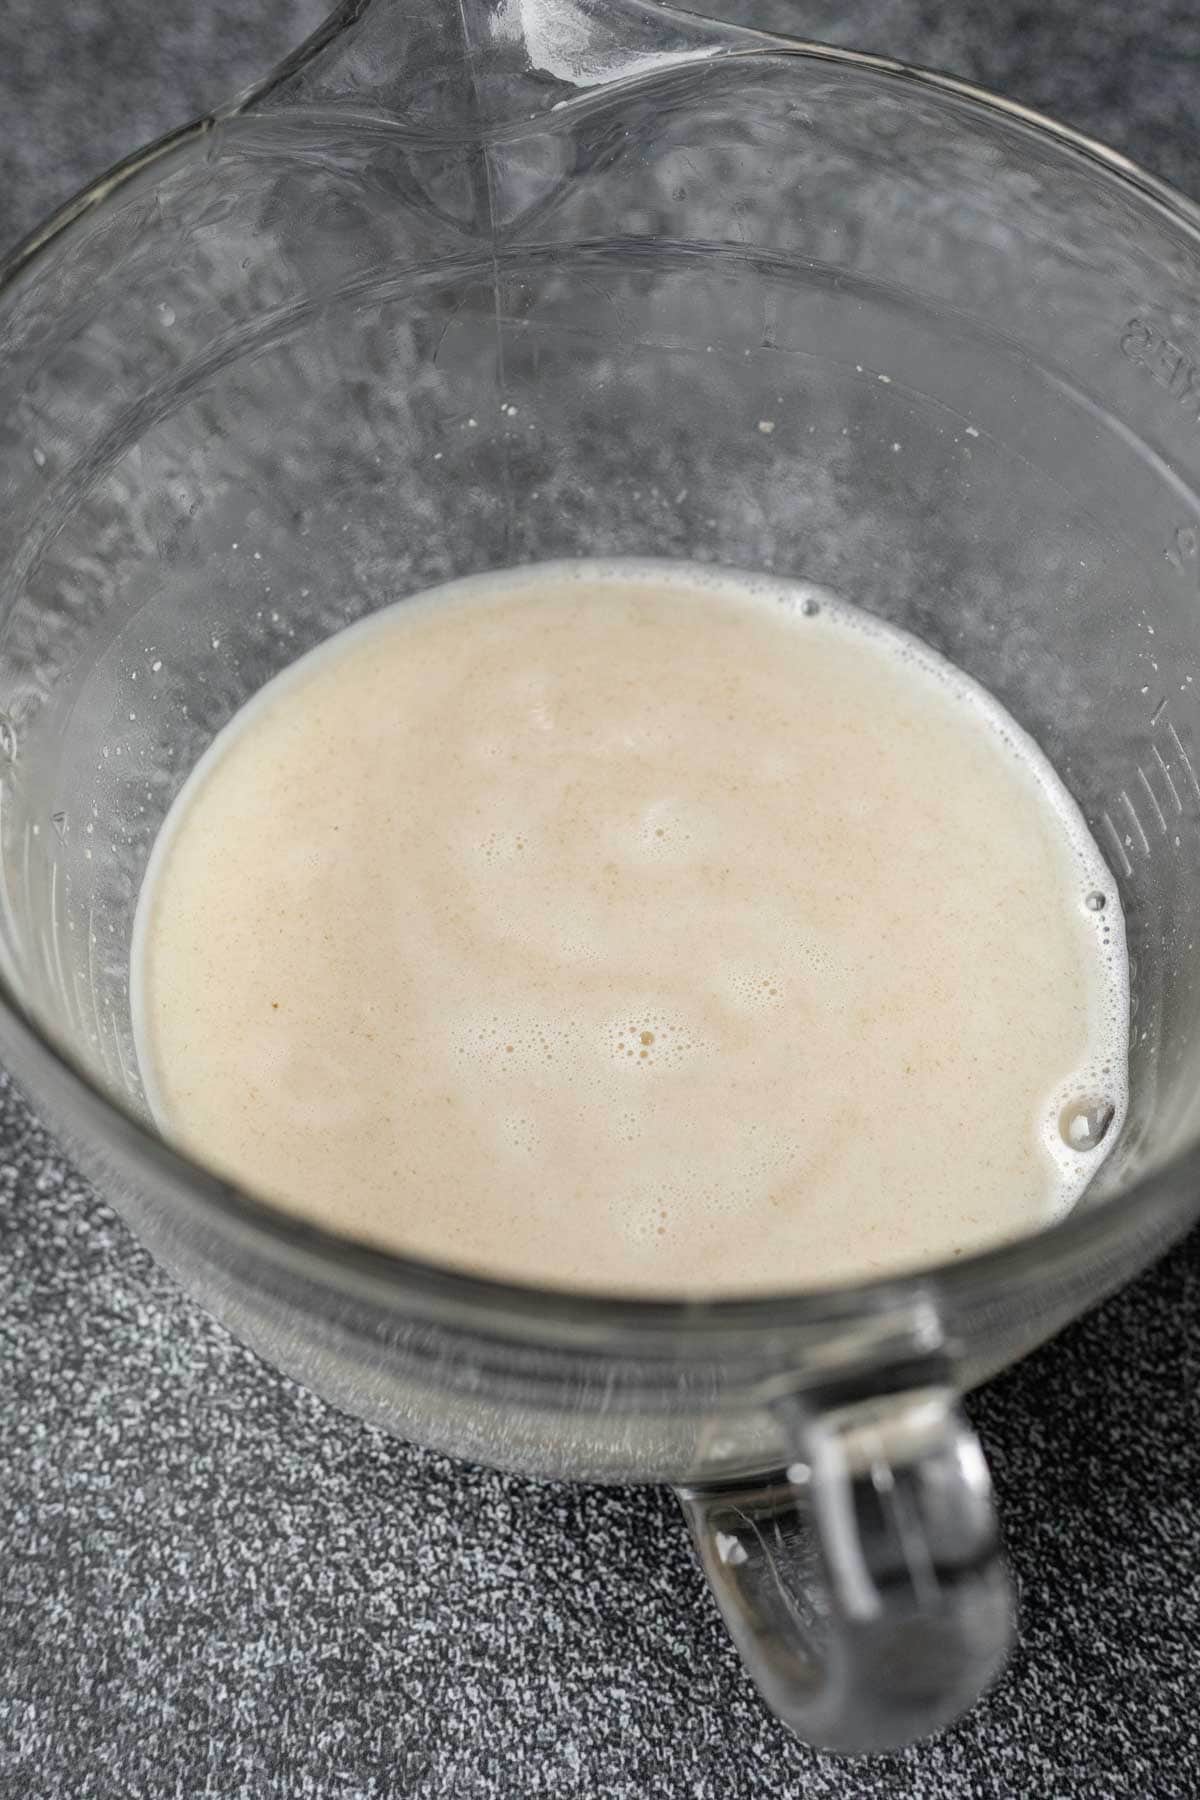
Heat the water to about 150 degrees. A thermometer is helpful here, but not required. Pour over the oat flour and enzymes, and stir well. Let soak for 30 minutes. During this time the water will develop a sweet flavor as the enzymes do their work.
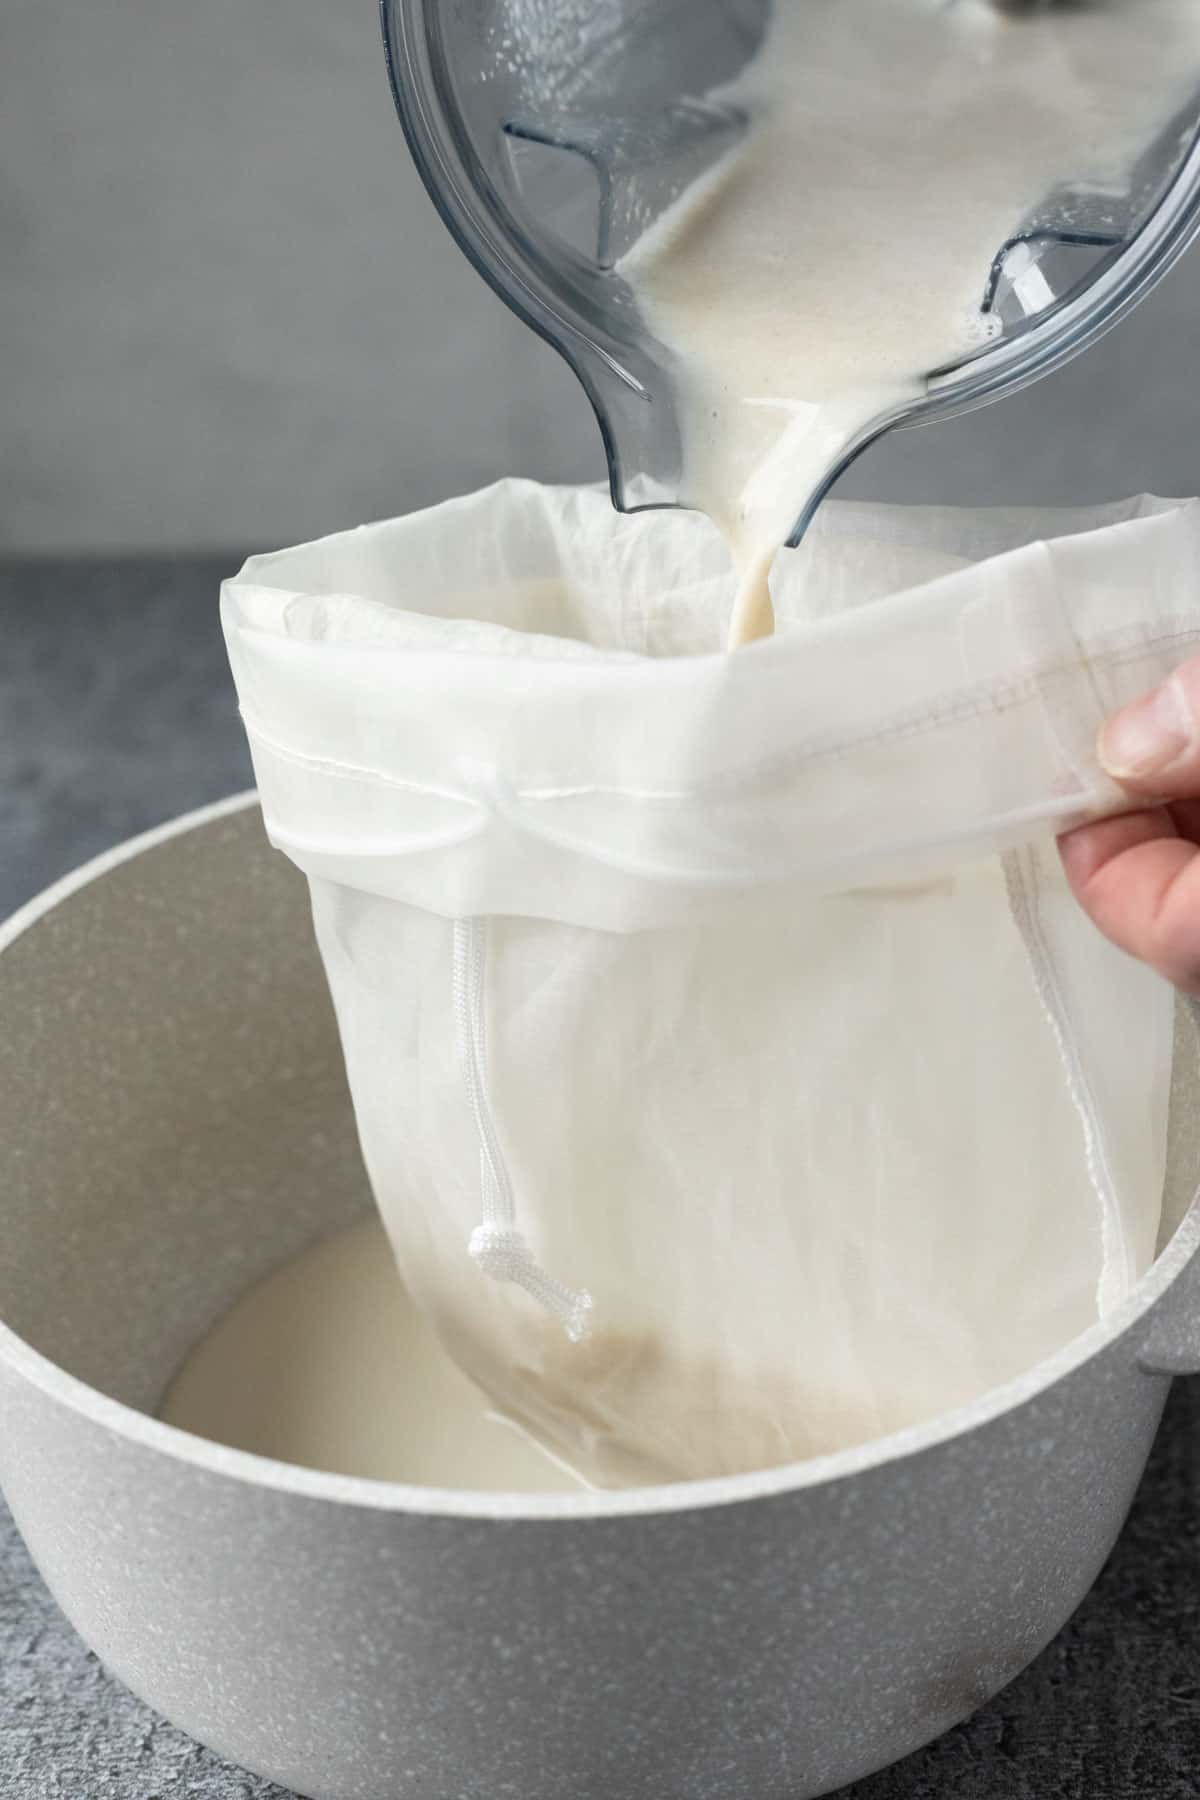
Rinse out the blender, and blend the oat/water mixture for another 15 seconds or so. It doesn't take long since the oats were already broken down into flour. Use a nut milk bag to strain the oat milk directly into a pot or large saucepan. For the smoothest oat milk strain it twice.
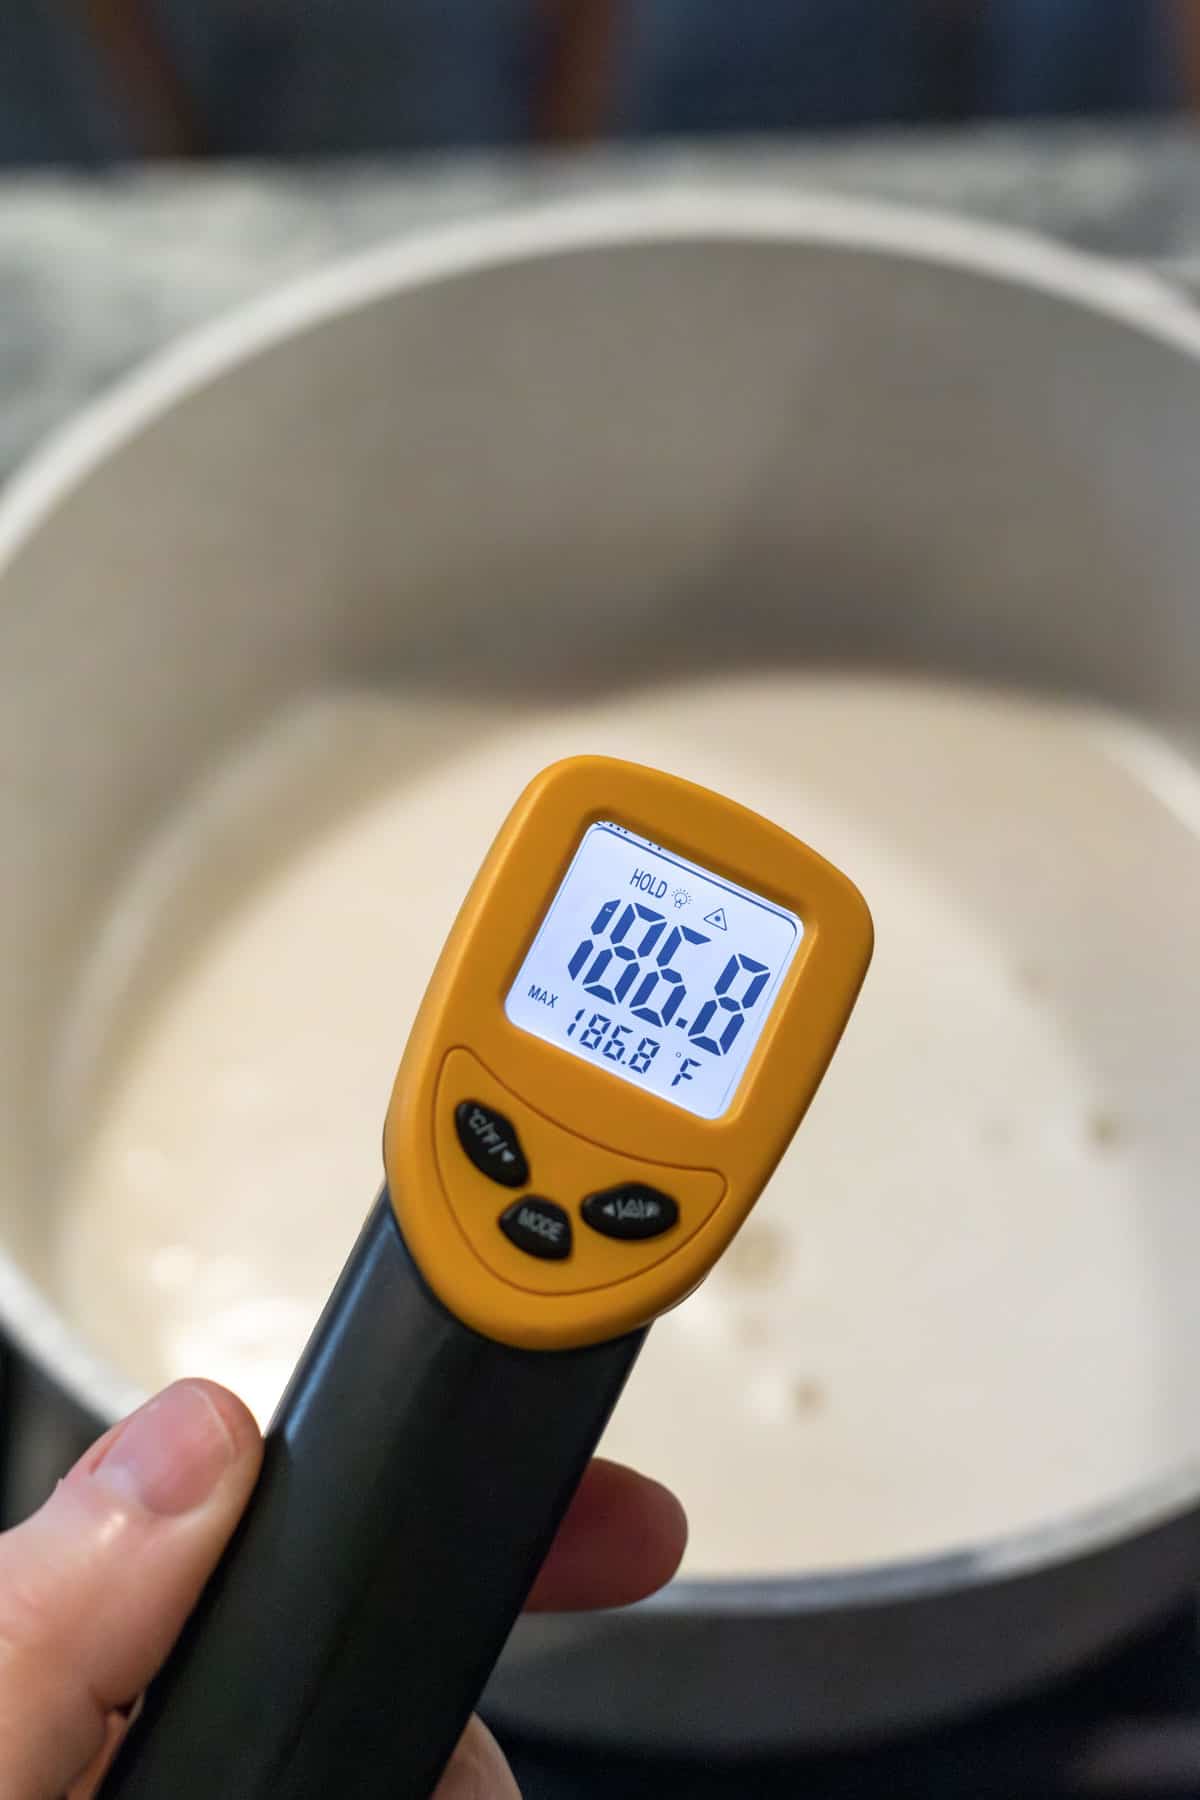
Whisking occasionally, bring the oat milk just to a simmer, about 190°F. Remove from heat, and stir in the salt and vanilla.
Let the milk cool before storing in a covered jar in the refrigerator.
Alternatively, you can add oil at this stage for a thicker milk similar to Oatly. Let the oat milk cool to room temperature. Then pour it into the blender (be sure to rinse out the blender first!), and slowly drizzle in the oil while the machine is running.
Helpful Equipment
Equipment plays an important role. The great news is that once you have these items, you'll be able to make endless batches, saving money and reducing waste!
- large bowl - to soak the oats with the enzymes
- blender - I use a Vitamix, but a standard blender should also work since the oats are very soft. It is a large volume, though, so you may want to blend it in two batches.
- nut milk bag(s) - I use basic nylon nut milk bags; I like to strain the milk twice by placing one bag inside another.
- thermometer - helpful for measuring the temperature of the water for the initial soak and the strained milk during the final stage of heating.
- large saucepan - during recipe testing, I found that heating the strained milk improves the mouthfeel (probably by transforming any remaining starch) and helps prevent separation during storage.
Variation: Chocolate Oat Milk
Use this basic oat milk to create all of your favorite flavors! Get creative with ingredients like powdered strawberries, extracts, cocoa, and spices.
For chocolate oat milk - per 1 cup of milk, add 1 medjool date, or your sweetener of choice, and 1.5 to 2 tablespoon cacao or cocoa powder.
Oat Milk FAQs
There are numerous reasons to avoid dairy, including the fact that most of the world's adult population is lactose intolerant. Though the inability to digest lactose sounds like a defect, it's actually the normal state for adults - while the ability to digest lactose is a genetic mutation. Dairy is also high in saturated fat and has been linked to prostate and other cancers (source). Oat milk contains fiber, is low in fat, and does not contribute to the inherently exploitative and cruel dairy industry.
You may have noticed added sugars indicated on the label of your favorite oat milk. Those sugars are the natural result of the way the oats are processed. Enzymes break down the starch into sugars, creating the lightly sweet taste that makes oat milk so appealing.
Yes, just like any perishable food, oat milk will go bad. If it smells "off" or funky, it should be discarded.
Stored in a clean airtight container in the refrigerator, oat milk made with this recipe lasts up to 5 days.
Is it cheaper to make your own oat milk?
Yes! By my quick calculation, homemade oat milk costs about ⅓ as much as Oatly and other brands.
Taking into account the cost of 1 cup of organic oats (approximately $0.60) and one capsule of 365 digestive enzymes ($0.16), plus water and a pinch of salt, it costs around $0.85 to make this recipe. At 3.5 cups per batch, that's $0.24 per cup.
Oatly, on the other hand, at $6 per carton is $0.75 per cup.
BONUS! And now that you know the process and have the ingredients on hand, you can also make your own dairy-free oat milk coffee creamer!

Troubleshooting & Top Tips
- RECIPE UPDATE: Since first sharing this recipe, I've heard from a few people that their oat milk still thickened when heated. Initially, I thought the most likely culprit was the enzymes used (which is still a possibility). But now I'm more convinced it's due to using thick-cut rolled oats. So I've updated the instructions to include blending the oats into flour first. This solves the "thick oat problem" by allowing the enzymes to easily access the starches.
- When you first stir the hot water and oat flour together, taste the water for reference. After soaking for 30 minutes, the water should taste lightly sweet. The difference should be obvious. If it doesn't taste sweeter than before, either the enzymes aren't working properly or the water wasn't the correct temperature. If you think the water was too cool, microwave the bowl for 20 to 30 seconds to raise the temperature, and check again in 15 minutes.
- Note that most oat milk recipes stress the importance of only blending the oats and water for 30 seconds and not squeezing the bag while straining. But you don't need to worry about that here since the enzymes solve the slime problem.
- That said, if you notice that the oat milk feels slimy while straining it through the bag, this means the enzymes didn't work. There's no point in heating it in the next step, unless you want to turn it into oat "pudding." You can always salvage the batch by adding vanilla and a sweetener and enjoying it for dessert! Then review all of the steps, try to figure out the cause, and try again.
More Recipes With Rolled Oats
Are you excited and ready to make oat milk at home? If you try the recipe be sure to come back and comment below to let us know your favorite ways to flavor and use it!
Recipe Video
Recipe
Oat Milk Recipe With Enzymes (Like Oatly)
Ingredients
- 1 cup rolled oats - certified gluten-free, if needed
- 1 capsule vegan digestive enzymes - tap for recommendation: should contain amylase and glucoamylase. Amount is approx. ⅛ teaspoon powder.
- 4 cups water
- pinch of sea salt
- ¼ teaspoon vanilla extract, optional - or clear artificial vanilla
Optional ingredients for richer oat milk:
- 2 tablespoons flavorless oil - or ¼ cup raw cashews, blended into the finished milk
- 1 teaspoon sunflower lecithin - helps emulsify oil and water
Instructions
Soak
- Pour the oats into a dry blender. Blend for about 5 seconds or until the consistency of a coarse flour. Pour oat flour into a large bowl.
- Open one digestive enzyme capsule and dump the powder into the bowl (discard the capsule).
- Heat the water to approximately 150°F (66°C). I like to microwave it in a large bowl. At this temperature water feels very hot but won't immediately scald you (I use this infrared thermometer).
- Pour the hot water into the bowl with the oat flour and enzymes, and stir well. For reference, use a spoon to taste the oat water (will be very bland). Set aside for 30 to 45 minutes. I like to stir occasionally during this time. After 30 minutes, taste the water again. It should now taste lightly sweet. If it doesn't, either the enzymes used aren't effective or the water wasn't the correct temperature. If you think the water was too cool, microwave the bowl for about 30 seconds to raise the temperature, and check again in 15 minutes.
Blend and Strain
- Rinse out the blender to remove any oat flour, and pour the oat-water mixture into the blender. Starting on low, quickly increase to high speed, and blend for about 10 seconds. We don't need to blend long since the oats were already broken down to flour. If not using a Vitamix or other high-speed blender, you may need to blend in two batches due to the large volume.
- Use a nut milk bag to strain the oat milk into a large heavy-bottom pot or saucepan. I like to place one nut milk bag inside another, for a double layer. Or you can strain it twice using the same bag (rinse in between uses). Since the starch has been broken down into sugars, it's fine to squeeze the bag and won't result in slimy oat milk. However, if you notice that it feels slimy while straining it through the bag, this means the enzymes did not work. Review the tips in the Notes section below before proceeding.Save the oat pulp for baking or add it to smoothies for extra fiber.
Heat the Oat Milk
- Over medium heat and whisking frequently, slowly bring the oat milk to a simmer. Aim for 195 degrees F. If you don't own a thermometer, look for these visual clues: tiny bubbles around the edges and slight movement in the center. Whisking, maintain this low simmer for about 10 seconds, then remove from heat. Add a pinch of salt and the vanilla, if using.
- OPTION: add oil or cashews. Let the oat milk cool for about 20 minutes or until barely warm (so it's safe to blend on high speed). Rinse out the blender, and pour in the milk. If using cashews, simply blend with the milk until completely smooth. To add oil, while blending on high speed, remove the cap from the pour spout and slowly drizzle in the oil. Add the sunflower lecithin and blend for a few more seconds.
- Let the oat milk cool, and pour into a clean, lidded glass jar. Store in the refrigerator for up to 5 days.
Notes
- RECIPE UPDATE: Since first sharing the recipe, I've heard from a few people who had trouble with the enzyme process not working. Initially, I thought the most likely culprit was the enzymes (which is still a possibility). But now I'm more convinced it's due to using thicker-cut rolled oats. So after more testing, I've updated the instructions to include blending the oats into flour first. This solves the "thick oat problem" by allowing the enzymes to easily access the starches.
- If you notice that the oat milk feels slimy while straining it, this means the enzymes didn't work. In other words, there's no point in heating it in the next step, unless you want to turn it into oat "pudding." You can always salvage the batch by adding vanilla and a sweetener and enjoying it for dessert!
Then review all of the steps, try to figure out what went wrong, and try again.
Estimated Nutrition (per serving)
Nutrition information is an estimate and will vary depending on the exact amounts and specific products and ingredients used.




Maureen Durnell says
Made as instructed - came out great. I may try adding cashews for a bit of extra creaminess.
thanks for the recipe.
Josie says
This recipe is incredibly easy and yields wonderful results, not slimy at all! I do notice that the milk can develop a chalky taste, I have a few theories as to why this could be but if you’ve experienced this issue I would really appreciate your input!
- over blending oil & lectin?
- blending the oats too finely?
- not heating the oats hot enough?
Linden says
Good results but it takes FOREVER to strain the oats through my nut bag. I have to squeeze and squeeze, even after first straining through a coarse sieve. Am I blending the oats too much? (Only pulsed it a couple times to a “coarse flour” and again after soaking…) Too fine a nut bag?
Love your recipes!
Lori Rasmussen says
Hmm, I'm not sure. Sounds like it might be the nut milk bag. Glad you like the recipe!
Bee says
Thanks for sharing this recipe. I had a problem whereby my oat milk became too sweet after a day or two. Do you have any ideas why that might be? I've seen other people say that the enzymes need deactivating, so I'm not sure if the enzymes just kept doing their thing. Thank you!