

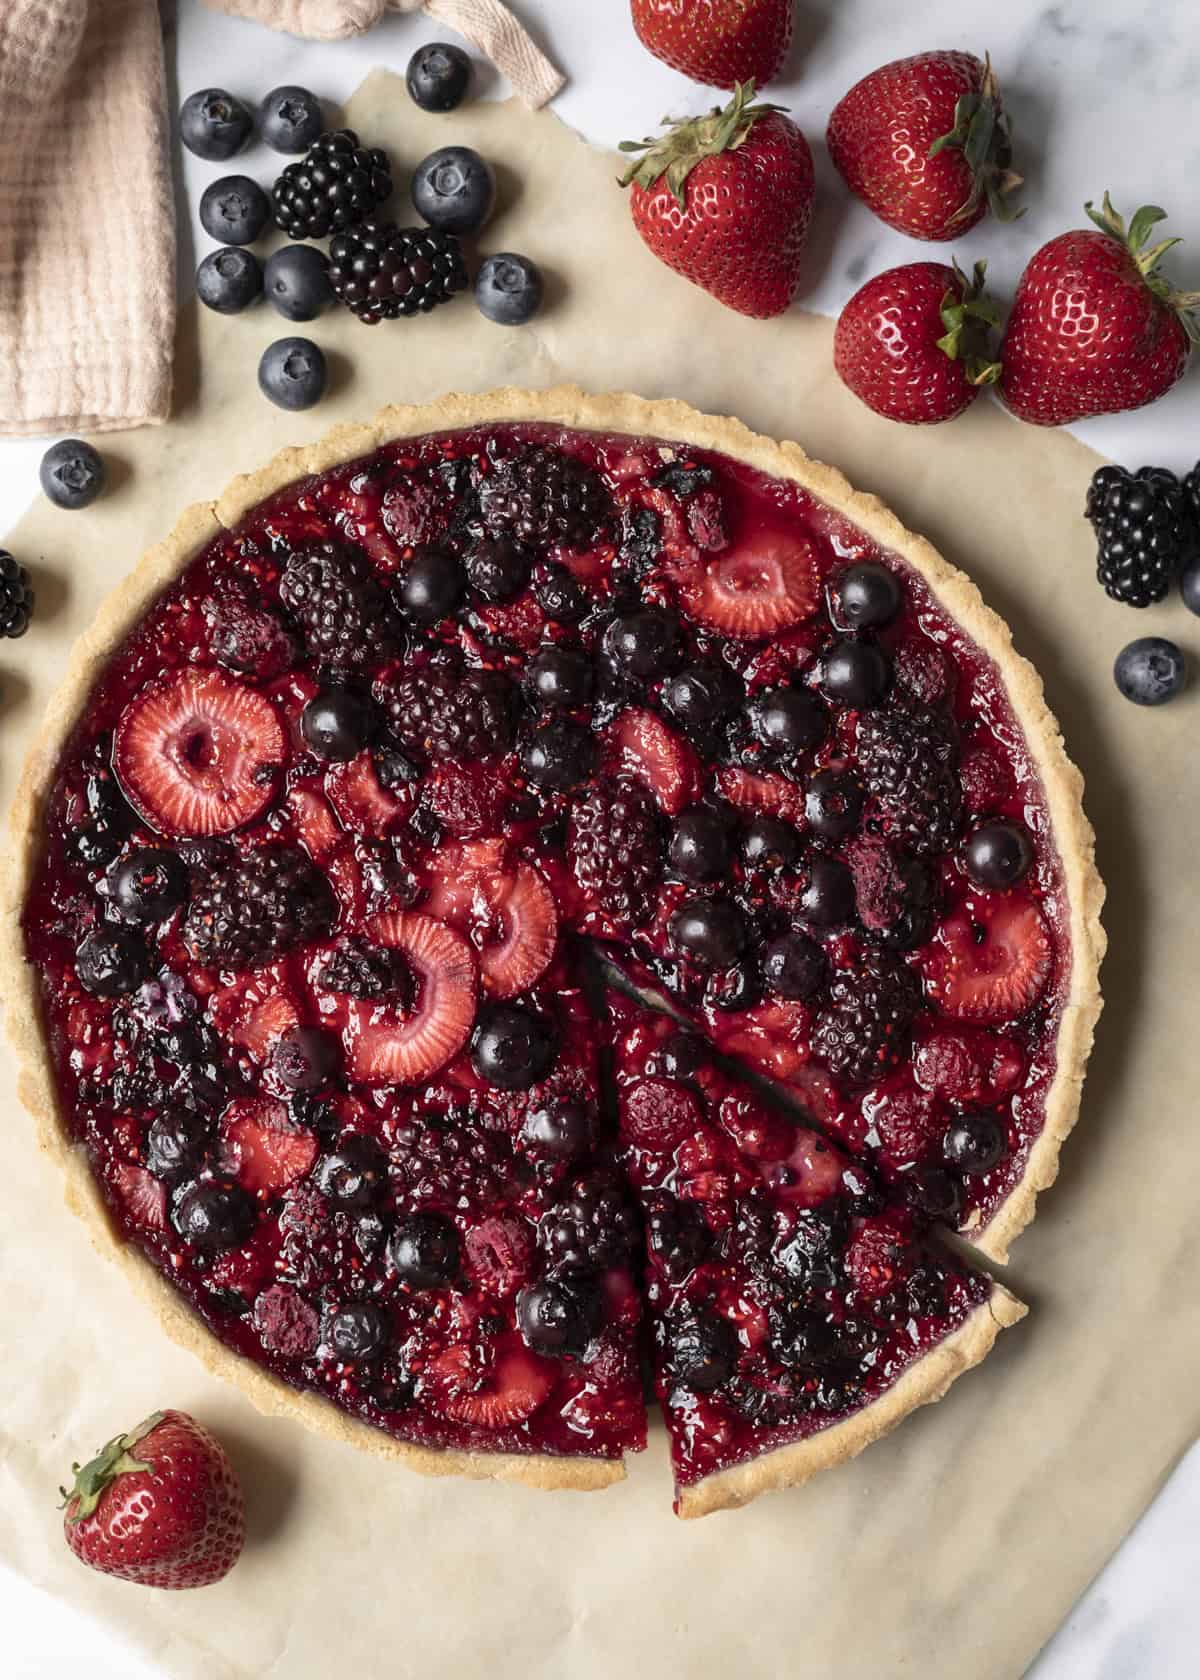
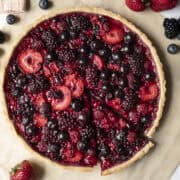
This berry tart is as easy as it is stunning-bursting with juicy berries inside a gluten-free almond flour crust. The filling comes together in minutes with just berries, sugar, lemon zest, and arrowroot for the perfect jammy texture-no dairy, added fat, or fuss! It's the kind of dessert that looks fancy but is secretly simple and made for laid-back summer days.
My husband loves berries almost as much as he loves me (hopefully, I got that right and it's not the other way around).
So with an abundance of fresh raspberries in our yard plus all of the gorgeous berries popping up at farmers markets this time of year, this berry tart nearly made itself.
Jump to:
Why You'll Love It
Besides the fact that this berry tart is gluten-free, vegan, and tastes like a slice of heaven, it's also:
- A simple dessert that feels a little fancy!
- Great for summer entertaining or anytime you need to accommodate special diets-like gluten-free, vegan, and oil-free plant-based.
- The nuttiness of the almond flour crust works so well with the sweet and juicy berry filling.
- Not only is the filling easy, so is the crust! Without butter or regular flour, it's about as easy as it gets, not like typical pastry!
Key Ingredients
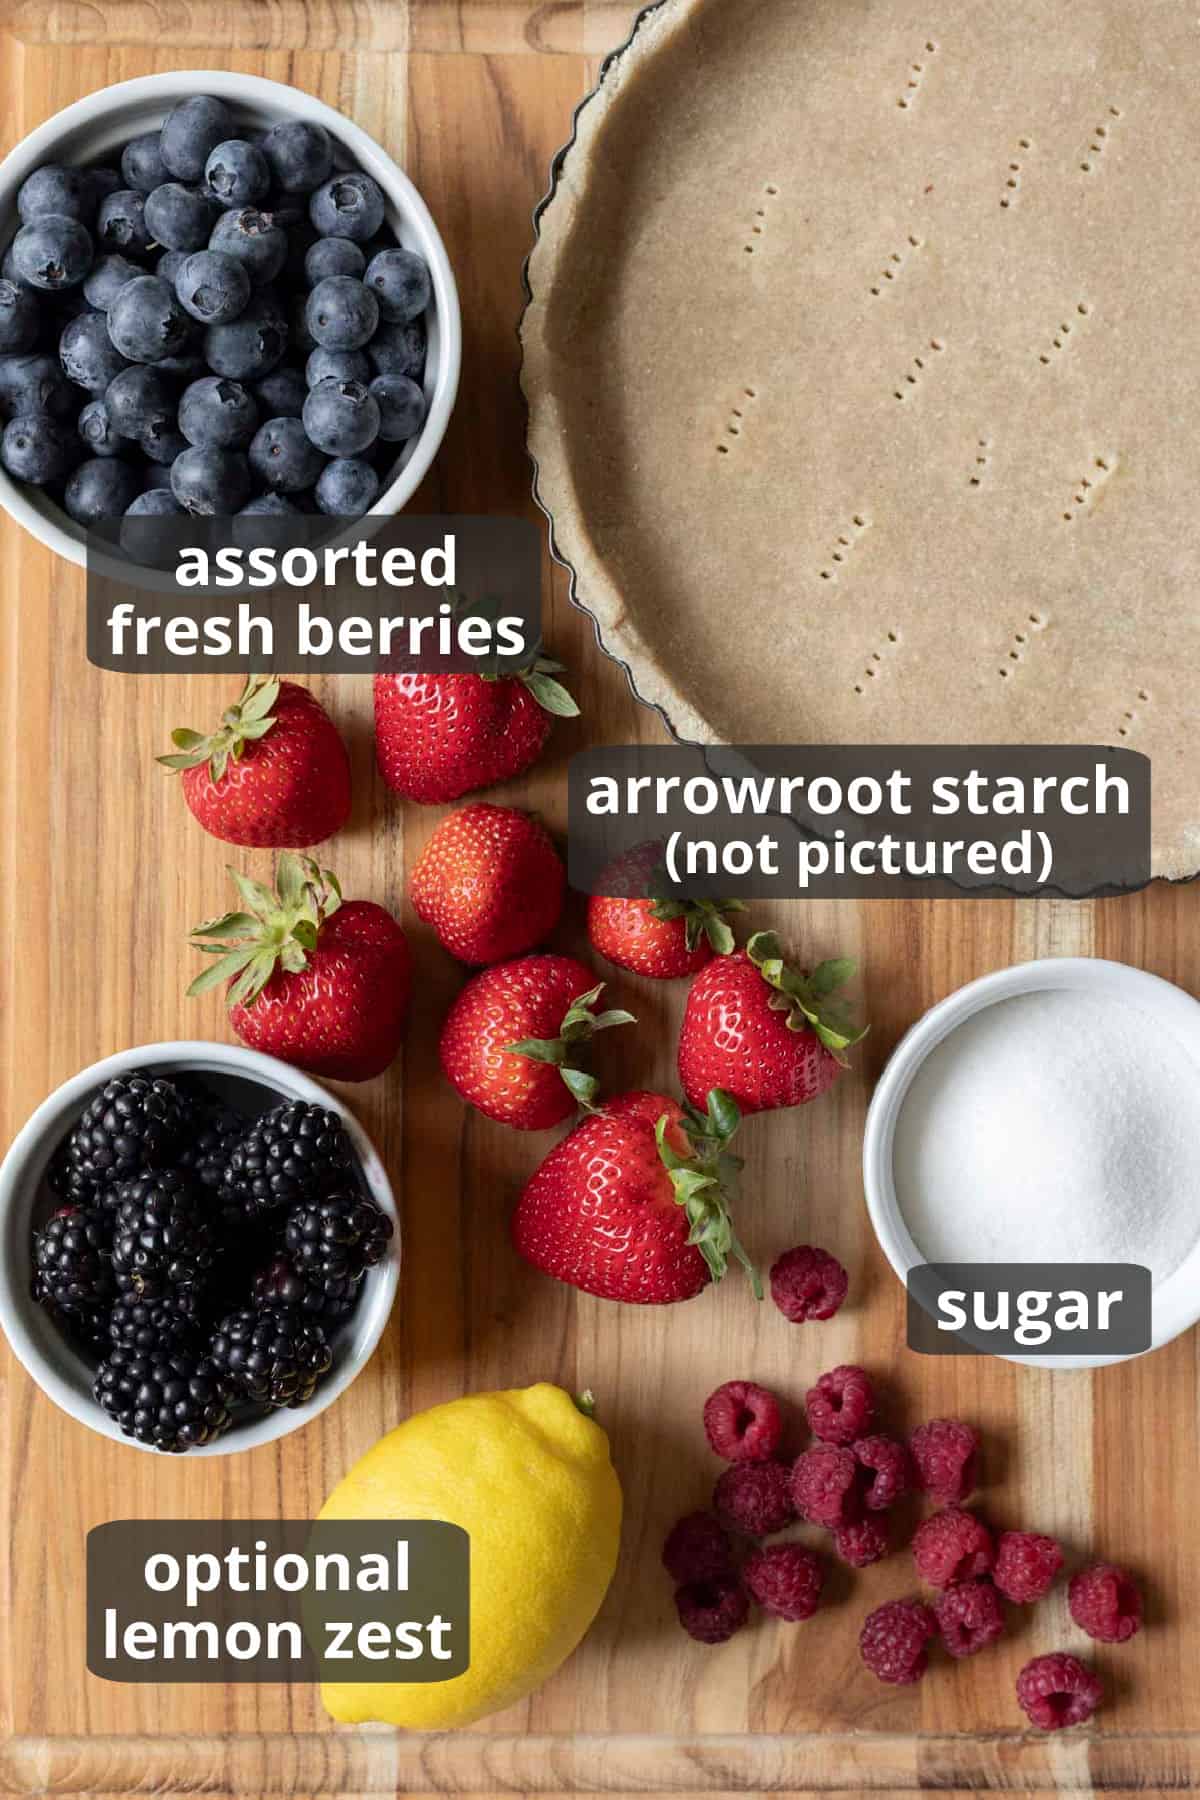
- Crust: I used my vegan gluten-free tart crust because, well, it's my go to! Adapted from this healthy pie crust recipe, it's absurdly easy, tastes amazing, and is made with wholesome ingredients that are easy to keep on hand. Feel free to use another crust recipe that works for you or any store-bought pie dough you like.
- Berries: I used an assortment of fresh berries, about 1 cup each of blueberries, sliced strawberries, and blackberries, plus a handful of fresh raspberries from our yard (around here you better eat 'em before the bears do). You can also make this tart with all blueberries or all strawberries.
- Sugar: I wanted the flavor of the berries to shine, so regular sugar was the obvious choice. If you're vegan, be sure to choose organic cane sugar or a product specifically labeled as vegan to avoid ones that are processed with bone char. If you want to substitute maple syrup or something like coconut sugar, just know that it will impact both the color and flavor of the tart.
- Arrowroot starch: This thickens the berry mixture and keeps the recipe gluten-free. Corn starch is the best substitute, if needed.
- Lemon zest: Lime or orange zest are also great! I didn't want the lemon to overpower the berries, so I didn't use much zest. It's fine to omit it if you don't have any citrus on hand.
See the recipe card below for amounts and step-by-step instructions.
How to Make the Tart
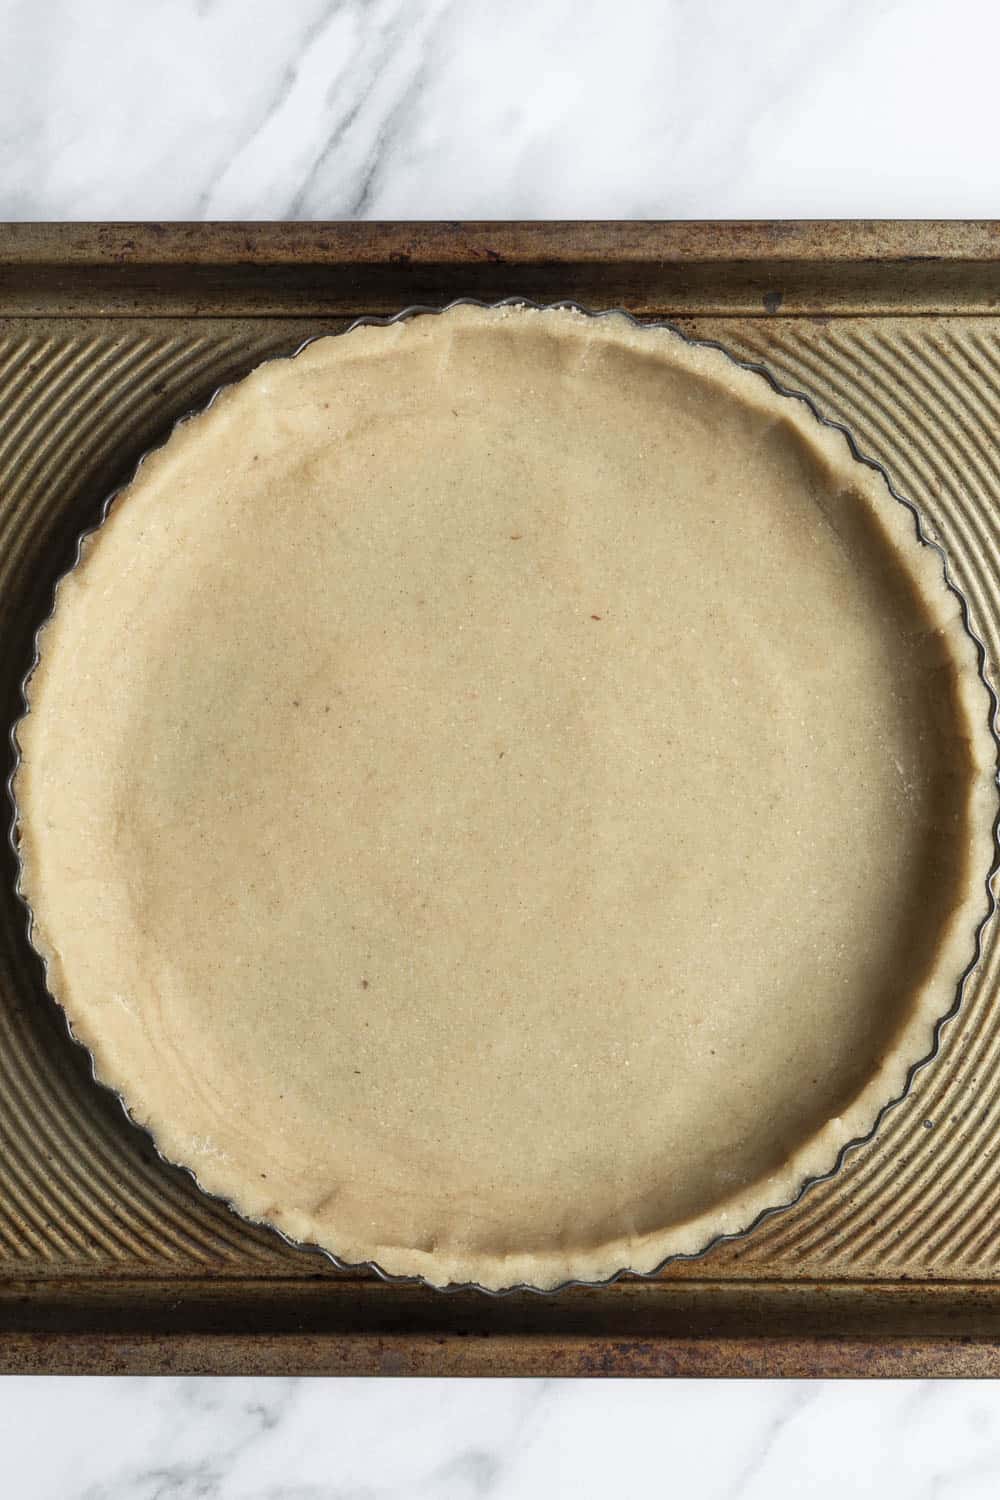
First, you'll make the crust by combining almond flour, arrowroot starch, rice flour (or a GF flour blend), sugar, and salt in a bowl. Then add 4 tablespoon of water and mix well. It should be just moist enough to hold together but not sticky. If it's not coming together, add water 1 teaspoon at a time until it does.
Then press the dough into a 9-inch round tart pan and prick the bottom several times with a fork (I forgot to do this until after par-baking, which is also fine).
Place the crust on a baking sheet and bake for 10 minutes at 350°F (175°C).
Want to save this recipe? 📩
Keep an eye out for more delicious recipes. Unsubscribe anytime.
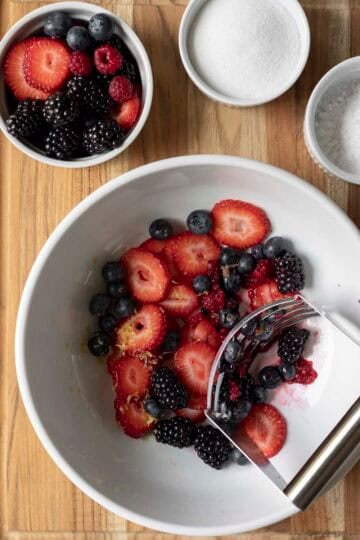
While the crust is in the oven, set aside about ⅓ of the berries. In a large bowl combine the rest of the berries with the sugar, lemon zest, and a pinch of salt. Mash the berries with a pastry cutter or potato masher.
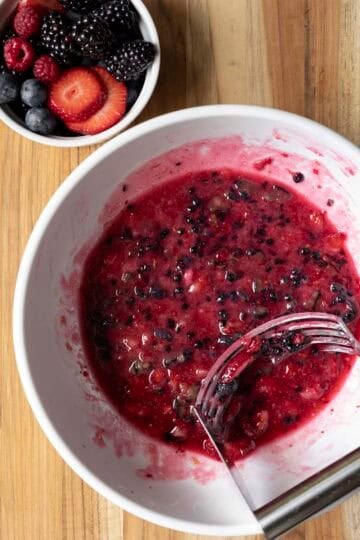
Add the arrowroot and mash/stir some more until fully incorporated. Fold in the reserved ⅓ whole berries.
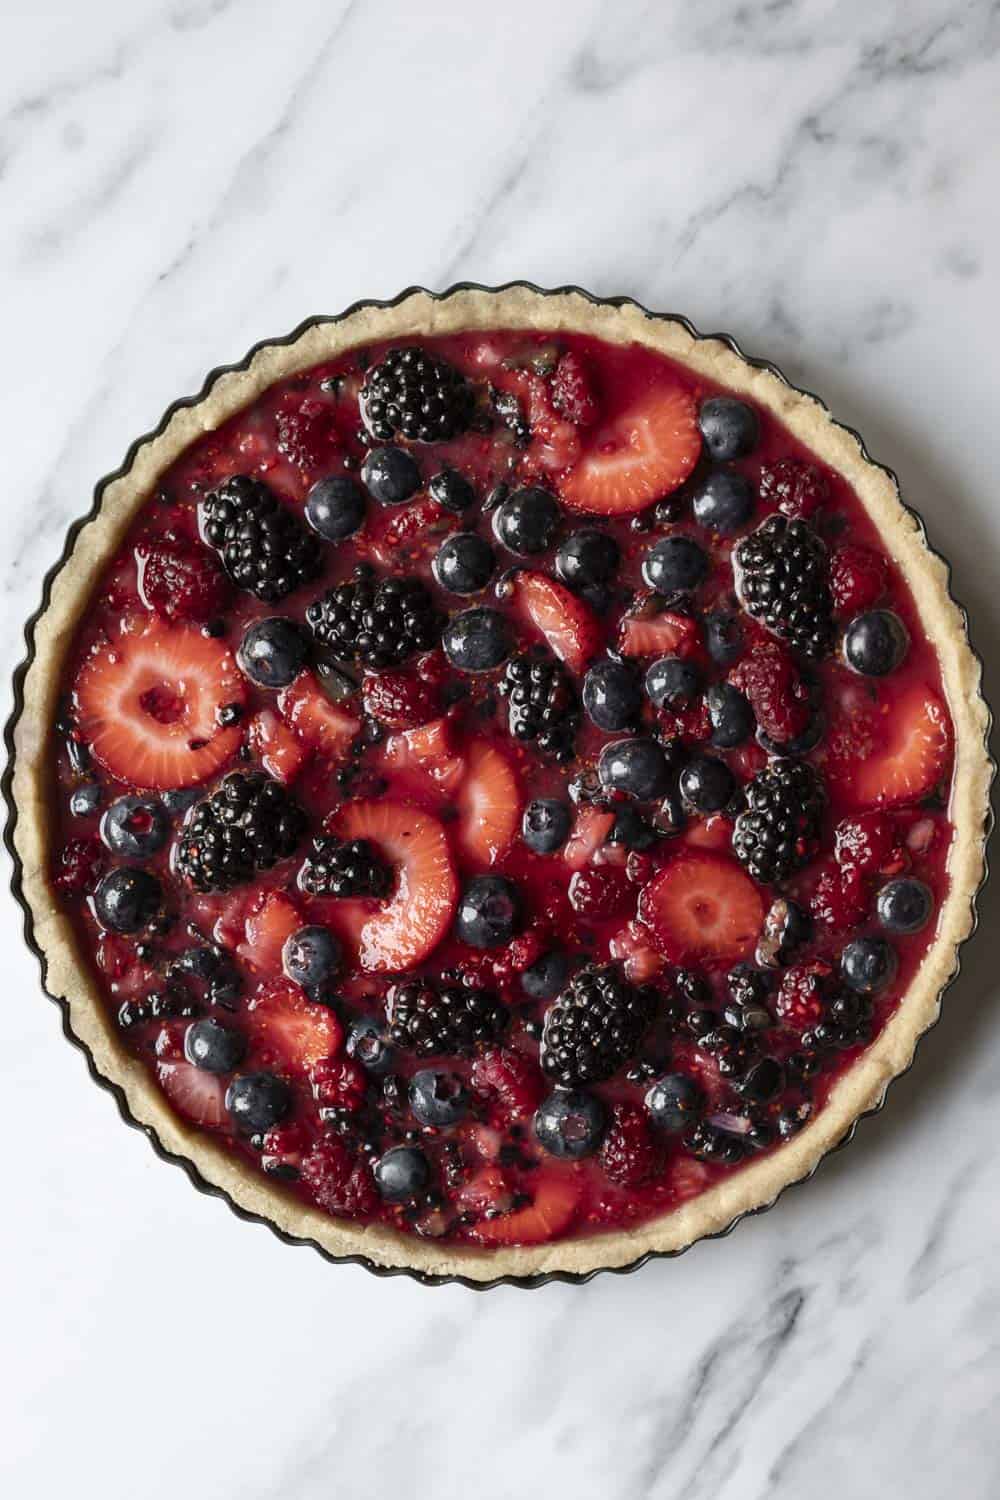
Pour the filling into the par-baked crust. With the tart pan still resting on a baking sheet, transfer to the oven and bake for 35-40 minutes or until the center is just set.
Hint :
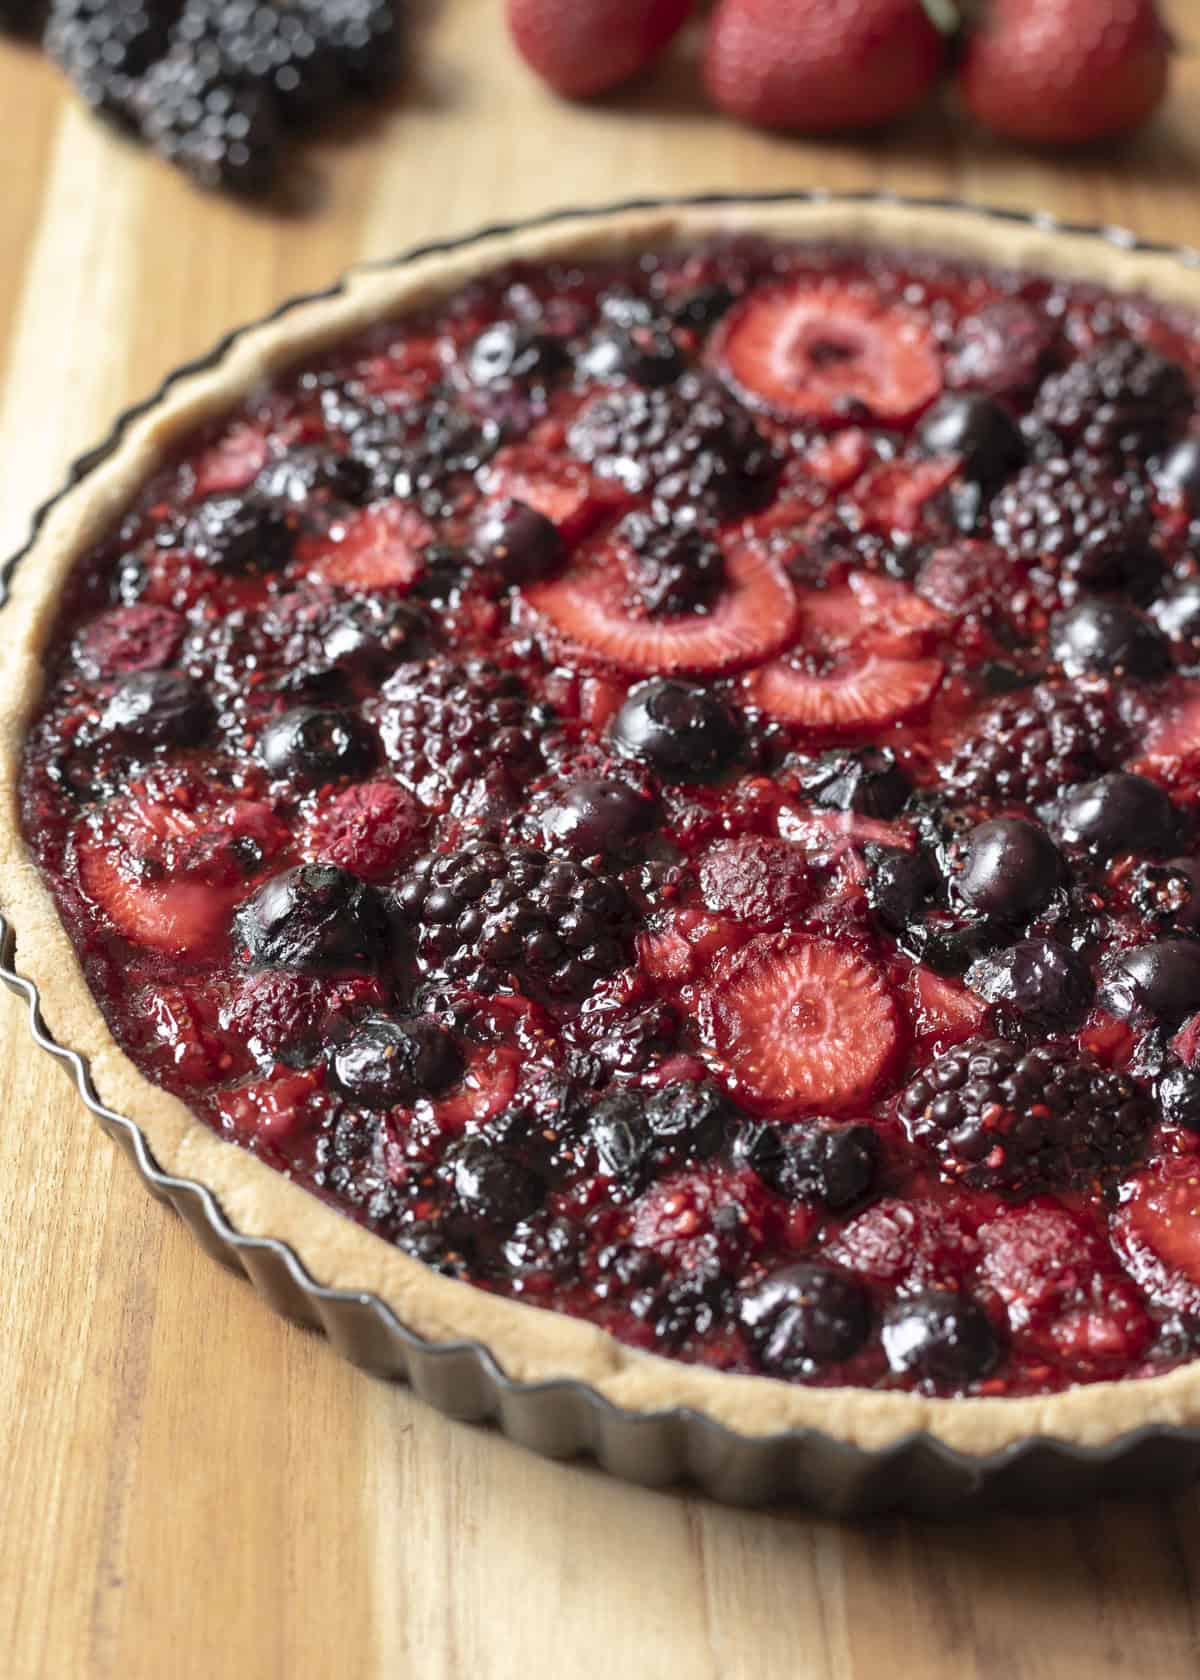
This almond flour crust doesn't brown like regular flour pastry. So you can expect it to look a little pale even when it's done. As long as the edges are crisp, you're good to go!
Serving Suggestions
The berry tart is perfectly delicious all on its own. But if you have vanilla dairy-free ice cream or whipped cream, well that's even better!
Enjoy your berry tart cool, room temperature, or slightly warm.
How to Scale for Other Pan Sizes
Want to make a larger or smaller berry tart? No problem!
- For an 8-inch round pan, divide all ingredients by 1.2
- For a 10-inch pan, multiply the ingredients by 1.25
- And for an 11-inch pan, multiply everything by 1.5
If you're curious how to calculate this for other size round pans, the formula is: 3.14 x radius (half the width of the pan) x radius again = surface area
The surface area of a 9-inch round pan (which I used in this recipe) is 63.5.
The area of an 11-inch pan, for example, is 95. Now take the larger number, 95 in this example, and divide it by the smaller number, 63.5. The result is 1.496, which you can round up to 1.5.
Next, for pans larger than 9-inch, you'll multiply the ingredient amounts by whatever number you get (1.5 in our example).
For pans smaller than 9-inch, divide the ingredient amounts by whatever number you come up with (see the 8-inch example above).
FAQs
Yes, though fresh berries work best, frozen and thawed may also be used. Just be sure to fully thaw the berries, and drain the liquid before using.
Yes, one option is to make the dough a day or two in advance, then prep the filling and bake the tart the day you plan to serve it. The tart keeps in the fridge for several days, but due to the high moisture content in the filling, the texture of the crust is best on the first day.
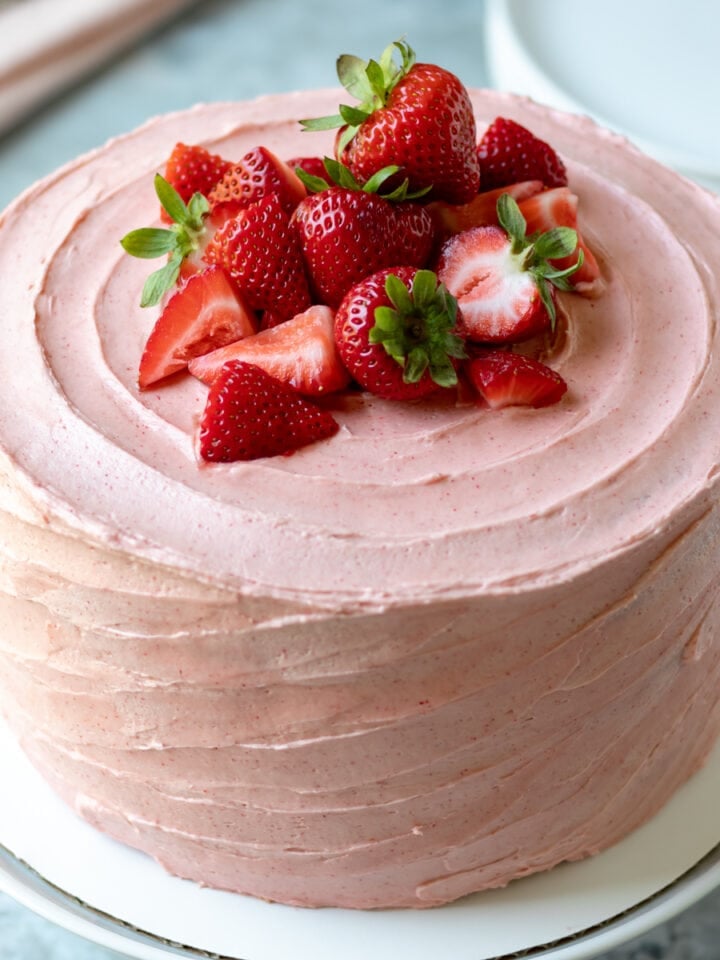
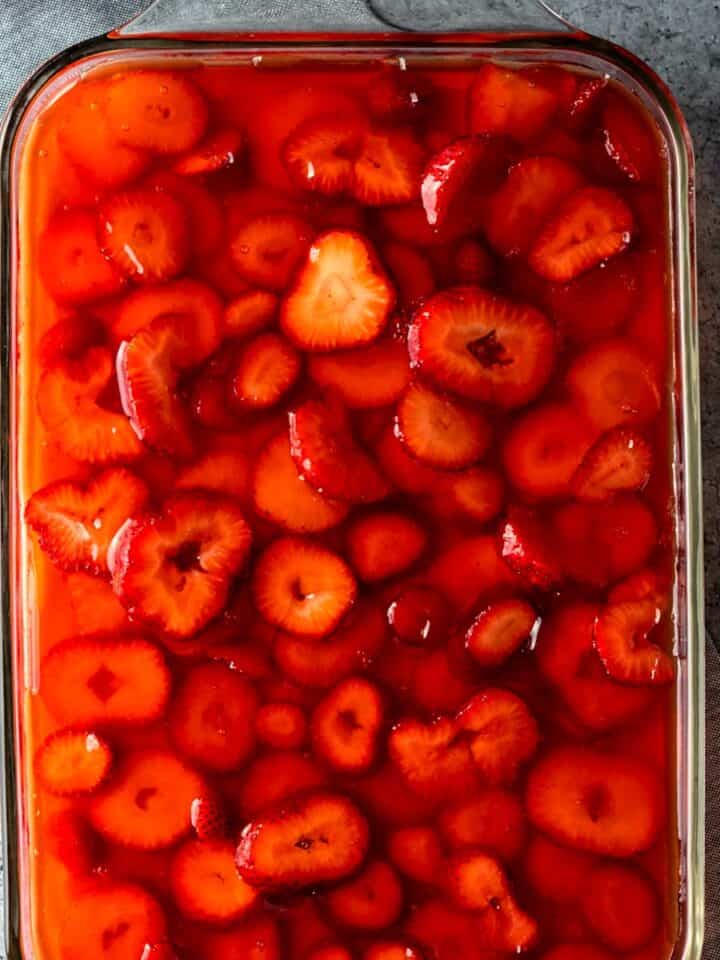
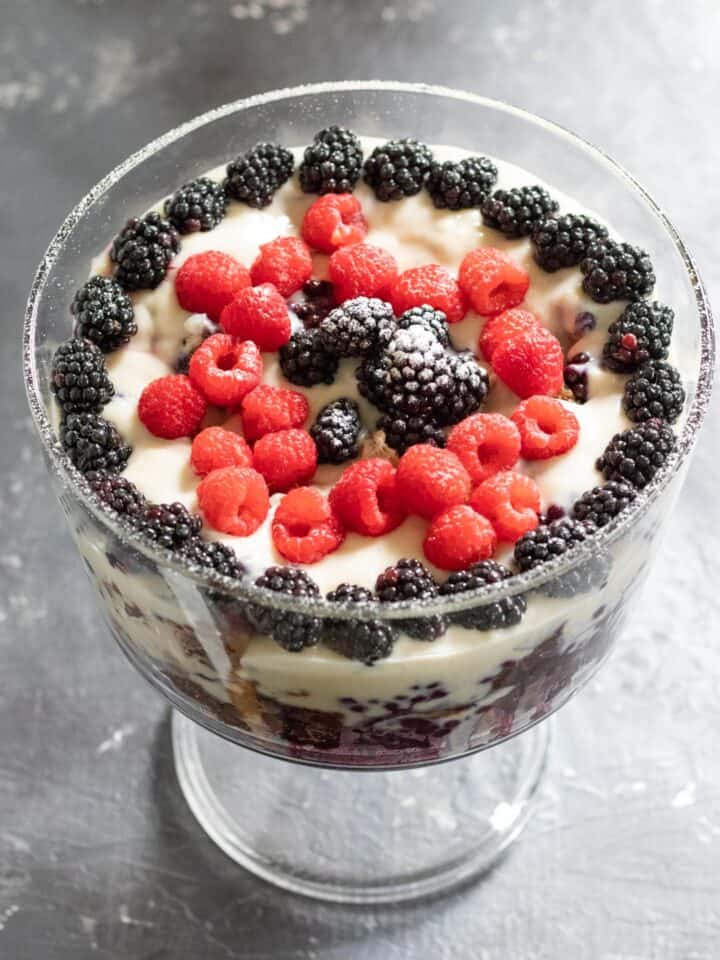
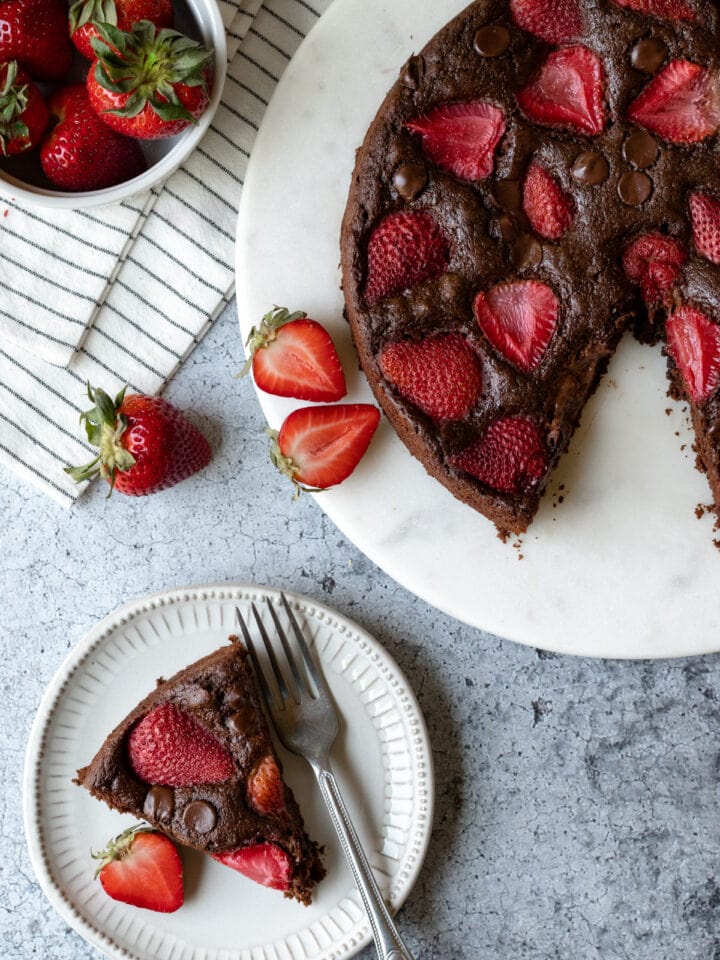
More Berry Desserts
I hope you enjoy the delicious simplicity of this berry tart as much as we do (we've already finished off two this week). If you give it a try, comment below to let us know!
Recipe
Mixed Berry Tart (Gluten-Free & Vegan)
Equipment
- small pastry roller - or rolling pin
Ingredients
For the crust:
- 1½ cups fine blanched almond flour (180g)
- ⅓ cup arrowroot starch (40g) - or tapioca
- 3 tablespoons rice flour or a gluten-free 1:1 blend (24g) - oat flour also works
- 1½ tablespoons sugar (19g)
- ¼ teaspoon ground cinnamon - optional
- ¼ teaspoon fine sea salt
- 4½-5 tablespoons water
For the filling:
- 3½ cups assorted fresh berries (465g), divided - I used 1 cup each blueberries, blackberries, & sliced strawberries plus a handful raspberries
- ½ cup sugar plus 2 tablespoon (125g)
- ¼ teaspoon lemon or lime zest - optional
- pinch of salt
- 3 tablespoons arrowroot starch (20g) - can sub cornstarch
For serving (optional):
- fresh berries
- non-dairy vanilla ice cream and/or whipped cream
Instructions
Make the crust:
- Preheat oven to 350°F (175°C). Lightly oil the bottom of a 9-inch round tart pan with removable bottom (no need to oil the sides).
- In a mixing bowl combine the almond flour, arrowroot, rice flour, sugar, cinnamon, and salt, and whisk to combine. Add 4 Tablespoons of water, and use a fork to mix it into the dry ingredients. The dough should hold together well but not be sticky. If it seems crumbly and dry, add water 1 teaspoon at a time, mixing well. If the dough feels too sticky, sprinkle in some almond flour.
- Form the dough into a large disc and place in the pan. Use a small pastry roller to evenly spread the dough around the pan and up the sides. Alternatively, if you don't have a small pastry roller, place on parchment and use a rolling pin to evenly roll the dough to an 11-inch diameter. Then flip onto the tart pan and press into the sides.
- Use a fork to poke holes in the bottom of the crust. Place the tart pan on a baking sheet (for easier handling in and out of the oven). Bake for 10 minutes, then set aside.
Prepare the filling and bake the tart:
- Divide the 3½ cups (465g) of berries into two portions, with about two-thirds (300g) going in a large shallow bowl and the other third (165g) in a small bowl.
- To the larger portion, add the sugar, lemon zest, and salt. Mash using a pastry cutter, potato masher, or fork. Add the arrowroot and mash again to incorporate. Fold in the whole berries.
- Pour the berry filling into the crust and spread evenly. Return the tart to the oven and bake for 35-40 minutes, or until the center is jammy but set. The filling doesn't thicken until the last few minutes in the oven, so don't panic if you check it early and it still looks liquid-y.
- Let the tart cool completely at room temperature, then refrigerate for 1-2 hours or until ready to serve.
Notes
Estimated Nutrition (per serving)
Nutrition information is an estimate and will vary depending on the exact amounts and specific products and ingredients used.
Victoria says
I made this tart and it came out beautifully. The perfect amount of texture in the crust and the perfect amount of sweetness in the filling. Excellent summer dessert. I served this with a vegan mascarpone whipped topping. Just wonderful.
The vegan mascarpone recipe I used was from Addicted to Dates. I veganized the mascarpone whipped topping from Turkuaz Kitchen.
Janice says
This recipe is delicious! We used strawberries and raspberries, my family ate the entire thing! I will be making this again, VERY SOON! Thanks for another great recipe!
Cindy V says
Can frozen fruit be used instead of fresh fruit?
Lori Rasmussen says
Hi, check the FAQs above. Yes, just be sure to drain well after thawing.
Cindy V says
Thank you!